Many in the community have asked me to share how to add textures in post processing.
I am going to walk you through my process using Lightroom and Photoshop.
Adding textures is pretty simple. You will need to either download textures from a third party (I really like textures from 3 Lil Owls), or you can make your own.
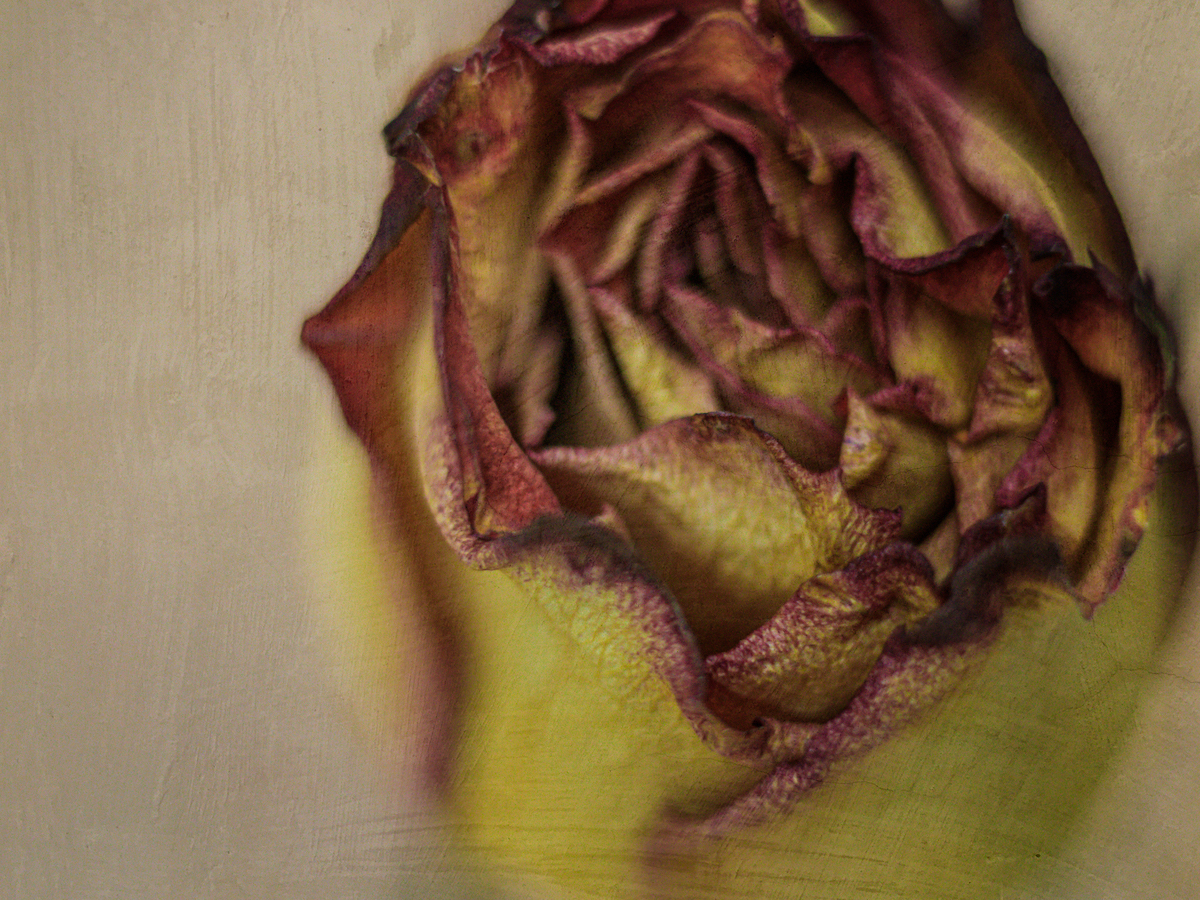
The first image that I will edit with textures is one that I have purchased and downloaded.
To start the process, pull your photo into Lightroom and edit the way you would like prior to adding the texture.
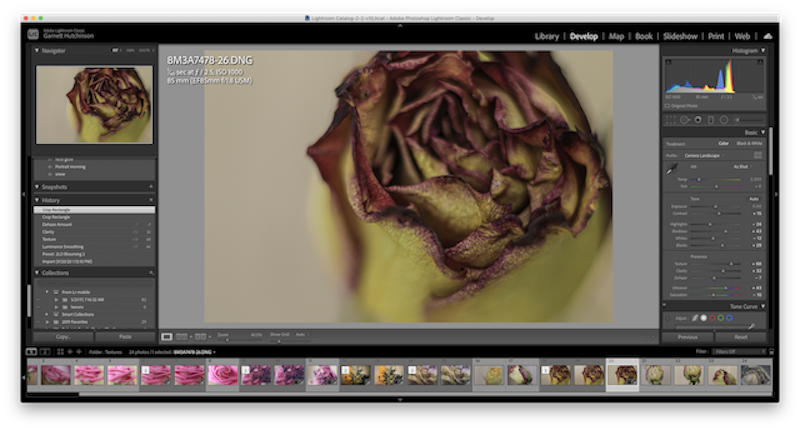
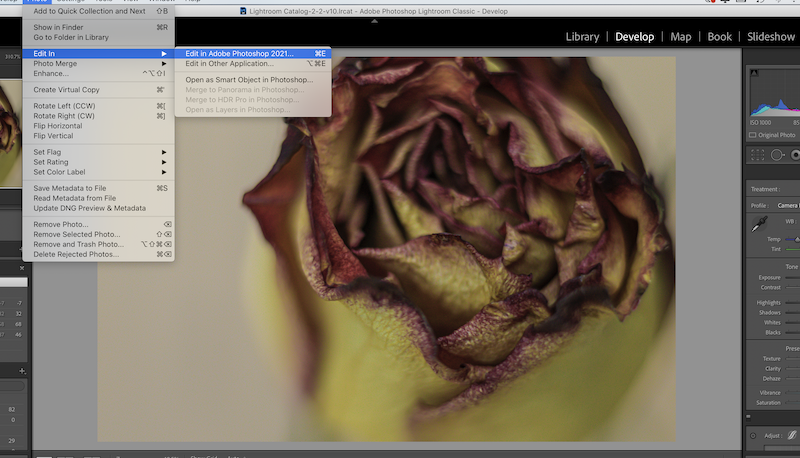
The next step is to bring the edited image into Photoshop where you will add the texture.
Choose "photo" from the menu, and then "Edit in Photoshop."
You can also open the image directly from photoshop.
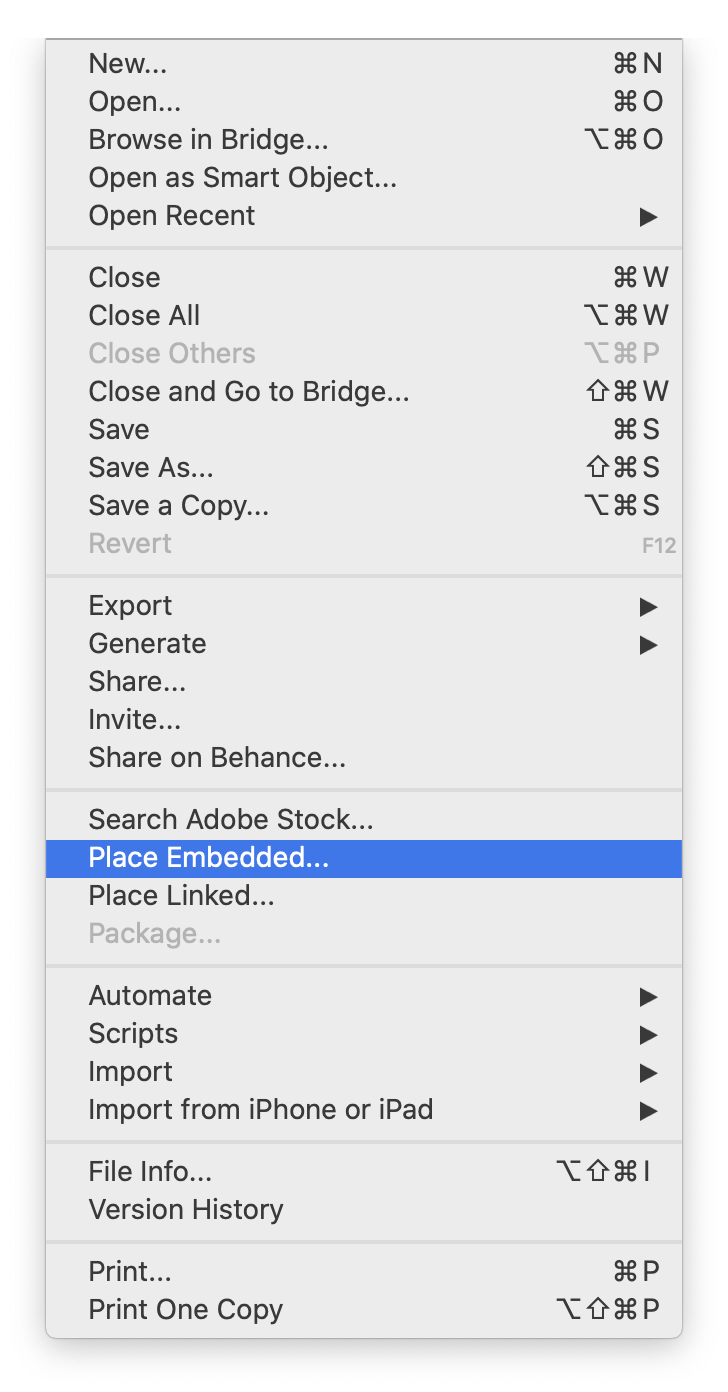
Once you have your image in Photoshop, go to the "File" Menu and Choose "Place embedded"
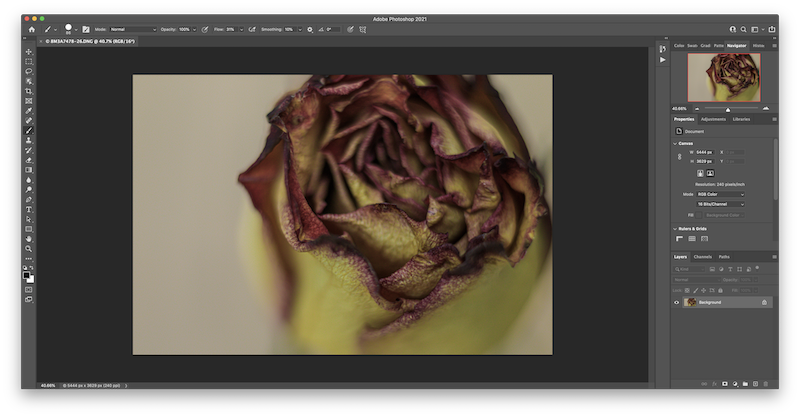
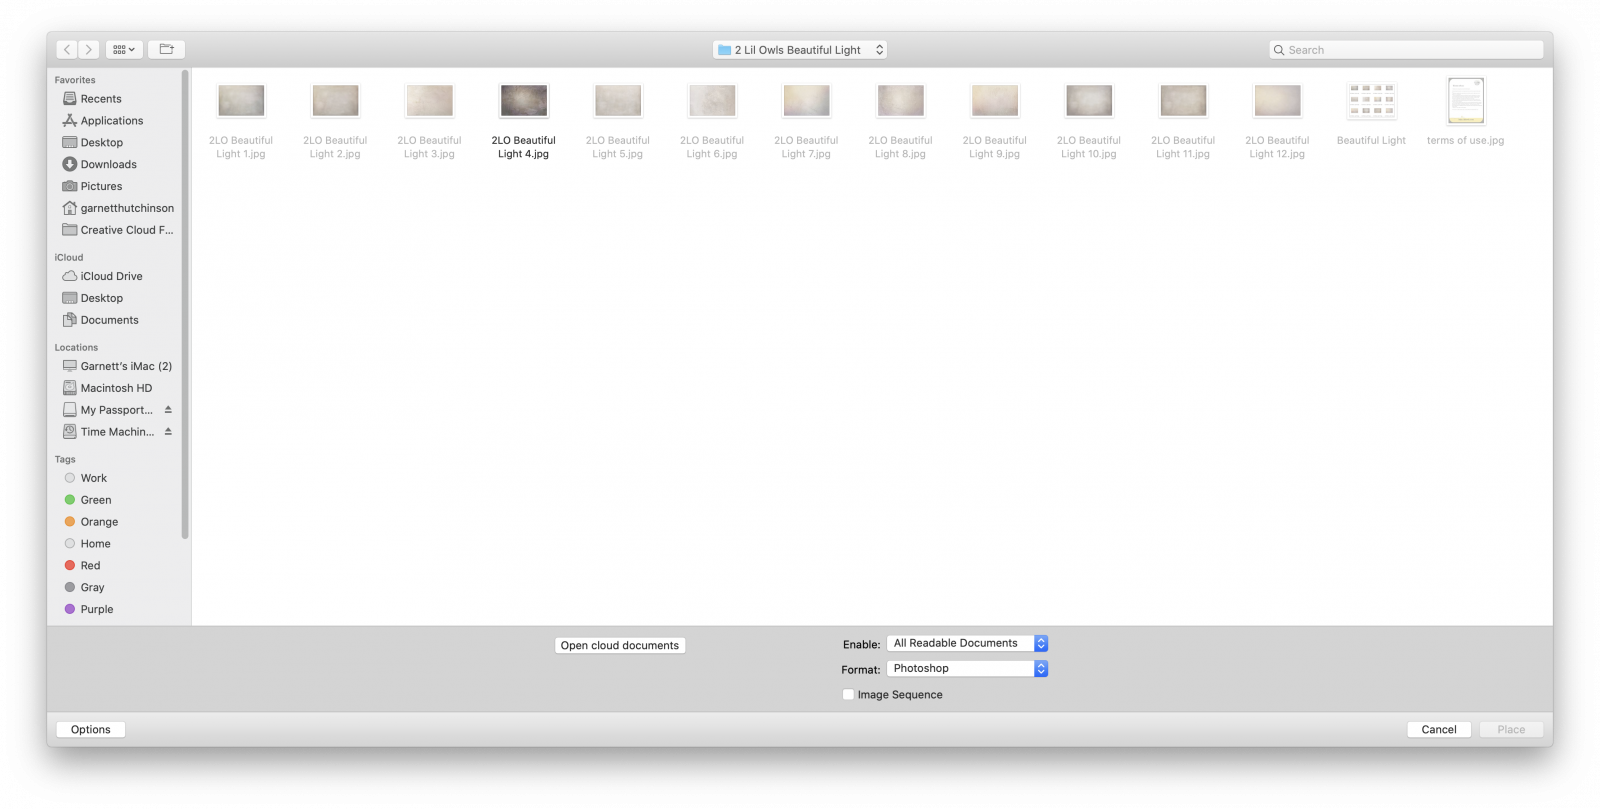
You will need to navigate to where you have stored the texture images on your computer. I save all of my textures in one folder that I can easily navigate to.
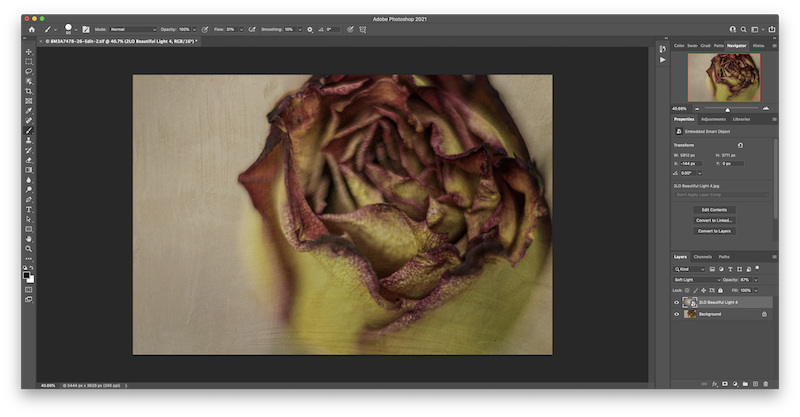
Once you have selected the texture, it will look like this... if it hasn't completely covered your image, pull the corners to make sure your image is completely covered with the texture image.

At this point, you just play with the light options and opacity slider to get the look you want. You can also add a layer mask and remove the texture from parts of the image. I normally just leave the texture on the entire image. With this specific image, I used "soft light" (I use this 90 percent of the time). Use the opacity slider to make the texture more or less prominent.
At this point, I usually flatten the image and then save it back to Lightroom
That's it!
Next I will quickly show you an image with added texture that I created.
The process is exactly the same. But you can see how different texture files can change an image.
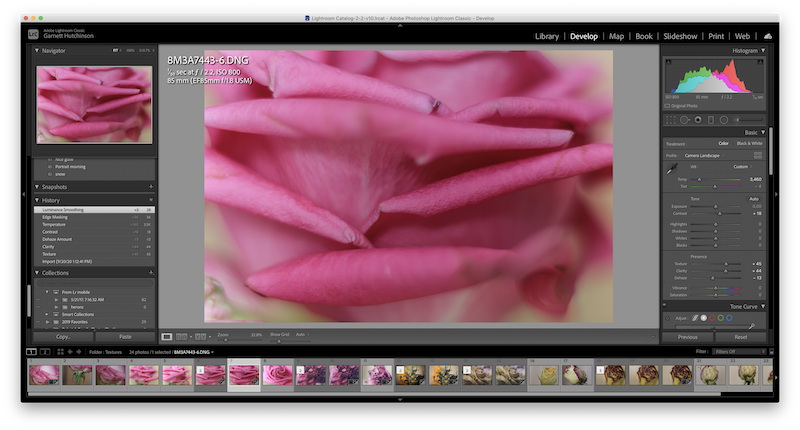
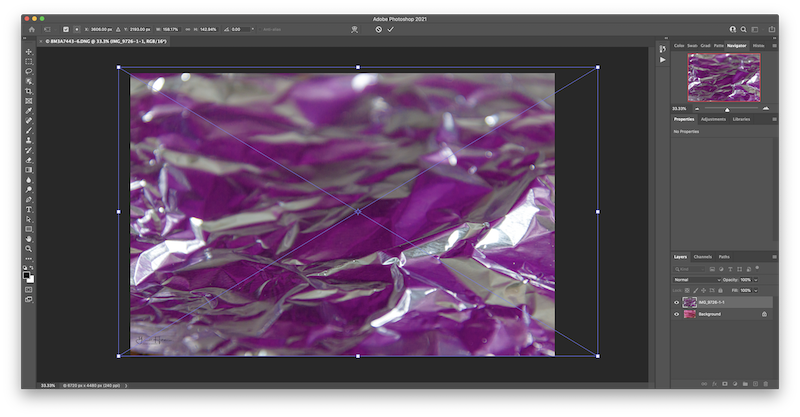
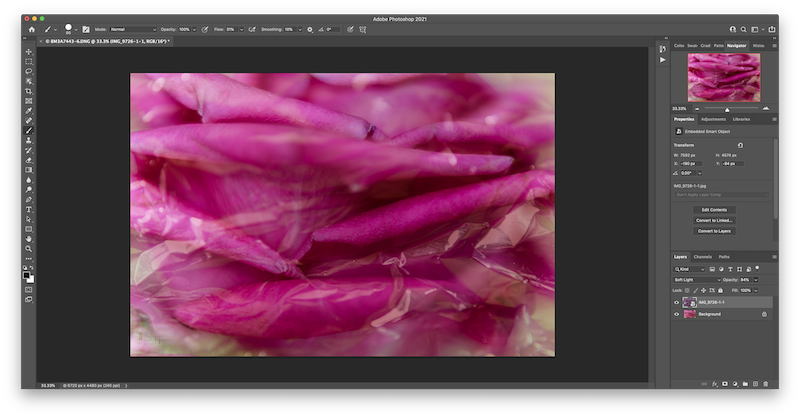
Open the image in Lightroom, make desired edits, move image into photoshop. Choose "File. Place Embedded" and choose the texture you created. (I created this one during purple week by reflecting color onto aluminum foil).
Choose your preferred light blending mode (I normally choose "soft light") and then adjust opacity until you like the image.
That's it! Just flatten and save and you are done!
I hope this encourages you to try adding textures. You can make them as bold or as subtle as you like. Textures create a lot of depth and interest in your images.
Enjoy playing!