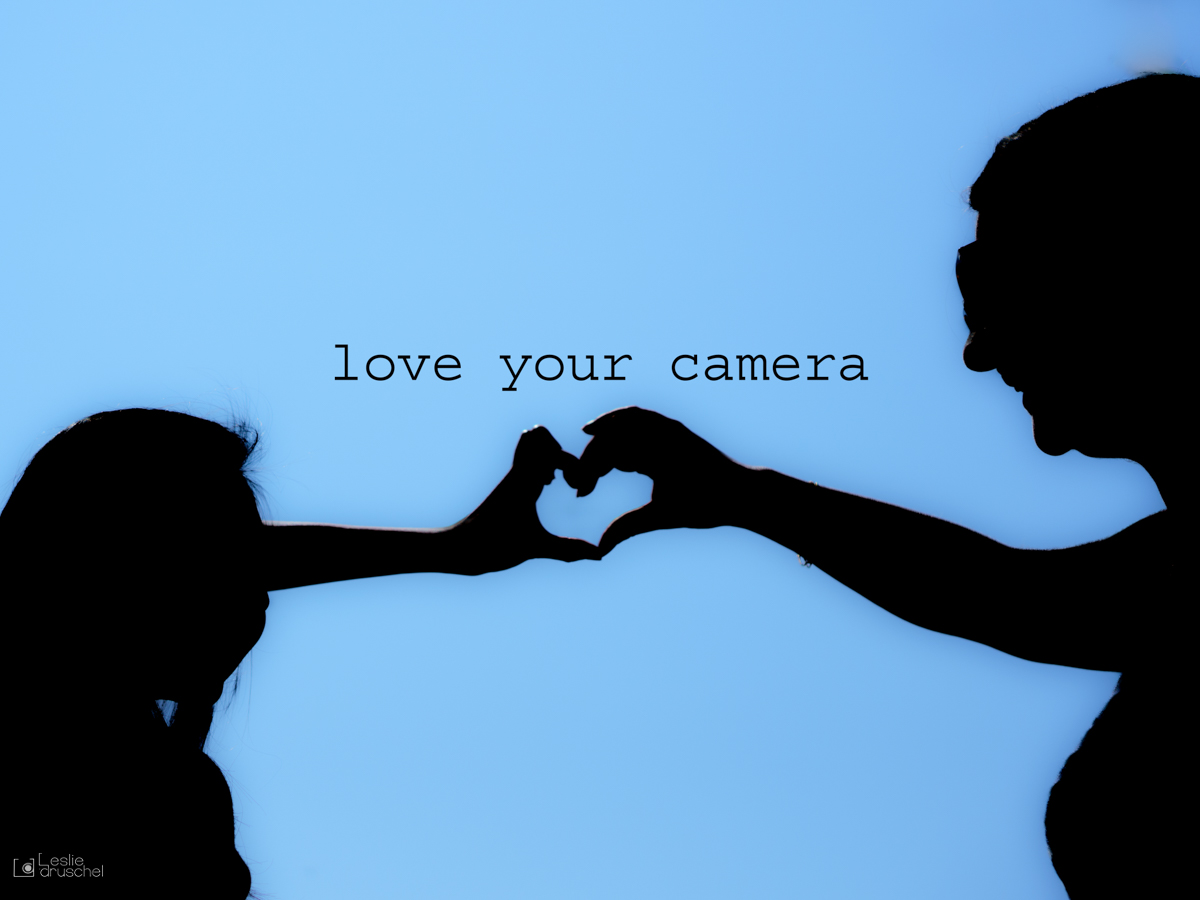
Try a new style of photography this season: silhouetting!
Easy and perfect for vacation goers or anyone spending some time outside!
Silhouettes were a popular art form in the 18th and 19th centuries as an inexpensive way to create portraits that needed only black paper and scissors. The tight-wadded French Minister of Finance, Etienne Silhouette, made them as a hobby, from which we get the term. Soon “a la silhouette” translated to “on the cheap!”
Today with a click of the shutter, we can create silhouettes even easier and cheaper than the French Minister! And the impact they make on the viewer is anything but modest. They don’t take any specialized equipment or immense camera knowledge. If you know how to shoot in manual mode, you’re on your way. Even most cell phones have these capabilities.
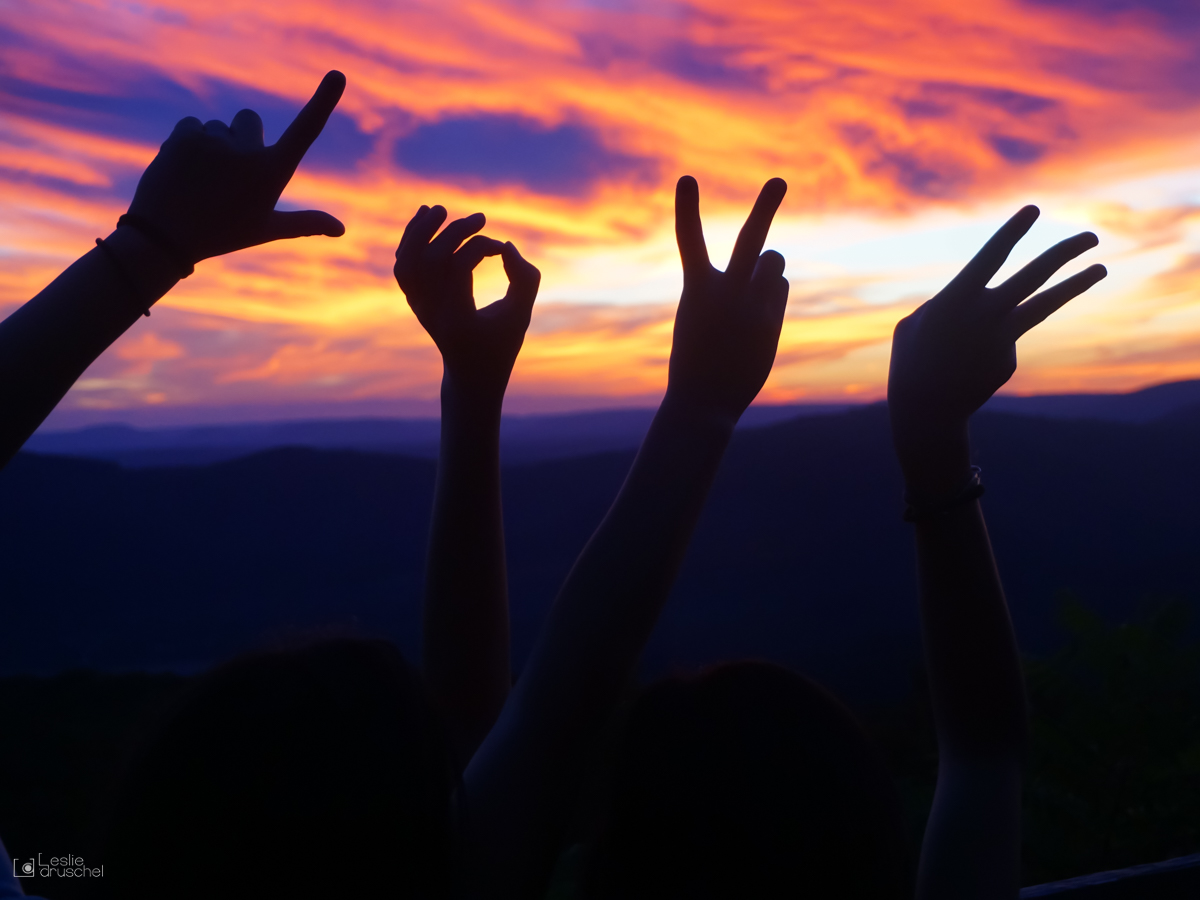
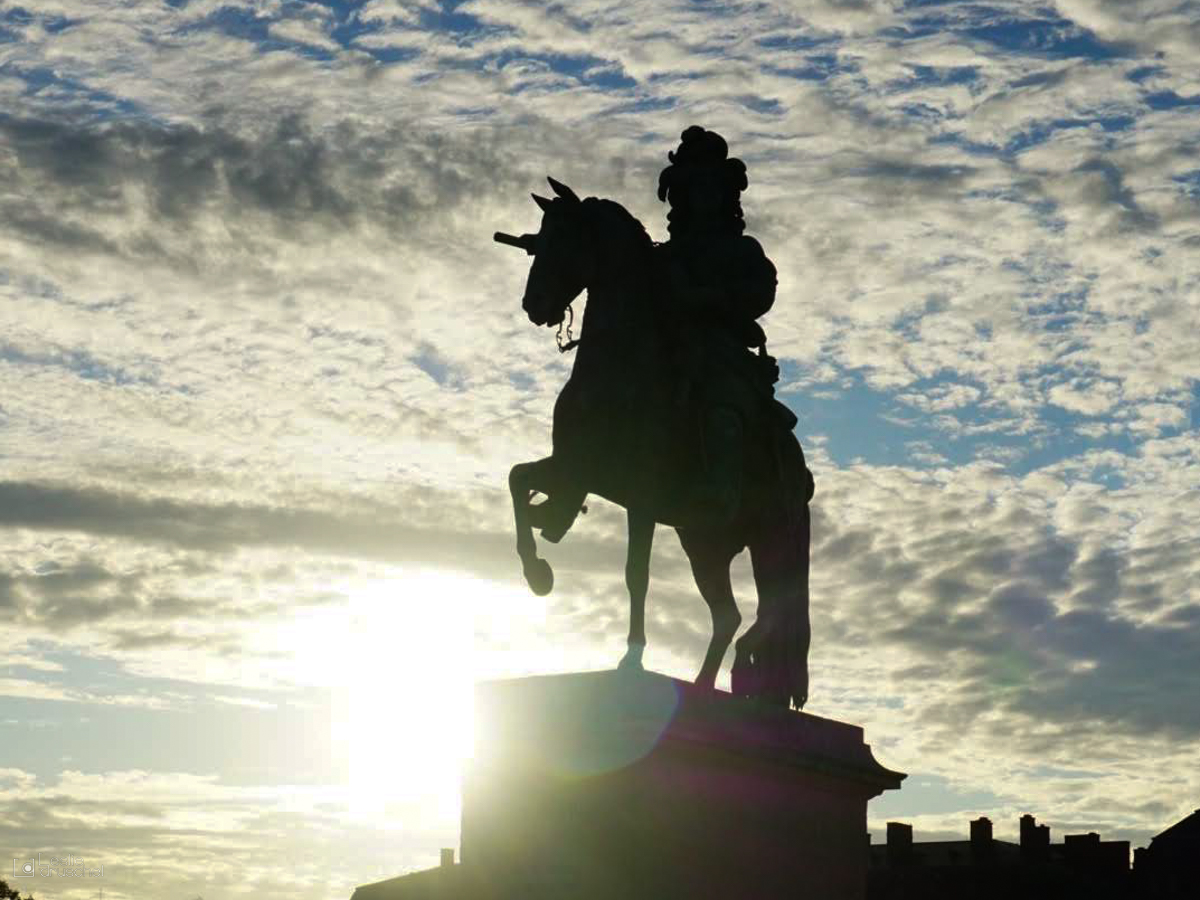
A good silhouette depends on a recognizable shape.
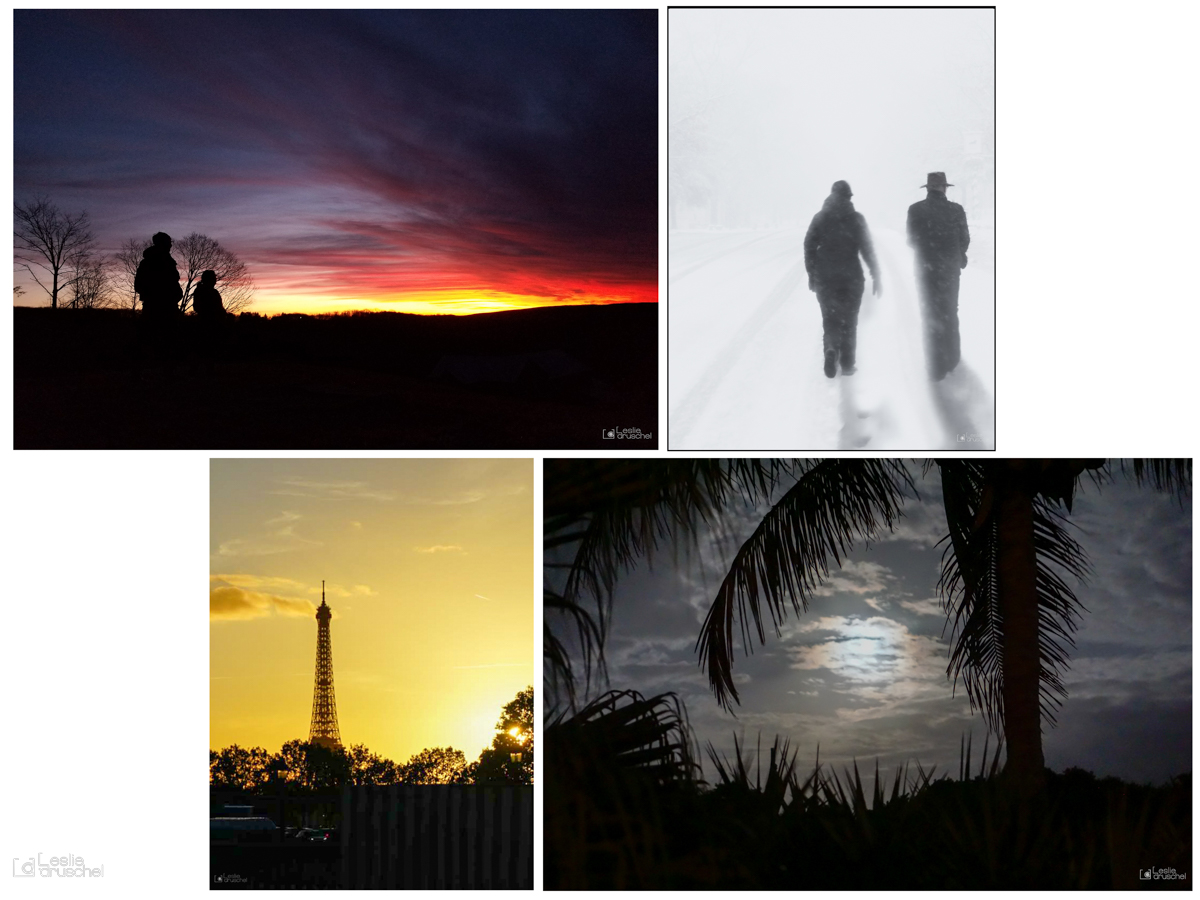
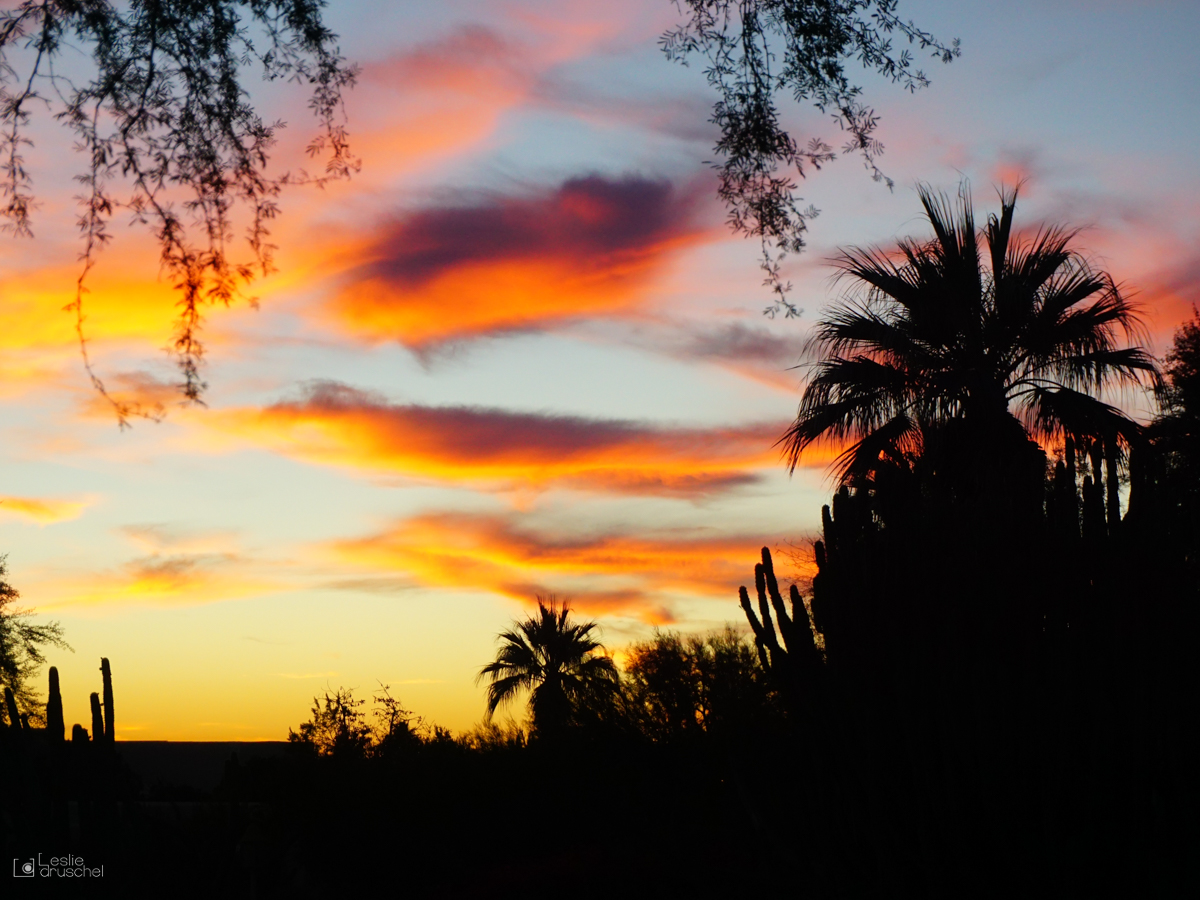
People, architecture, and trees work well. The shape is then composed against an uncluttered, brightly lit background like a sunset. Coastlines, fields, deserts, mountain ranges, and city skylines are perfect locations to shoot.
You can also enhance night sky and moon shots with silhouetted trees and landscapes. Invoke mood by placing silhouetted subjects against snow, smoke, fire, or fog. Indoors, use a silhouette against a bright window for a dramatic statement. Or showcase your background by framing it with silhouetted areas. And with all that uncluttered space, you’ll have a great place to add text!
You can compose silhouettes with your camera or a photo-editing program or app.
Let’s begin with the camera.
Arrange the object between you and your light source, such as the sunset. Set your camera to Manual Mode or your cell phone to Pro Mode if available.
- Set the ISO as low as possible to under-expose the object.
- Set your shutter speed to 1/125 sec or higher to prevent over-exposing the light areas.
- Set the aperture to f/8 or higher for a narrow depth of field to keep everything in focus.
- If necessary, set exposure compensation (EV) between -1 and -3 for further darkening.
- Using Spot- or Centered- Metering, meter on the lightest area. This will trick the camera into keeping the dark areas black.
- Manually focus on the black area.
- Lock exposure on the light area.
- Recompose with the exposure locked, and take the picture. Take multiple photos using bracketing to improve your odds of a good shot.
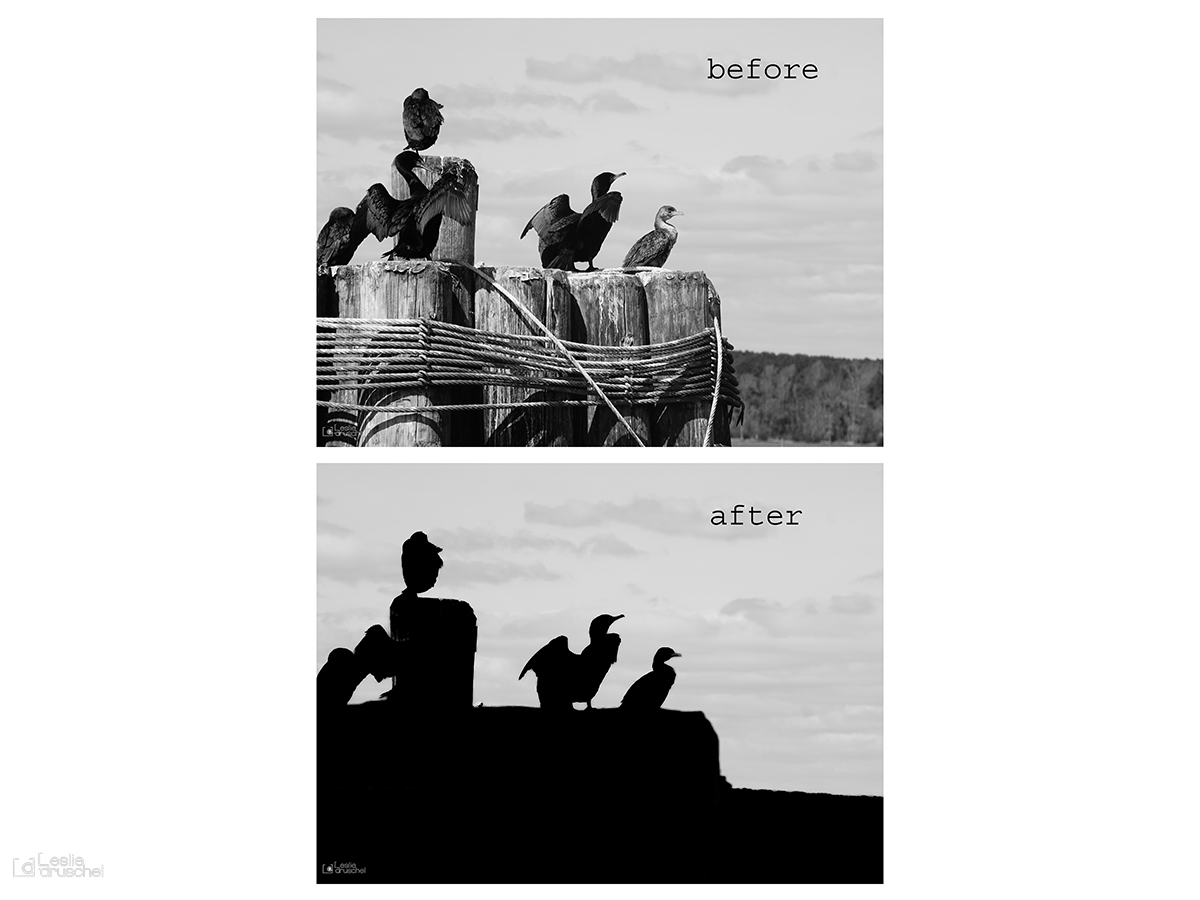
With your photo-editing software or app, you can improve your image or even create one from an existing photo as I did with the birds below. In Lightroom, try these.
- Mask black areas. Reduce exposure, increase shadows, or increase blacks.
- Mask the background. Improve exposure, saturation, texture, and clarity.
- Use the Healing Tool to eliminate any further distractions.
- Use Denoise to decrease the details in the black areas that your camera was trying to capture.
And that’s all it takes!
I hope you give silhouetting a try. Plan for it on your next outing and see what dynamic images you can make. You can find many more tips on photo blogging sites. And don’t forget Pinterest for inspiration!
Please share your images with us. It’s not a competition, so don’t worry about your results. Your attempt might just encourage someone else. Anyway, it’s pretty easy and definitely “on the cheap!”