Since I travel quite a bit, I always get asked the question "what equipment do you use for your vacation photos?" And my answer is.... "depends on where I am going"! :-)
Am I on a road trip? Am I flying to my location? Am I on a family vacation? Am I specifically looking for photo opportunities while I am there?
I have found that planning ahead and thinking about what I want to capture, I can be best prepared. The answer will be different for every trip I take. In this blog, I am going to break it down by those categories and share with you my best practices/lessons learned for capturing a trip while having fun and being present.
There was a time when I dragged my DSLR with me on every vacation and every hike. The heavy weight of my equipment took a toll on my neck and also make it difficult to carry a backpack. After much trial and error, I have come up with something that works well for me. What follows is how I approach each trip.
- Am I driving on a road Trip.... no limitations. I can bring as much equipment as I want since I will be in my own car with plenty of room.
- Am I flying to a destination.... I bring my DSLR with ONE lens only; bridge camera which has an 70X optical zoom; and my phone
- Now that I am at my location, am I going on a hike? If so, is there a chance I might encounter wildlife? If the answer is yes, I bring my bridge camera with optical zoom. If not, cell phone will do.
- Will I print any of the photos and hang them on the wall? I will need my DSLR
Or will I leave them digital or in a photo book? Phone will do just fine - Do I want to capture moments quickly? Definitely phone
Now that I have answered those questions, here are examples of what I capture with each camera I decide to use.
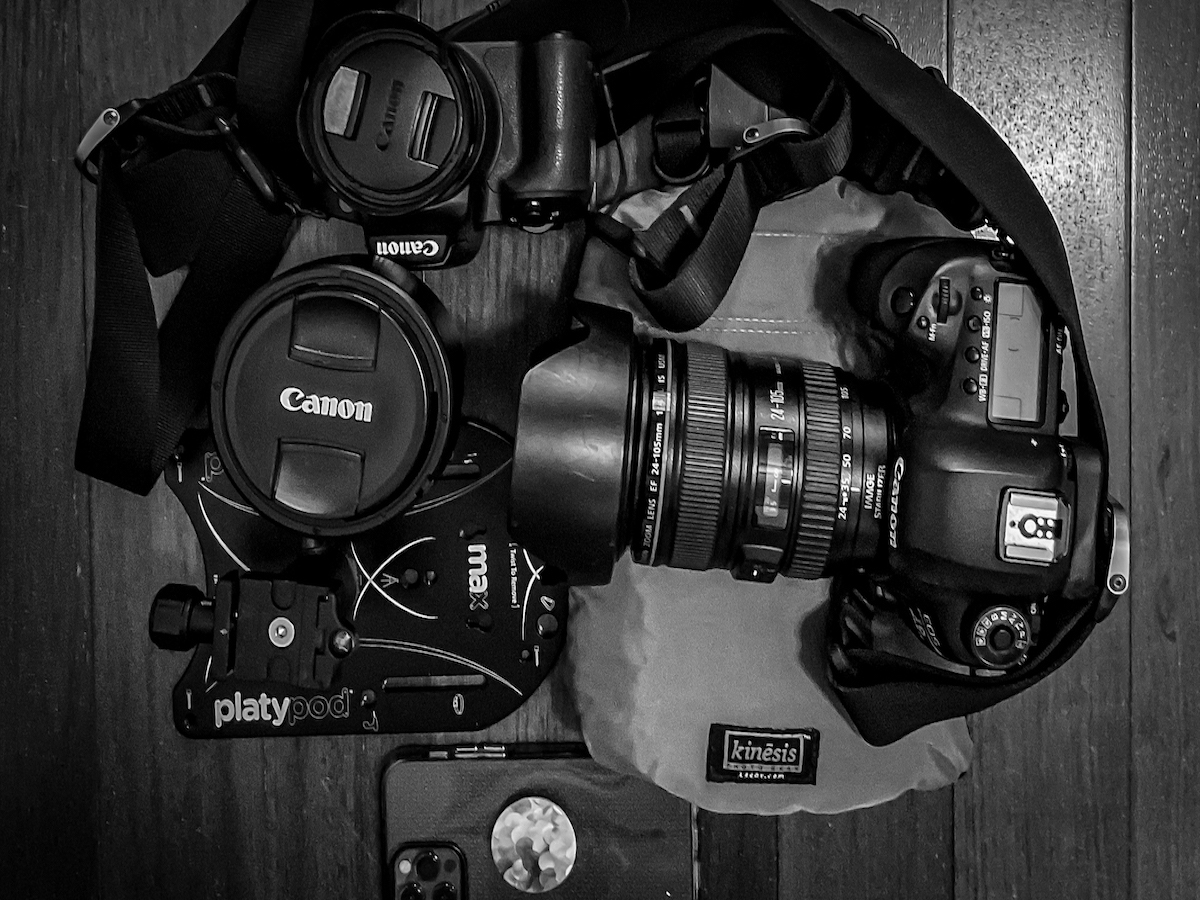
The below photos were taken with my DSLR. I have found that for sunrises and sunsets, I definitely want to use my heavy duty camera to capture the light and scene. I am also not hiking when I encounter beautiful sunrises or sunsets so it isn't an inconvenience to use my Big Girl Camera. I do not travel with a tripod (I probably should but I just don't have a lot of patience). I do however, bring a platypod and a bean bag to steady my camera.
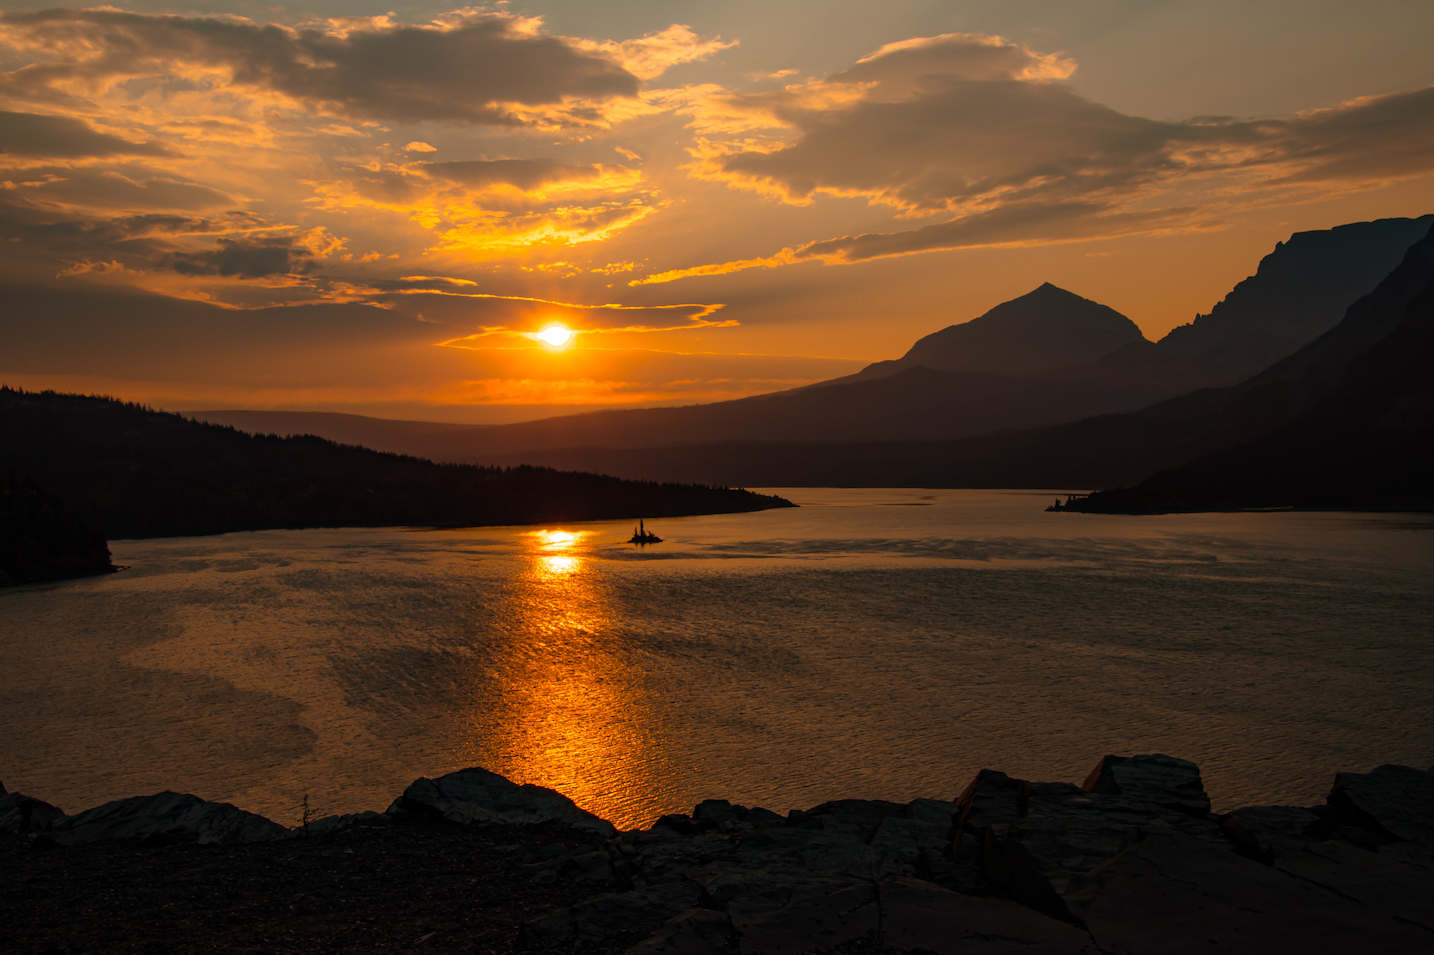
The first image here is sunrise on St. Mary Lake in Glacier National Park. We were up early heading to the trailhead to beat the crowds and when I saw this scene, I made hubby pull over. Since I wasn't hiking, it was easy to grab my DSLR.
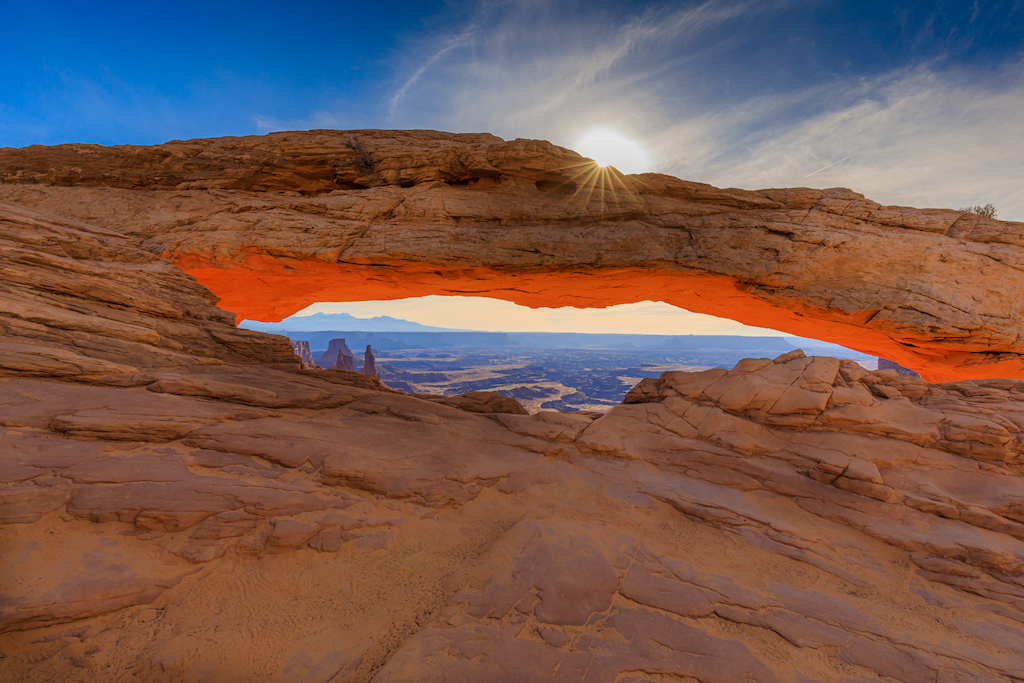
This next photo was taken just after sunrise at Mesa Arch in Canyonlands National Park. The hike to Mesa Arch is only 1/2 mile or 1 mile round trip and not very strenuous. It wasn't hot, yet, so I didn't need a backpack full of water. This photo is iconic and everyone wants to take one similar to it. On my previous visit, I was not at my location at the right time to capture it and it was a priority for me to return for the sole purpose of capturing the image I wanted. That planning allowed me to bring my DSLR and capture what my mind wanted. I would have not gotten the same result using a cell phone. (And I know this for sure because I took the same image with my cell phone and it wasn't even close.) :-)
And, yes, I framed this one and it hangs on my wall!
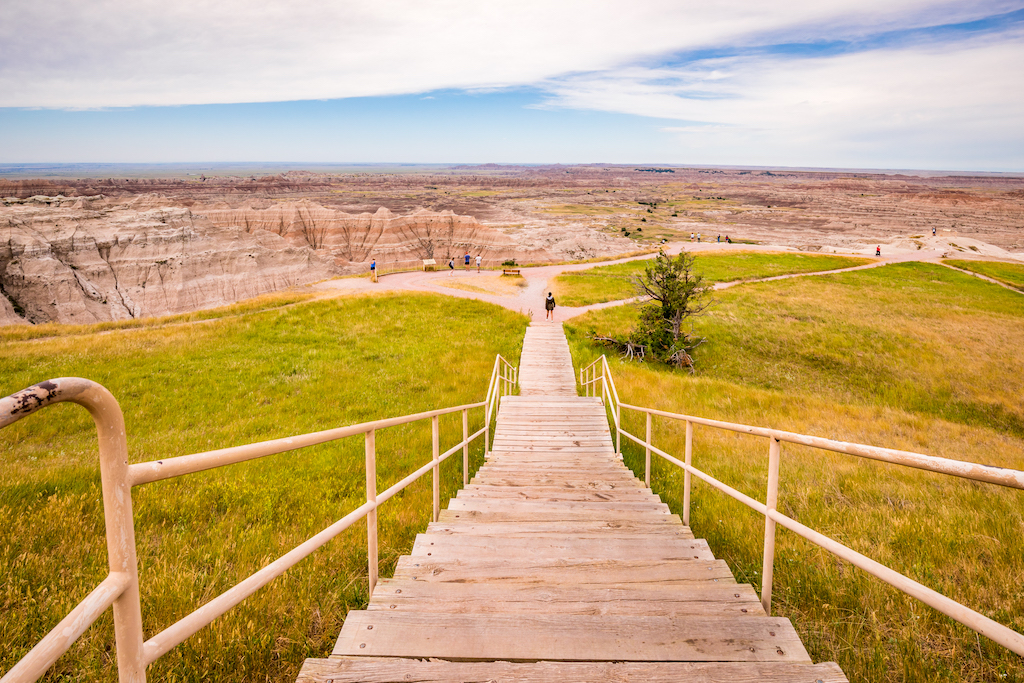
The next two photos were also taken with my DSLR. Neither required much hiking and I took the opportunity to capture better images. The first image is in Badlands National Park. On this particular trip, I only brought a wide angle lens. It limits what you can take photos of but it also can make for interesting and artistic photos.
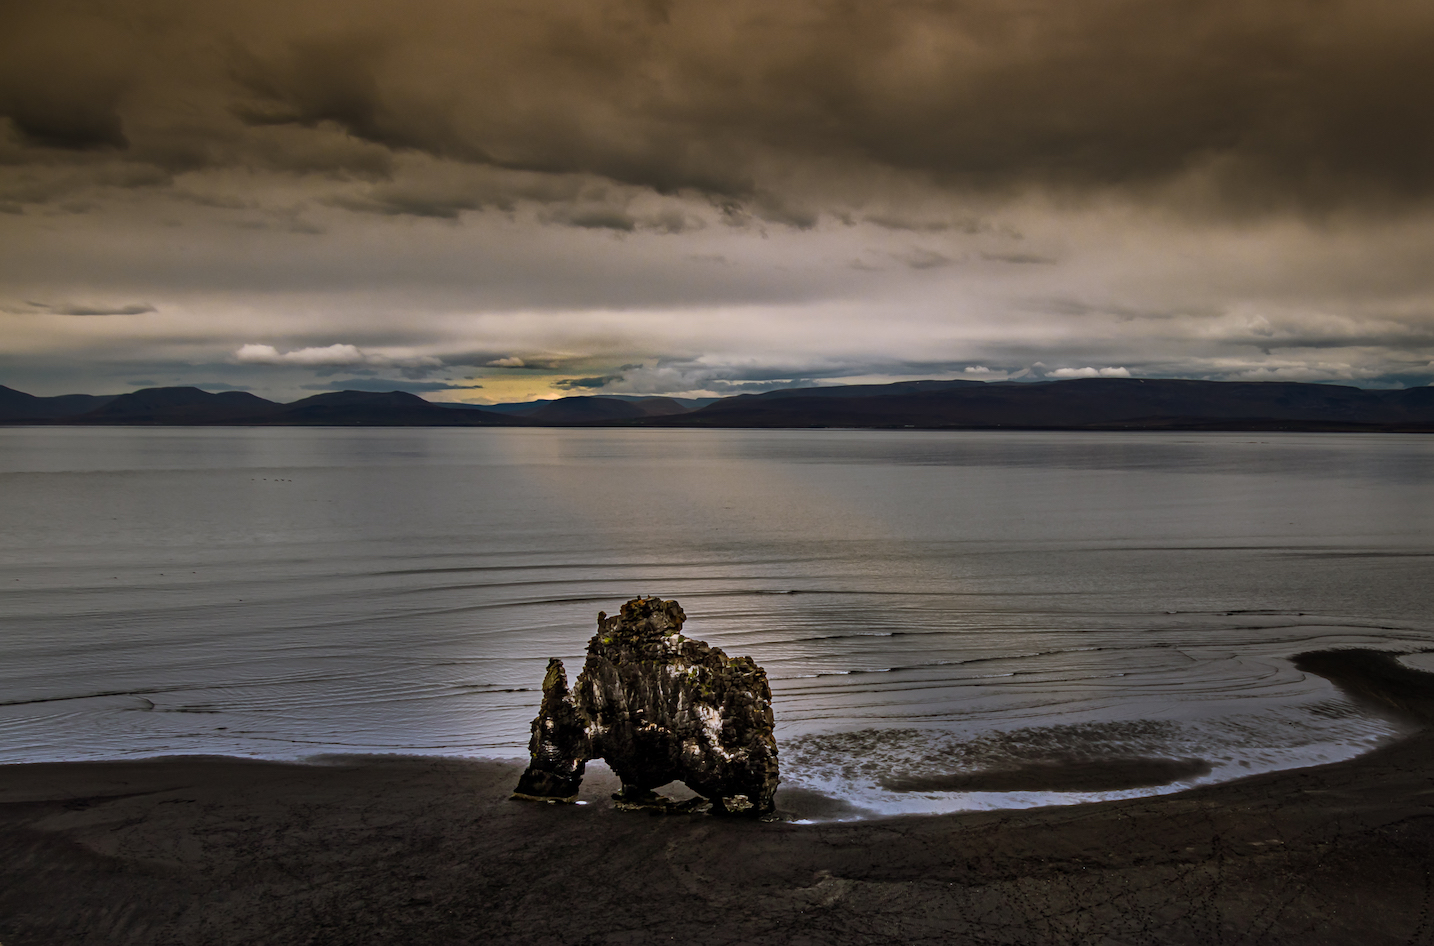
This next photo was taken of Hvítserkur rock, Vatnsnes peninsula, Iceland. This was taken with my crop sensor camera and Tamron 18-400 lens. The lens isn't as crisp as others but it is so versatile it is nice to have on a trip.
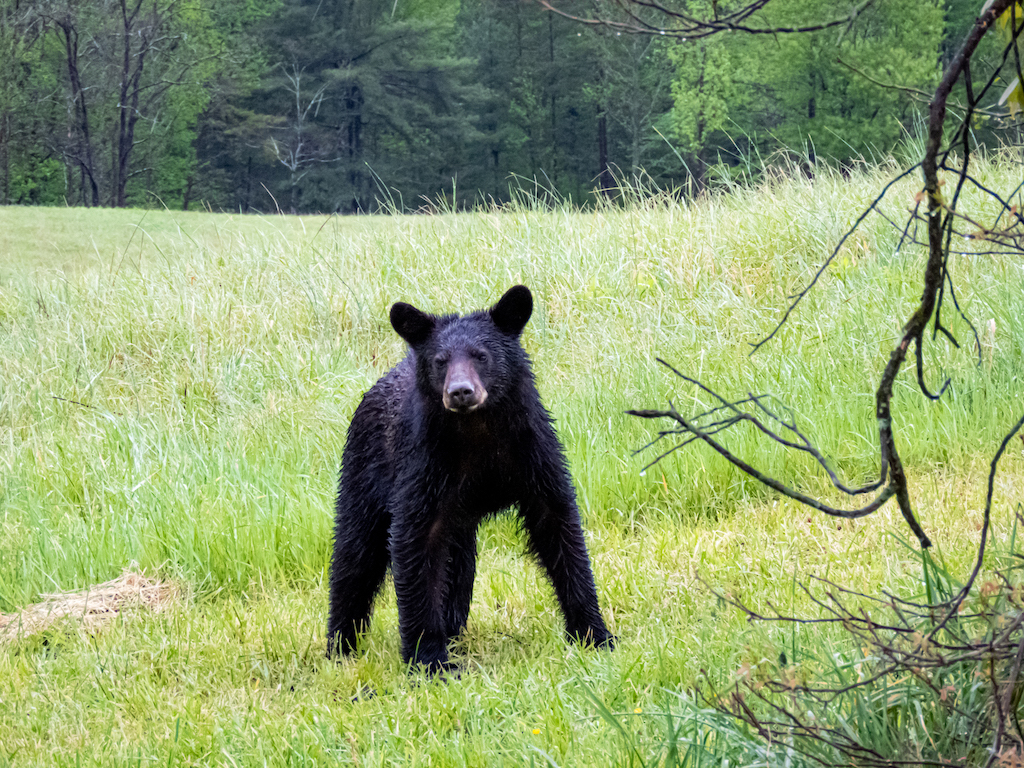
The next set of images were taken with my Canon Powershot SX70 Point and Shoot Bridge Camera. This camera weighs only 1 pound. What makes it special is the ability to zoom in 70 times. This makes it great for wildlife photos because I can stay back and still get incredible detail. Again, the images will not be as high quality as a DSLR but the lightness and ability to zoom make it a great choice.
This image of a juvenile black bear was taken at Cades Cove in the Great Smokey Mountains. Because I can zoom so far, the bear doesn't feel threatened and can go about his business, and I can stay safe!
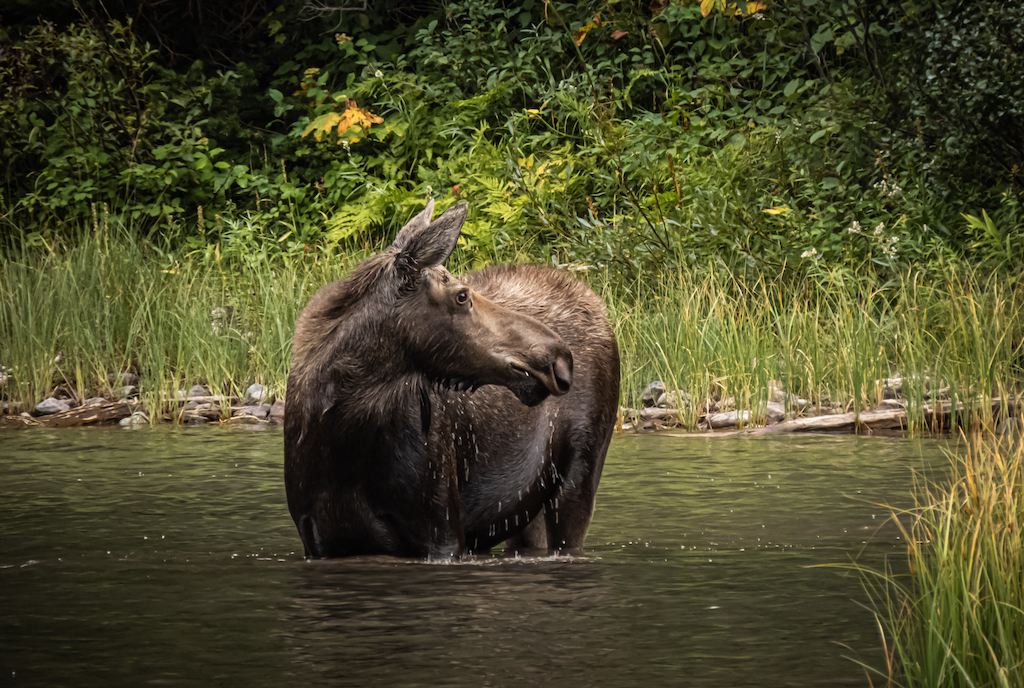
The moose was enjoying a bath and lunch in Red Rock Lake at Glacier National Park. I stayed a safe distance and she was able to enjoy her day without me interfering. I often see tourists getting too close and trying to get shots with a cell phone. I don't advise it. It makes the animal anxious, puts you at risk and your photos will not be good anyway.
The next photo was taken on a family vacation to Lake Travis in Texas. I normally don't like to bring my DSLR on a boat. I get nervous having expensive equipment around water. This is also a great time to use the bridge camera. It fits into my beach bag and I can zoom in on the fun all around.

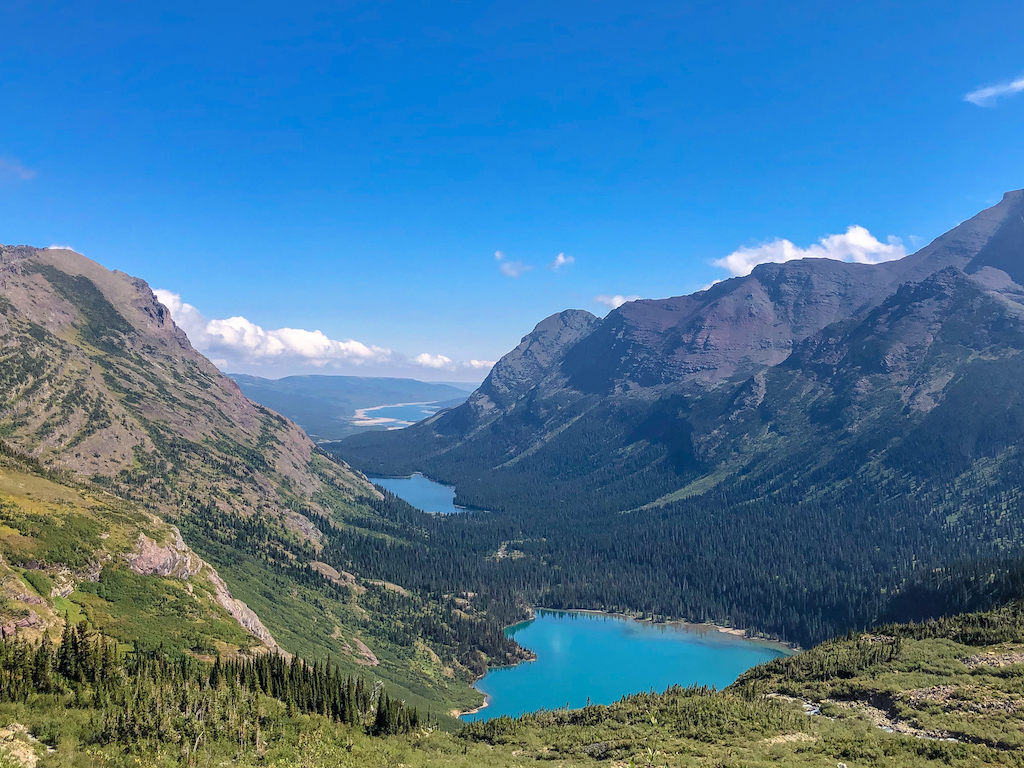
I wanted to include one more photo from my Bridge Camera. This photo was taken on the Grinnell Glacier Trail in Glacier National Park (a very strenuous hike). Looking back as you ascend you can see Lower Grinnell Lake, Lake Josephine, and Lake Sherburne and it is just breathtaking. I took the photo with my phone but you couldn't quite make out Lake Sherburne in the distance. The bridge camera allowed me to zoom in a bit without losing quality, as often happens with a cell phone. Although I would have preferred this with a DSLR, it was just fine to capture it this way.
The final set of images are all cell phone shots. This is probably how I capture 80 percent of my vacation photos. It just makes sense for me when I am hiking; or when I want a fellow traveler to capture Mark and I together.
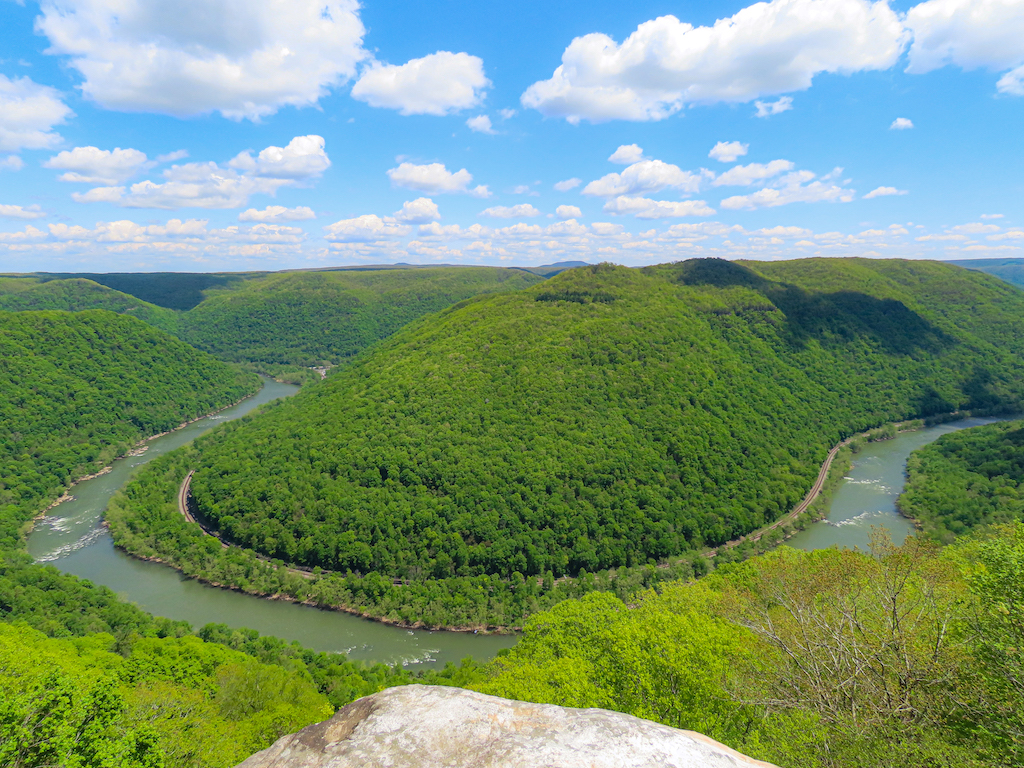
The first photo is taken at the Goosenecks from Grandview on the New River Gorge in West Virginia. It was the middle of the day and I wouldn't get a perfect DSLR photo anyway. Add hiking to the mix and I am pretty pleased at what I captured with my cell phone.
Iphone Tip.... if you tap on the image shown on the screen before you take it, a little box with a sun pops up. You can press that box and scroll up or down to lighten or darken the photo.
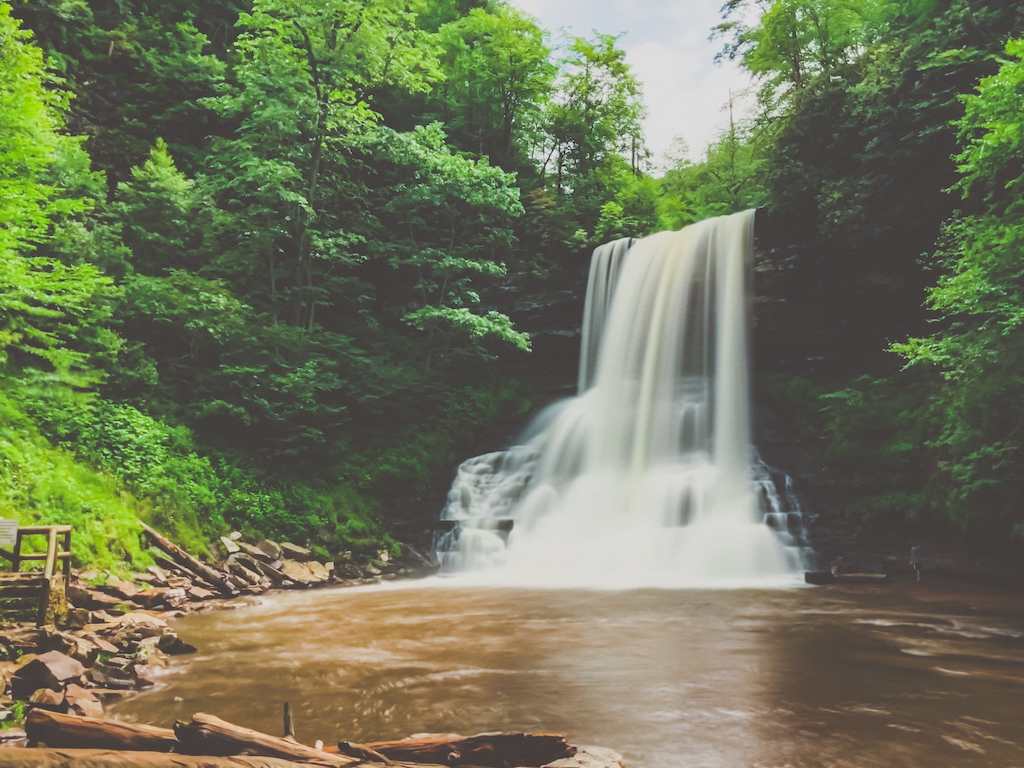
The photo below was taken on the Cascades Hike in Pembroke, Virginia.
Iphone Tip: You can smooth the water in waterfall photos by doing the following:
1. Take your photo in live mode (and hold your hand very still)
2. Leave plenty of room around the subject
3. After you take the photo, swipe up, and you will see some options. Scroll to the right and you will see "long exposure"
4. Click on Long Exposure, and "voila" you have smooth water!
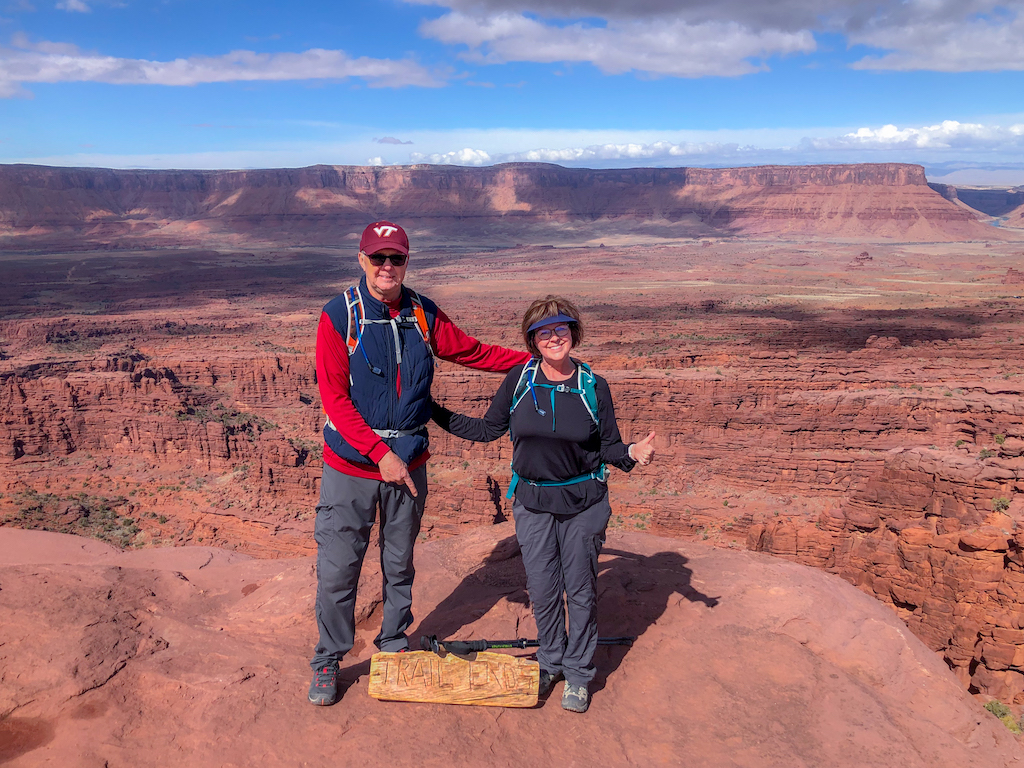
Last, but not least, I always want to have photos with both Hubby and I in them. I simply want to grab the moment and not have to worry about setting a camera on a timer. I approach other friendly hikers and just have them take the photo. Everyone can hit a button on a phone! So my moment is captured even if it isn't perfect.
Iphone Tip: It is pretty easy to do quick edits after the photo is taken. Open the image, click edit and you have options to crop and straighten, and options to tweak the lighting, as well as some presets for quick overall edits
I hope you have found this helpful. The main takeaway is to think ahead and plan about what you want to do. Don't get so caught up in taking your photos that you miss the moments! Don't discount the images you can take with a cell phone. Most of us (myself included) don't take the time to get to know the camera features on our cell phones. And as we have all heard many times... "the best camera you have is the one you have with you."
Happy traveling!