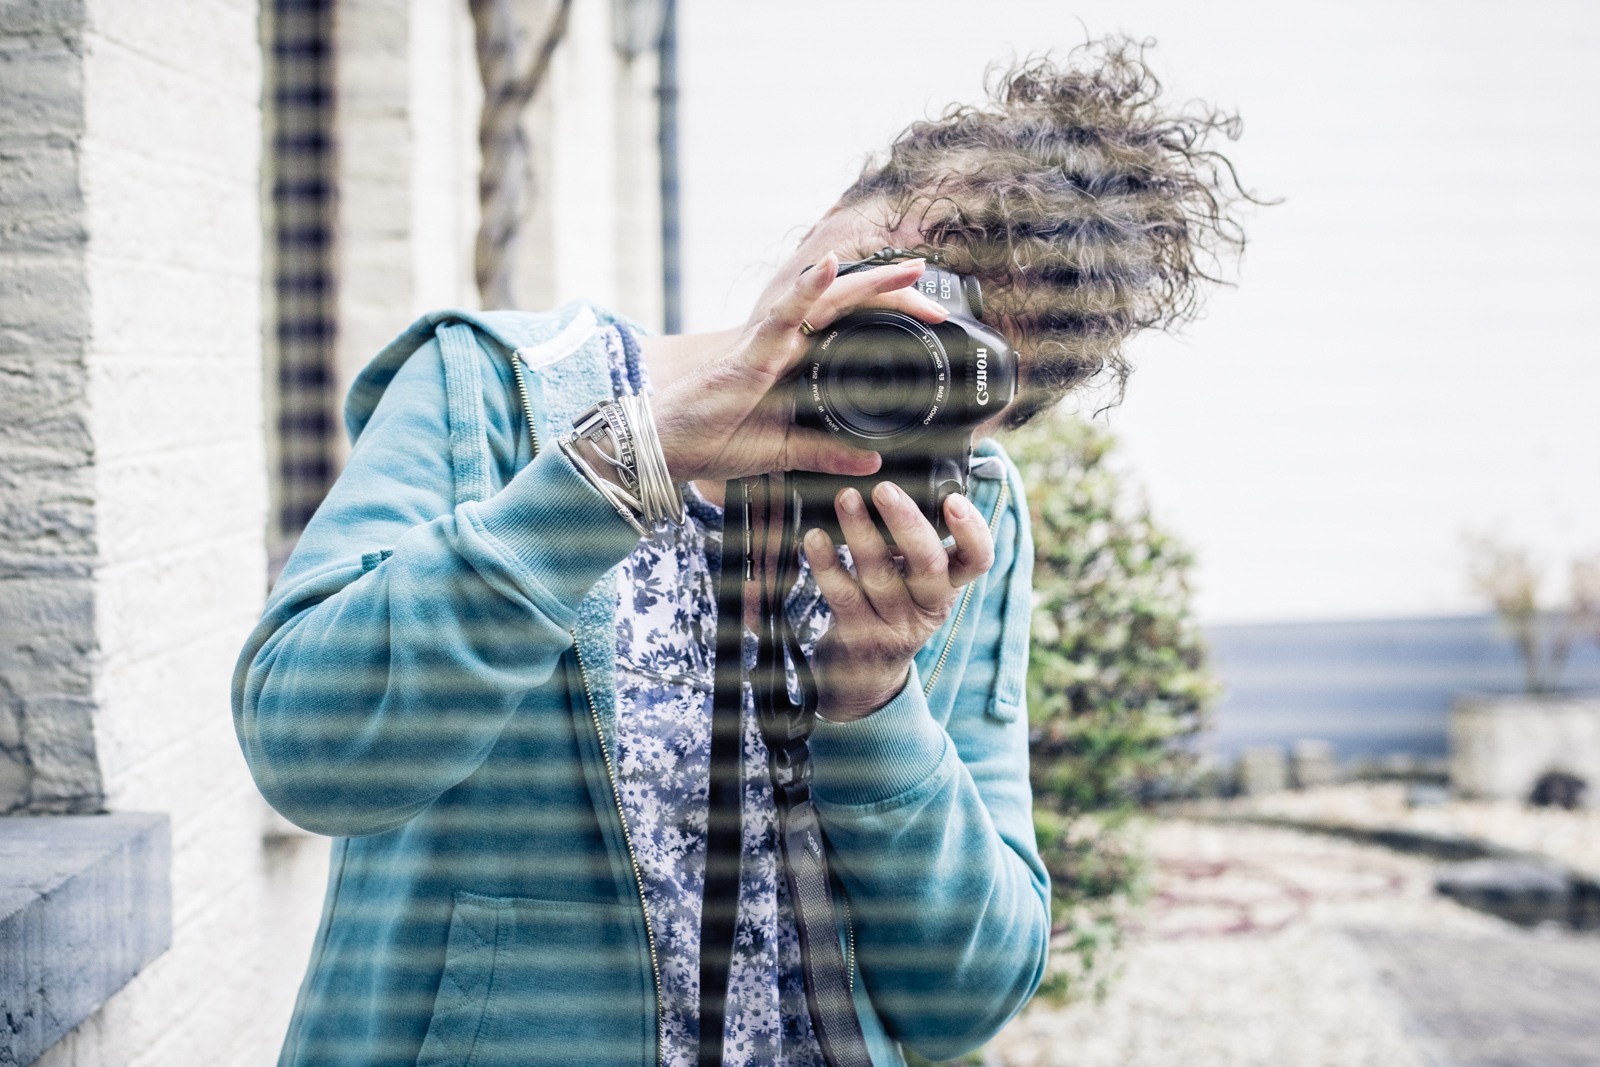
Hold your Camera Properly
This may seem like a strange tip to start with, but it is one of the most important tips in photography. Try to hold your camera with both hands, with your right hand around the body and your finger on the shutter button while your left hand holds the lens.
Try to keep the camera close to your body, with your elbows in as close as possible. This will help to keep the camera still so that there is less camera shake! If possible, also stand with a wide stance or lean on a wall, or get down on your knees which allows you to use your arms as a tripod.
Also, use the viewfinder if you have one, otherwise try to keep the camera close to you so that again you avoid camera shake.
Start Shooting in RAW
RAW files are much more superior than jpeg files. They have far more image information thus allowing you to capture more detail. This makes it easier for you to edit your photographs. With a RAW file you can correct and change many issues such as white balance, under or over exposure, contrast and colour temperature to better suit the finished photograph.
The downside to RAW files is that they are much bigger. When you shoot in raw, you will also need a good photo editing software for the post processing.
In my opinion, once you have decided to shoot in RAW you will not go back! I even shoot in RAW on my phone camera.
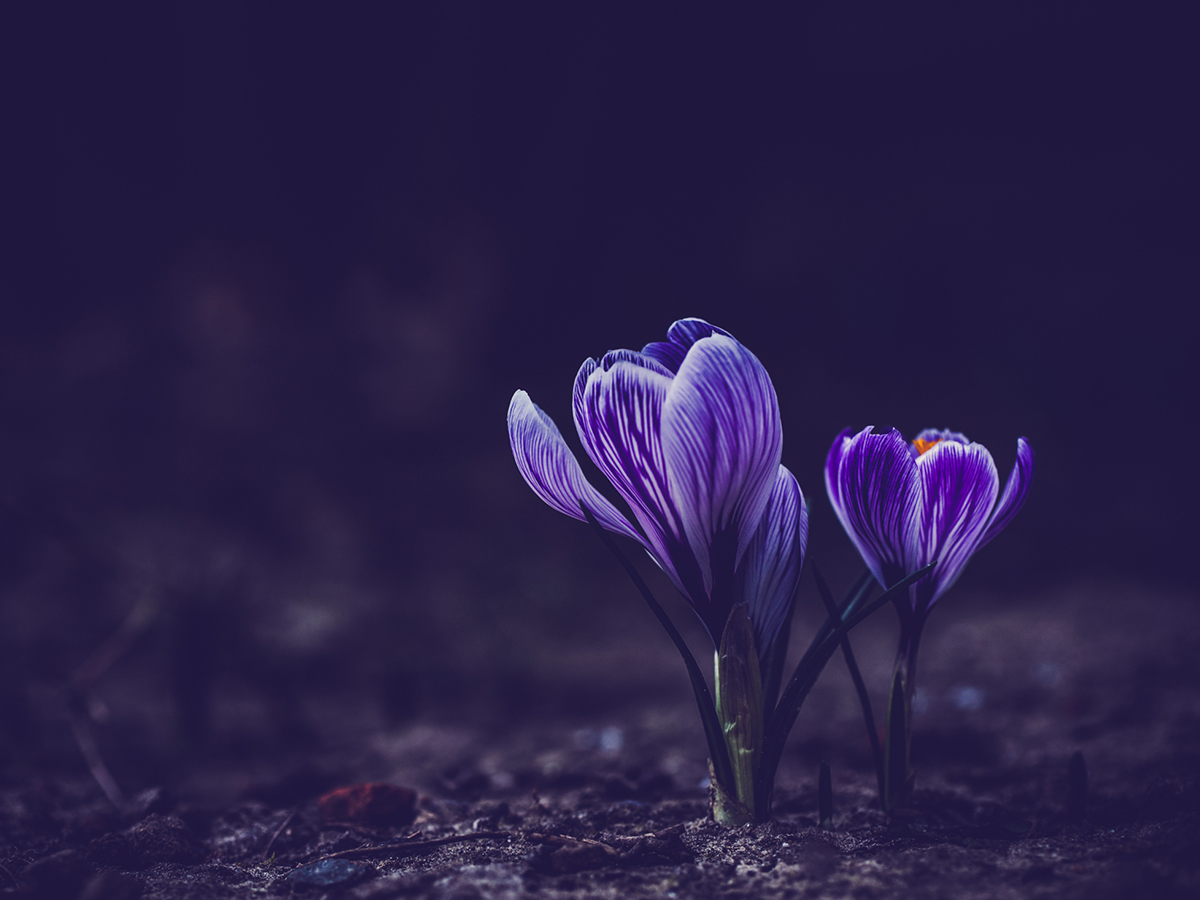
Light
The best time for taking photographs is when the sun is at an angle (early morning or late afternoon) rather than when it is directly overhead. However, at times we have no choice but to shoot no matter what the lighting options offer.
When lighting is not at its most optimal, try standing near a window, in open shade or overcast days stand at the side of buildings where the direct sunlight is blocked and the light can bounce off the ground or an adjacent wall.
Finding the best light means you have to move around and try different angles. You will have to experiment to see what works best for you in each situation. You will be surprised that by simply moving just a few inches you can significantly change how your photograph will turn out.
When photographing people, you will know when you have found just the right light if you manage to catch lights in your subjects eyes!
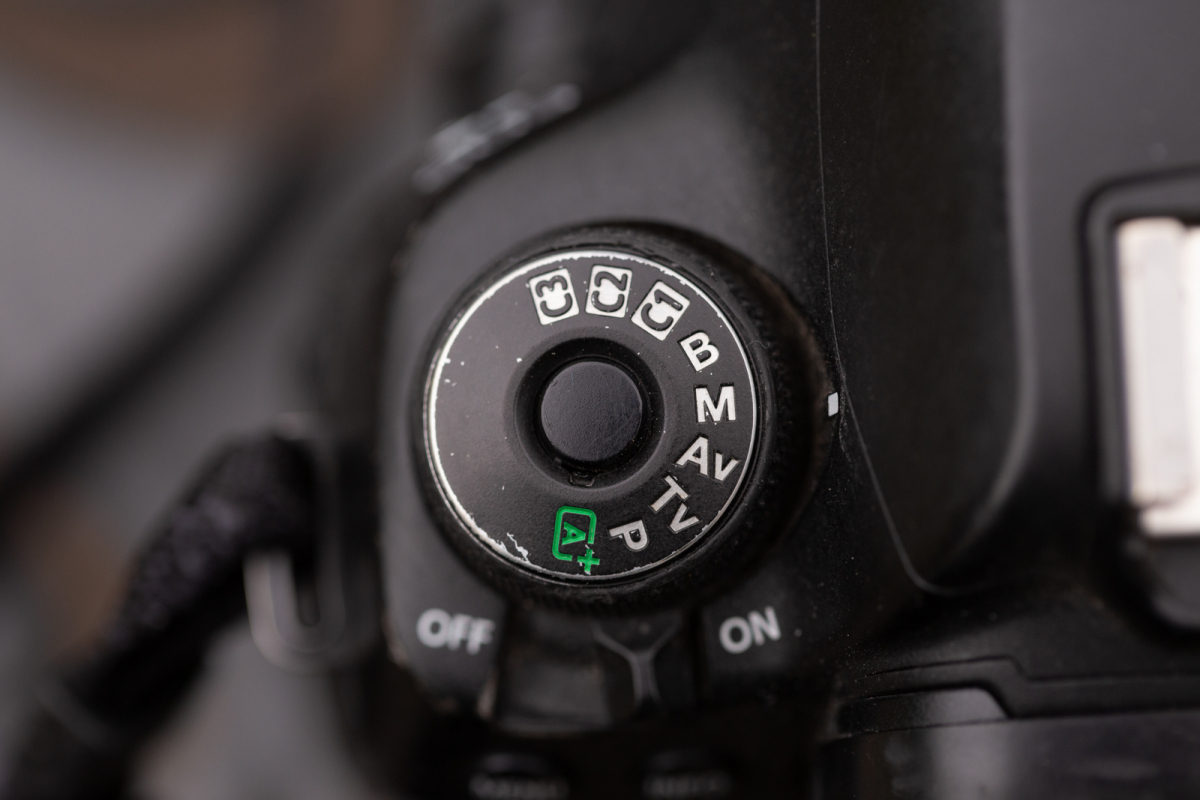
Use Manual Mode
Why! Do you ask?
When shooting in manual mode you have complete control of the camera instead of the camera deciding for you! You are smarter than the camera!
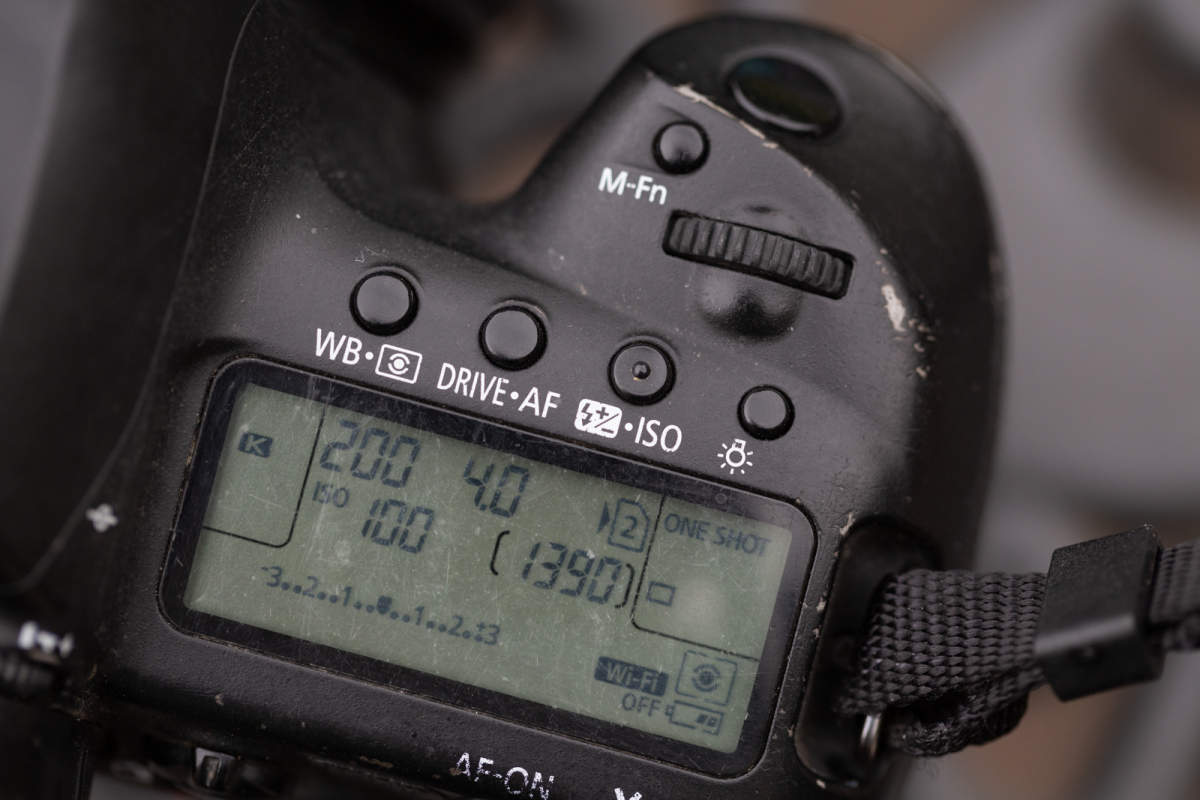
Do you know your buttons on your camera?
You should be able to change your ISO, control the aperture, adjust your shutter speed, and know how to view your histogram. This all depends on your camera. You camera manual is a great source of information! If you cannot find your manual, you should be able to find a downloadable version from your camera's maker. Download it and read it now and again. You will be able to search the PDF for what you want to do. (My camera is well used as you can see from all the bumps and scrap marks, sorry!)
Metering Modes
Metering is used to measure the brightness of the subject. Your camera has several different metering modes to choose from. (note: they are called different things in different types of camera makes). These are the basic metering modes found on a camera.
- Evaluative/Matrix/Multi-pattern Metering
Matrix metering ensures a balance between light and dark areas. This sort of metering is a good default option because it can be really used for most scenes and genres: anything from wildlife to portraits to landscapes to fashion. - Centre-weighted Metering
Exposure is set correctly for the centre of the frame. Centre-weighted metering mode is great for photos in which your subject is in or near the centre of the frame. - Spot Metering
Exposure is set correctly for the portrait subject at the selected focus point. This is good for a bright moon, on cloud-free night or a dark bush in a snowy landscape. It will meter only your small subject and ignore the rest of the scene that would cause underexposures or overexposures in broader metering modes.
Exposure Triangle
This means you will need to learn how to use the exposure triangle (ISO, Shutter Speed and Aperture). When shooting in manual mode you have to balance these three things.
- ISO
This controls the camera's sensitivity to light. A low ISO has less sensitivity to light, whilst a higher ISO lets in more light. Don't be afraid to raise the ISO when needed. - Aperture
This is the opening of your lens and controls how much light is let in. A narrow aperture (high f number) lets less light through and is good for when you want the whole scene to be in focus). Whilst a wider aperture (low f number) lets more light through and is good for isolating your subject. - Shutter Speed
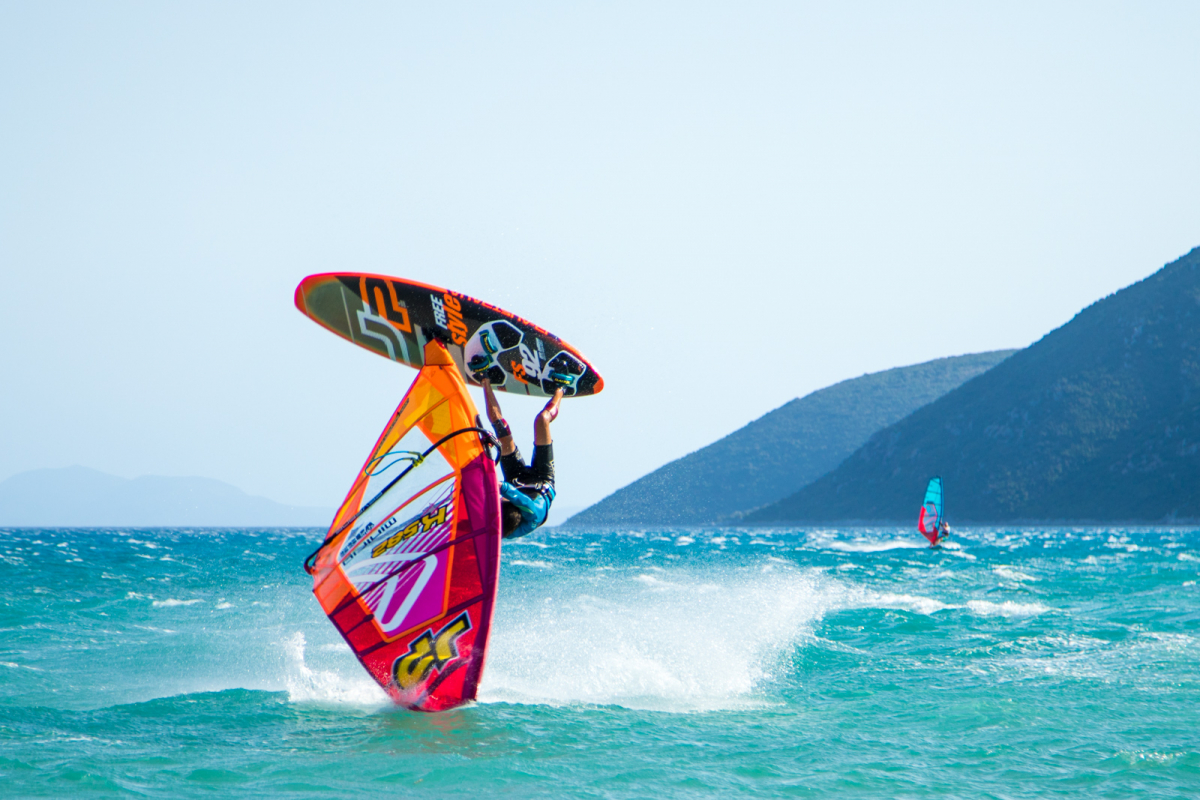
This controls how long the shutter will be open whilst taking the photo, A fast shutter speed is good for freezing action, whilst a long shutter speed will blur the motion.
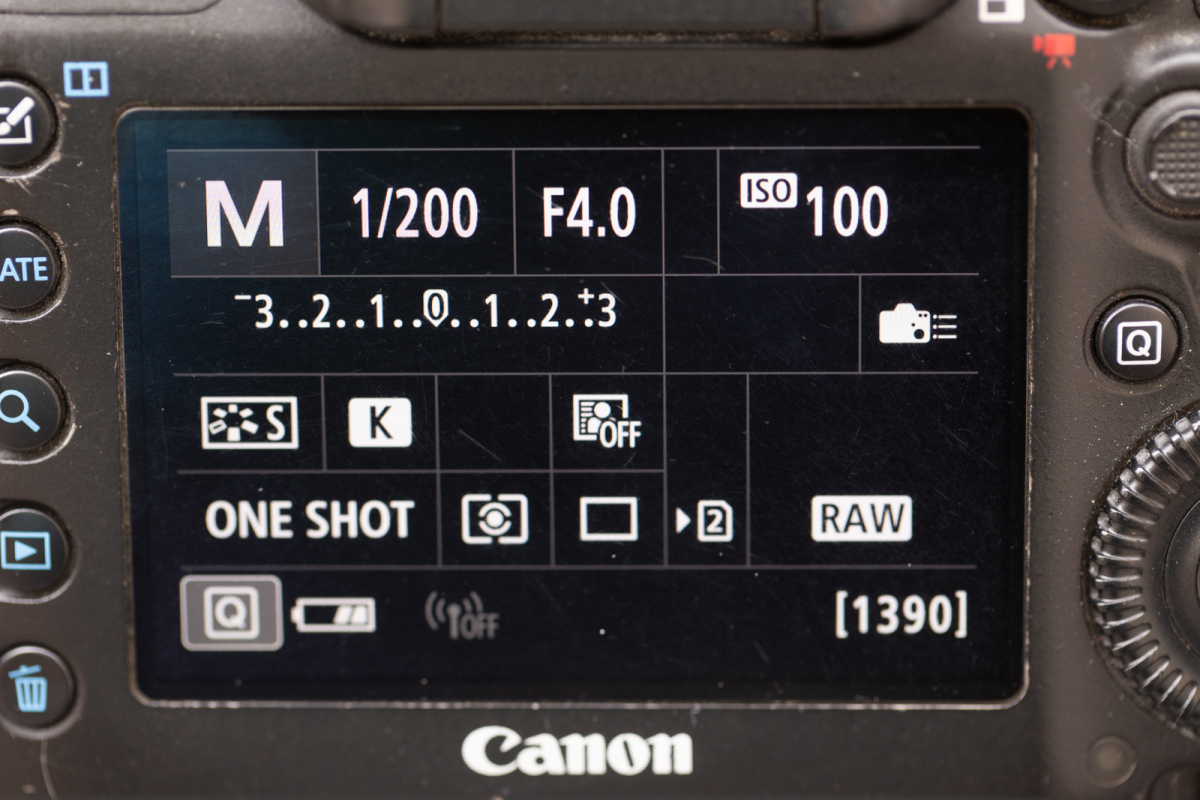

Check your settings each time you pick up the camera
- ISO
Check that this is set to a reasonable settings for the type of setting or environment you are in. If you are outside in full sun the ideal ISO is 100. If it is a shady or cloudy day, an ISO of 200 to 400 is recommended. If you are in low light, try an ISO of 800. These are just guides, you will know when it is correct. - Aperture
When you are taking portraits or isolating subjects, try to use a lower f stop. Some cameras will allow youth go down to f/1.2, but f/4 or f/5.6 is good too. Lower apertures of 22 (and lower) are best for landscapes. - Shutter Speed
On most cameras this is the last thing that you set and you can see this through the viewfinder. Remember not to go too slow if you are hand holding your camera, as you will get camera shake! - Histogram
This is an important part of learning how to take a good photo! Try to check it out each time you take a photo and learn to read it! This will help you get the right setting.
Focus
You have a few options for this.
- Adjust the Focus points
Most cameras have multiple focus points to use. By taking control of your camera, you can select where you want your focus in your shot to be. If you are using centre point focusing, put the subject in the centre, then press your shutter half way down and move your camera so that the subject is where you want it in the frame and click! This is not always the best method because it can sometimes cause everything to be out of focus. - Back Button Focus
Back Button Focus or Focus Lock was a page turner for me! Learning to use this type of focus means that most of my photos are now in focus. This is definitely worth checking out in your manual to see if your camera has this feature. It also means that your shutter button is just used for taking the photo. - Manual Focus
This is total control on what is in focus or not. If you are in a low light situation sometimes your camera can't find the focal point that you desire, or you want to adjust the focus slightly your self.
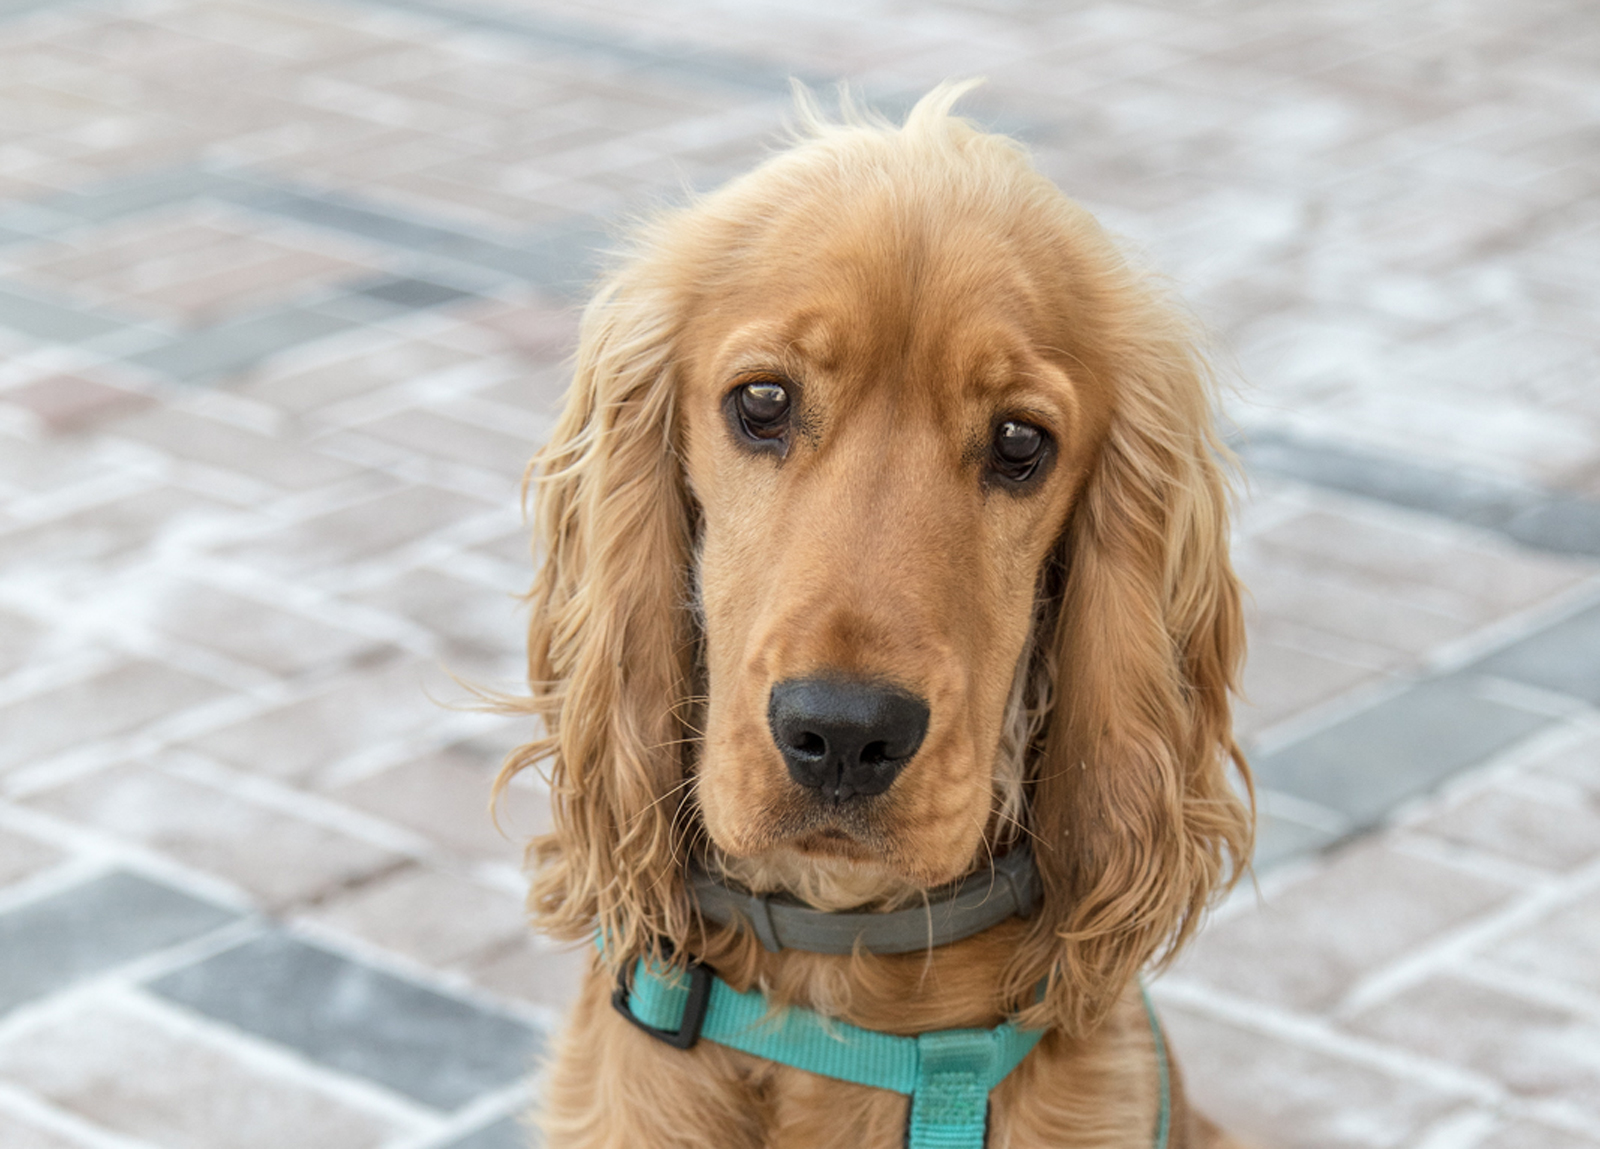
A tip: In portraiture, always have the eyes in focus. In order to get both eyes sharp and in focus, choose a single focus point and aim it at one of the eyes.
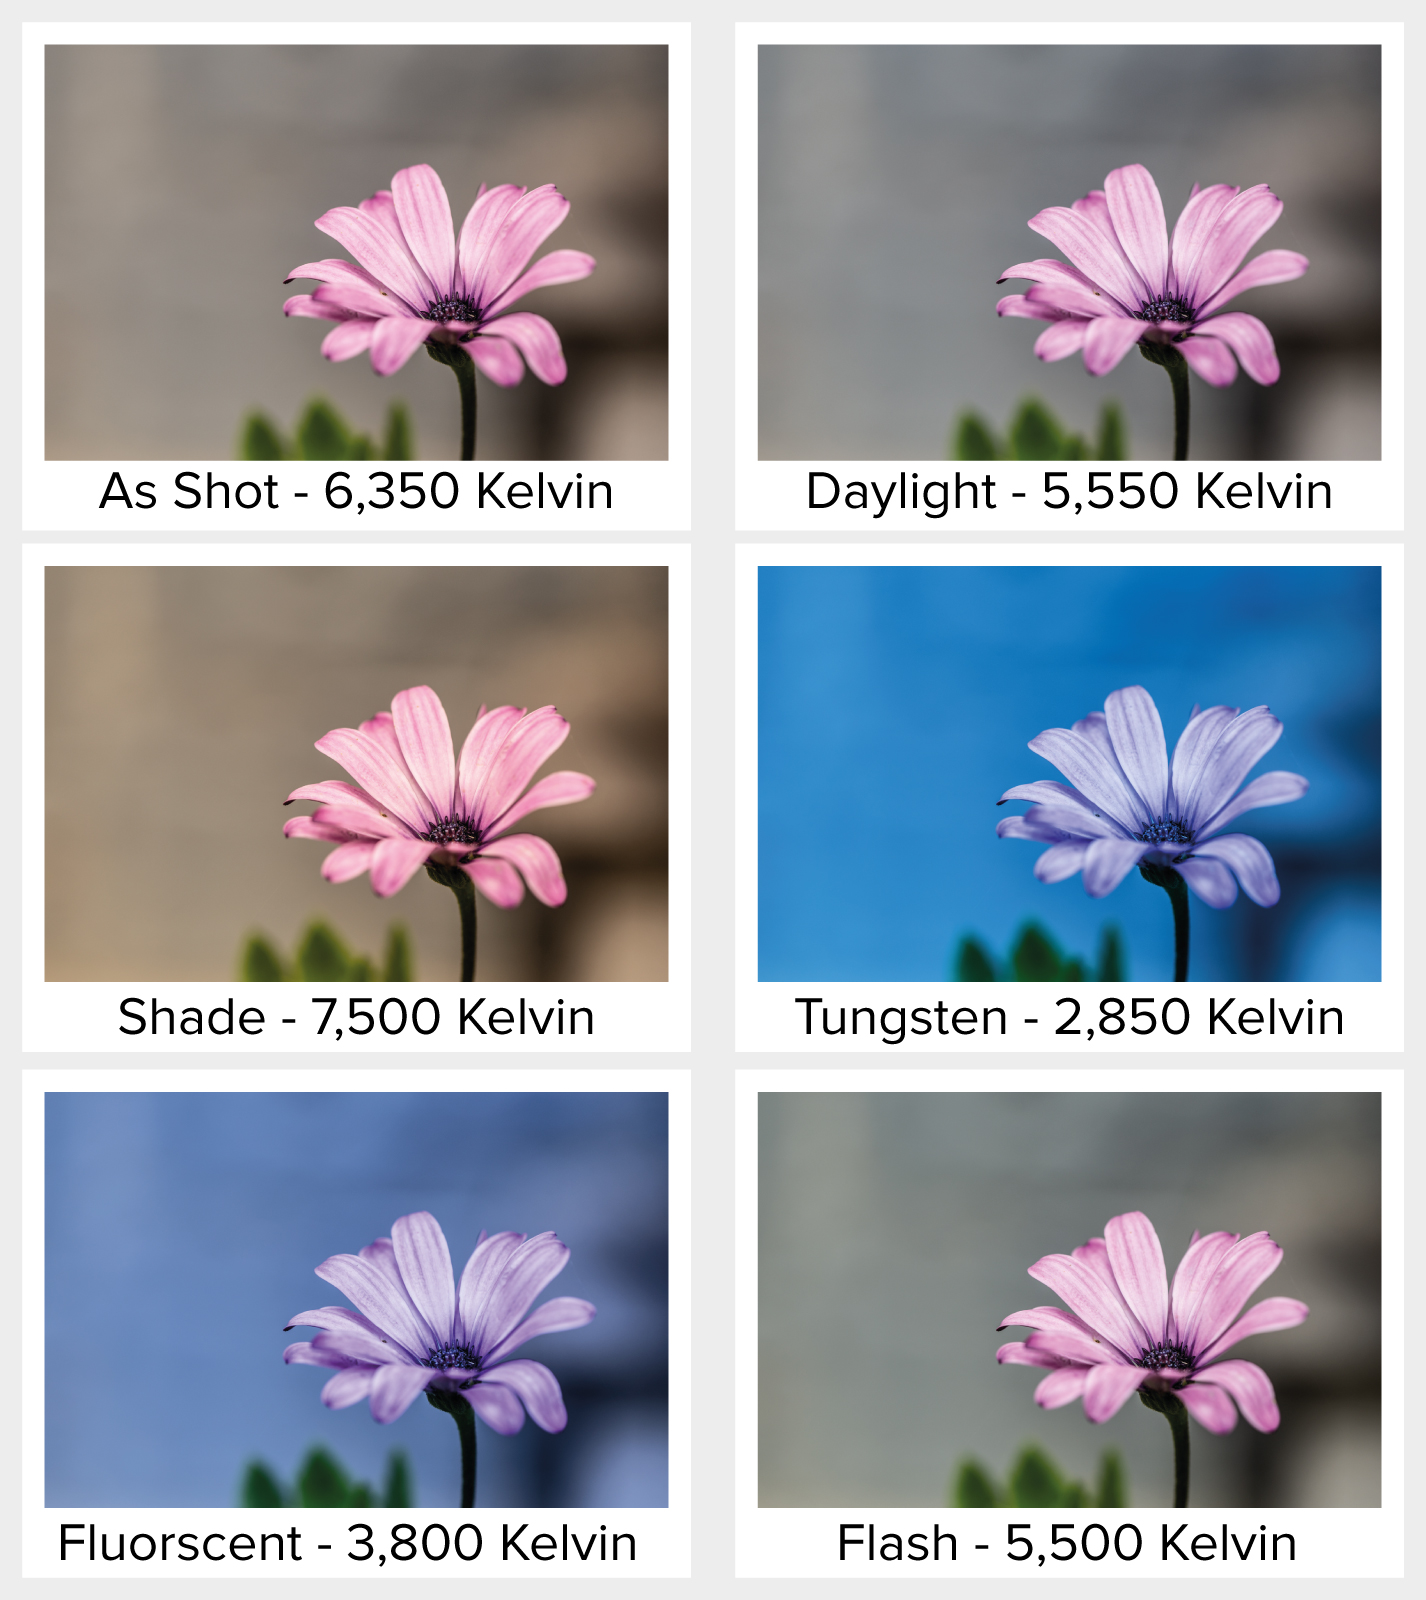
Adjust White Balance
This is really important to know how to do in order to capture colours more accurately. You can have this set to automatic, but you can also take control on how you want the colour to look. Play around with the different settings to see how it makes a difference. There are settings for Daylight, Cloudy, Flash, Shade, Fluorescent and Tungsten. I tend to use Kelvin for mine as it gives me a lot of control. I have a starting point of 6,350 Kelvin. (if you are shooting in RAW this is easy to change in processing)
Framing
- Background
The background in a photo should be simple and should not distract you from the main subject. When you look through the viewfinder try to check out the whole shot and not just the main subject. Look for distracting objects that might pull the eyes away from the subject. If the framing isn't quite right, move your subject, change your angle, get close to the subject, or choice a wider aperture to blur out the background. - Rules of Third
- Use this rule for framing your subject it works, using 4 lines, cut your image into nine pieces, and try to get the subject on one of these lines.
- Break the Rules
Always remember rules are there to be broken, do what you think works!

Learn from your mistakes as well as your good shots
Before you ditch those "mistakes", take a good look at them! Try and decide why you think they are no good. Recheck your settings, the composition, the white balance, and the histogram. You will likely be able to see why they don't work! The next step is to try to work out how to do it better next time. It is a learning curve worth investing in!