We asked the community for some photos to edit, to show how we would process them. We all have unique editing styles and it was interesting to see what we could do with someone else's photo.
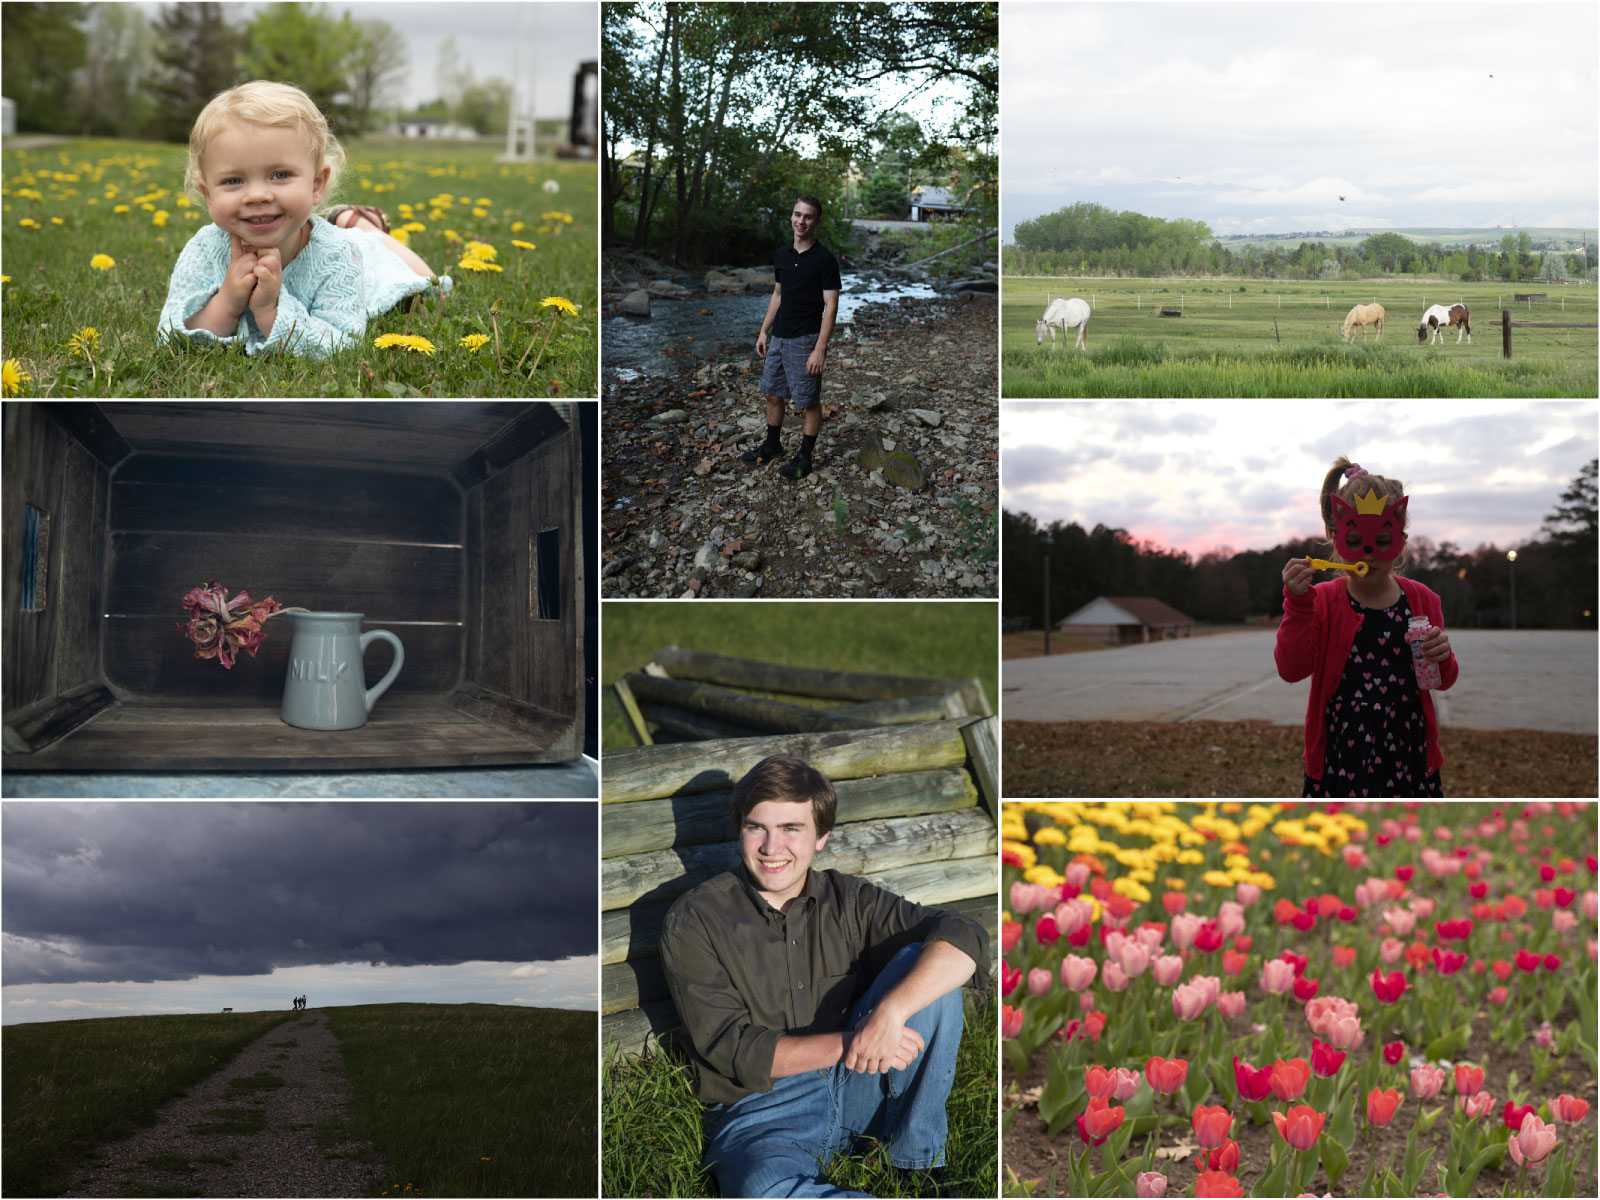
The information for each edit is below the photos's I have included the original at the top.
Amy did all her edits in Mextures App, which is a fun editing tool with over 300 Formulas that include layers, overlays, filters and screens for a creative twist.
Garnett primarily uses Lightroom and occasionally finishes in Photoshop. Her thoughts:
- I normally get the look I want editing photos by using presets that I have created for various lighting situations.
- I like to use the high pass filter in Photoshop for sharpening. It does a great job with eyes.
- I also like to use Photoshop for Added Texture in certain situations.
- When I edit, I like to enhance but not drastically change. When I work with clients I ask them ahead of time if they want blemishes, bruises, or scrapes removed and act accordingly.
- When I edit landscapes, I like to keep it natural but enhance where I can, especially skies. I will often remove people or distracting elements from the scene.
Kris has some general thoughts on how she edits her own photos and she uses mainly Lightroom and some Photoshop Actions.
- I am most interested in the mood and emotion that a photo creates
- I do not edit out imperfections in skin, etc. because that gives a false sense of reality
- Cropping is probably the most powerful editing tool that I use
- Carefully considering aspect ratio and orientation are also a big part of my “processing”
- Most of my other edits include enhancing what is already present in an image
- I often add a light vignette
- Sometimes I will use Photoshop Actions
Me - I generally tried to do all my edits on my own photos in Lightroom, occasionally going into Photoshop to edit when really necessary. I try to keep it looking real, but sometimes I tend to go over the top with photos, but obviously I feel that the photos need it. I only used Lightroom for these photos, and basically I think that the cropping and cloning out the backgrounds are necessary to stop your eye wandering on the stuff that isn't important.
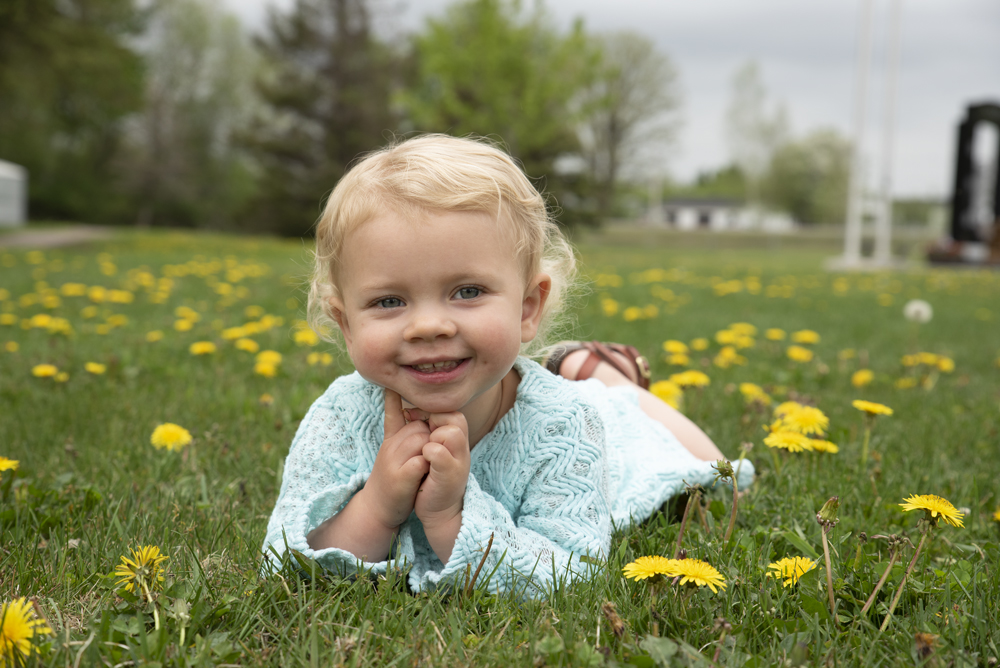
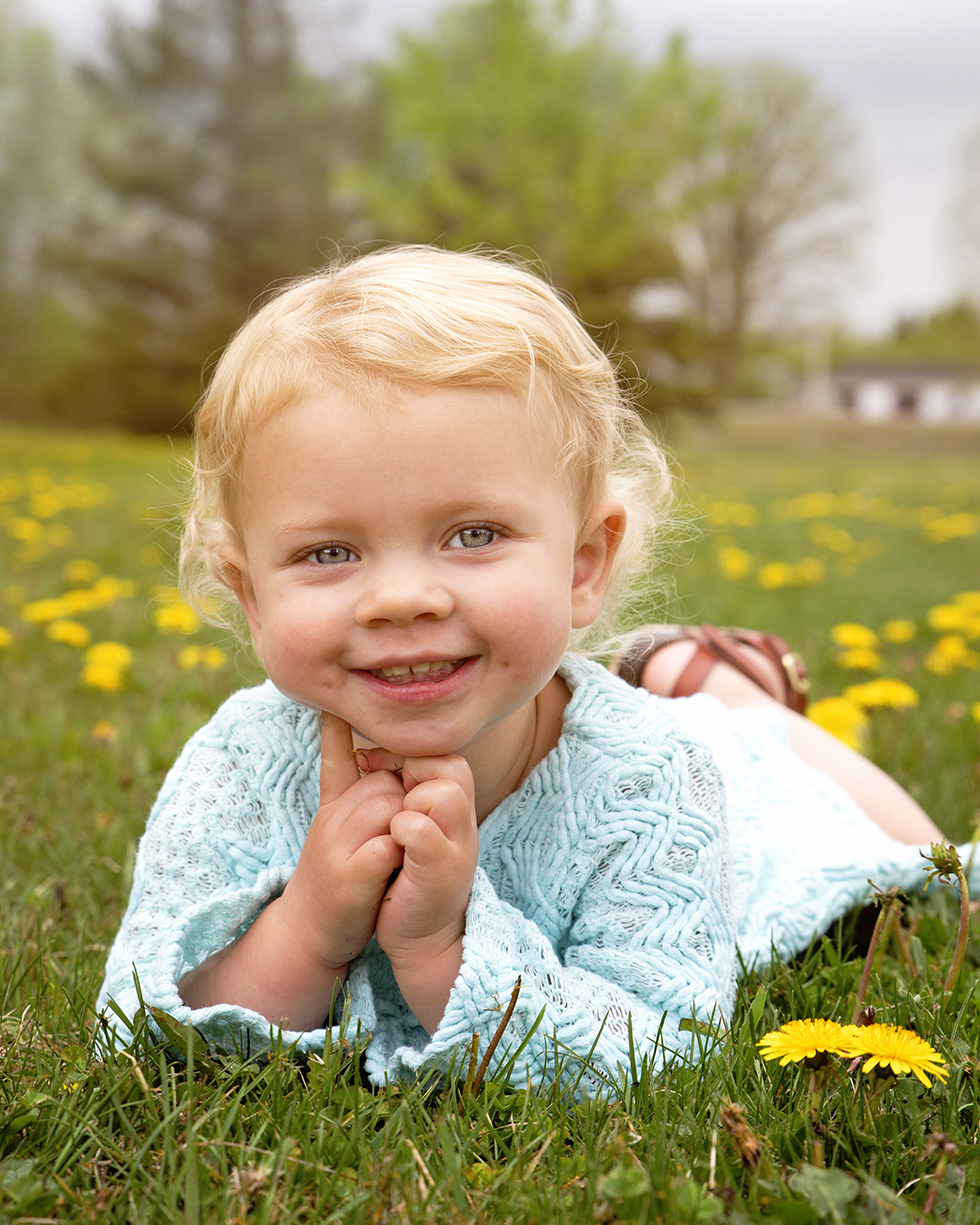
Danette's Original Photo SOOC
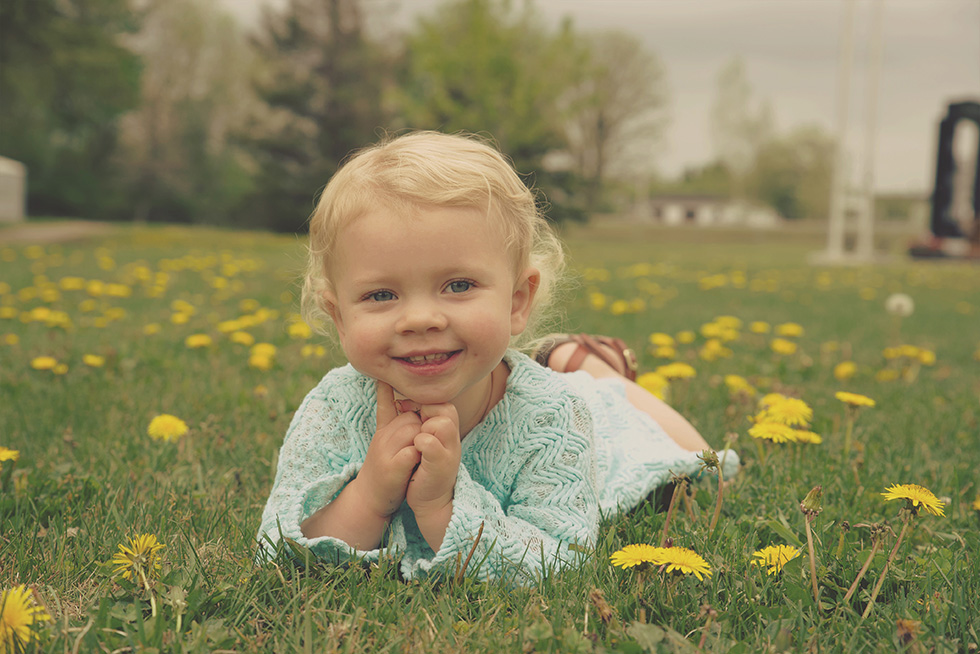
Amy's Edit
- X-Formula: Bridge ( Heliostrope Exclusion, Crisp Exclusion)
- Film Screen: Glow
Garnett's Edit
- Straightened
- Cropped to put eyes on upper third
- Removed House with cloning tool
- Upped the yellow, aqua and blue saturation sliders
- Exposure +40
- Shadows +41
- Texture +25
- Clarity -20
- Used brush to enhance catchlights in the eyes
- Brought into Photoshop and sharpened with high pass filter
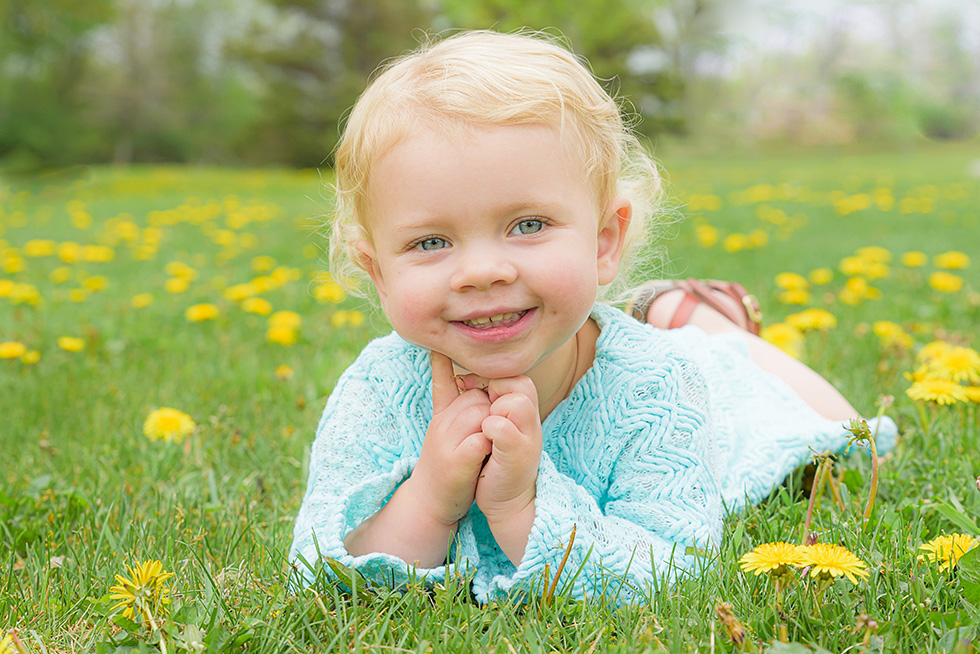
Kris' Edit
- Portrait Crop 4x5
- Increased vibrance
- added fill light
- added a light vignette
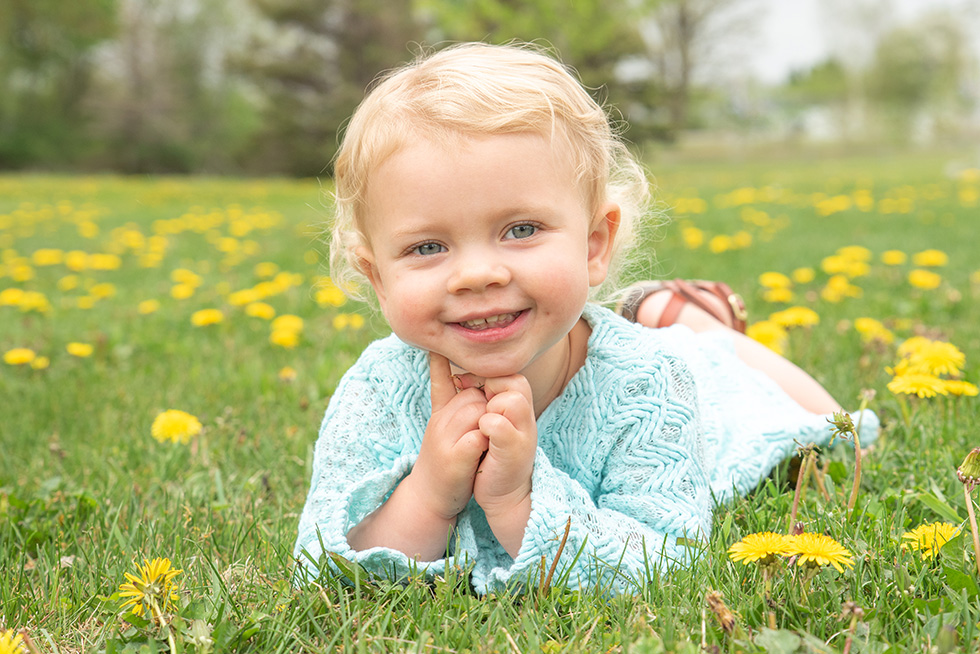
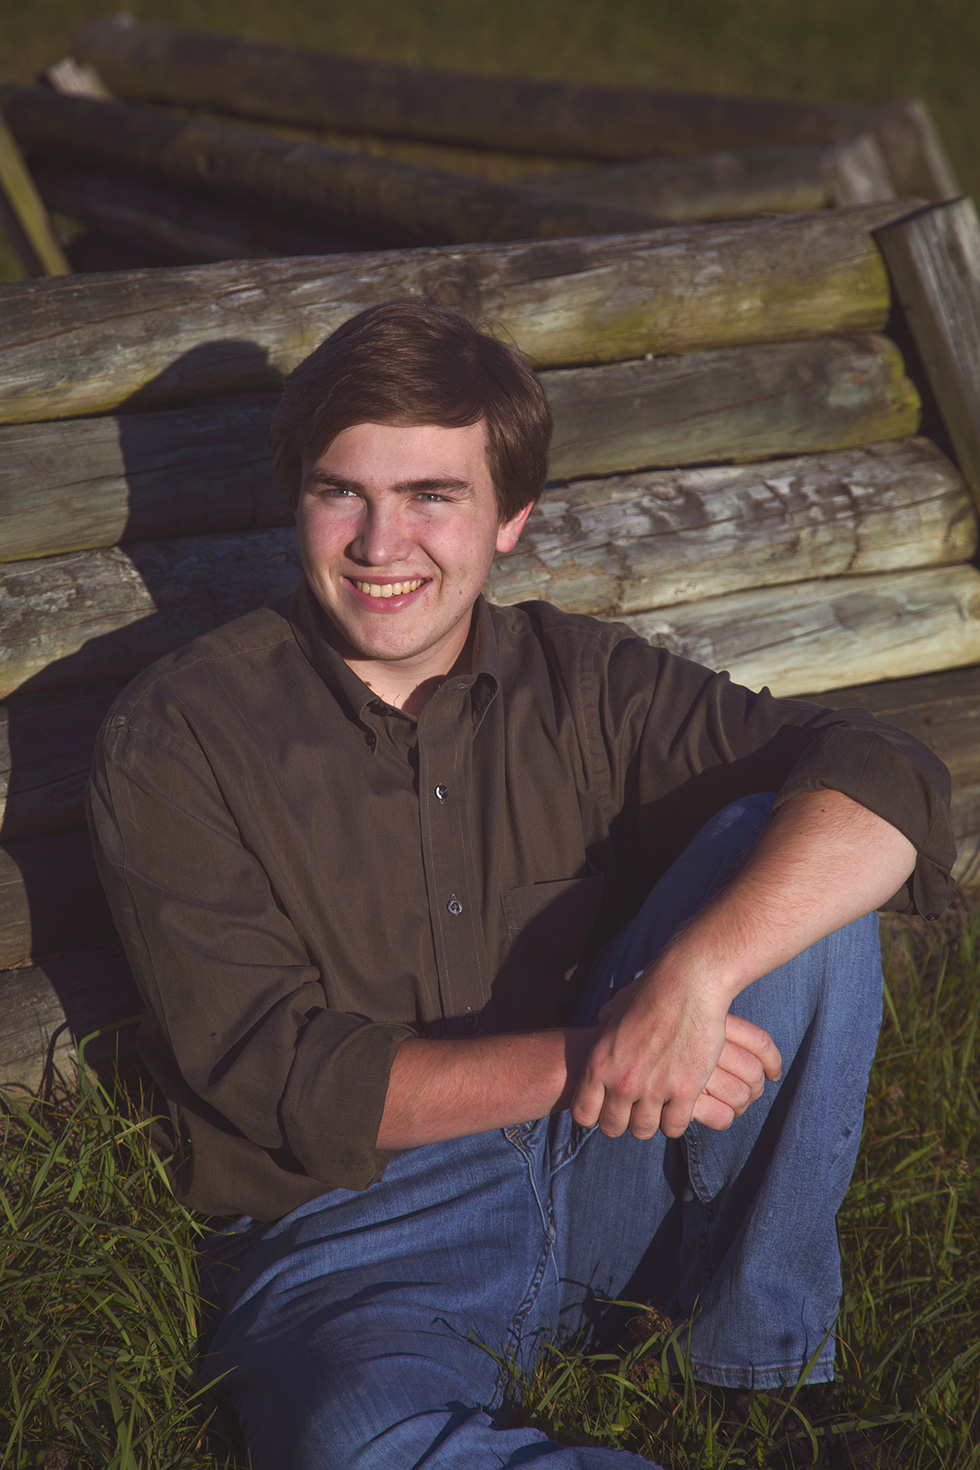
Lee's Edit
- Cropped to put eye level on third
- Straightened the horizon
- Cloned out the building on the right
- Lowered the Highlights
- Upped the Shadows, Whites, Blacks, Clarity

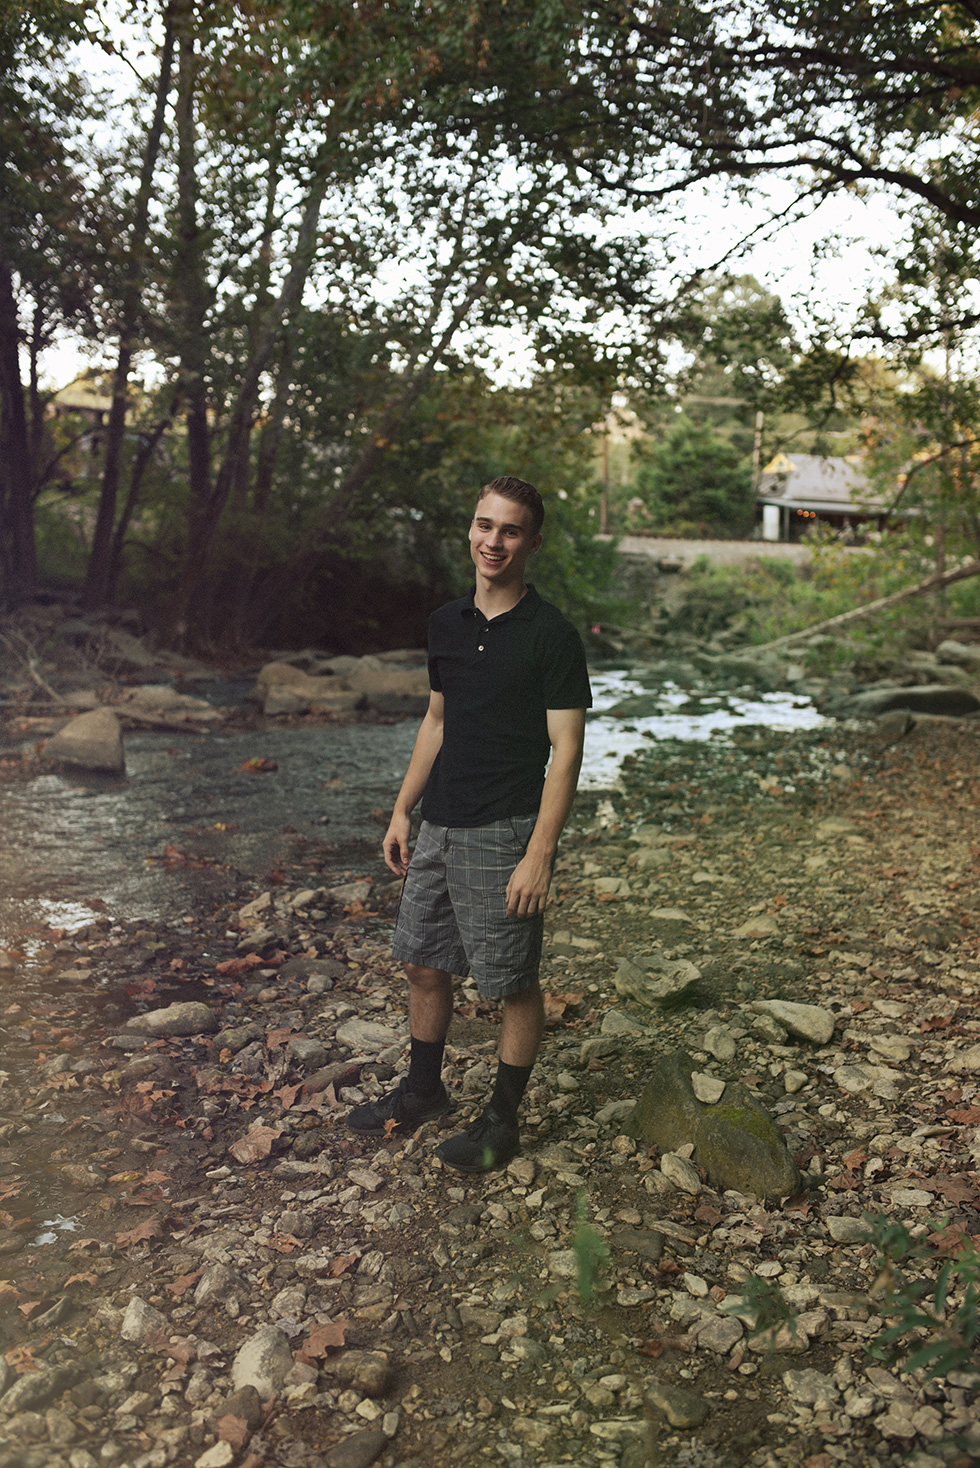
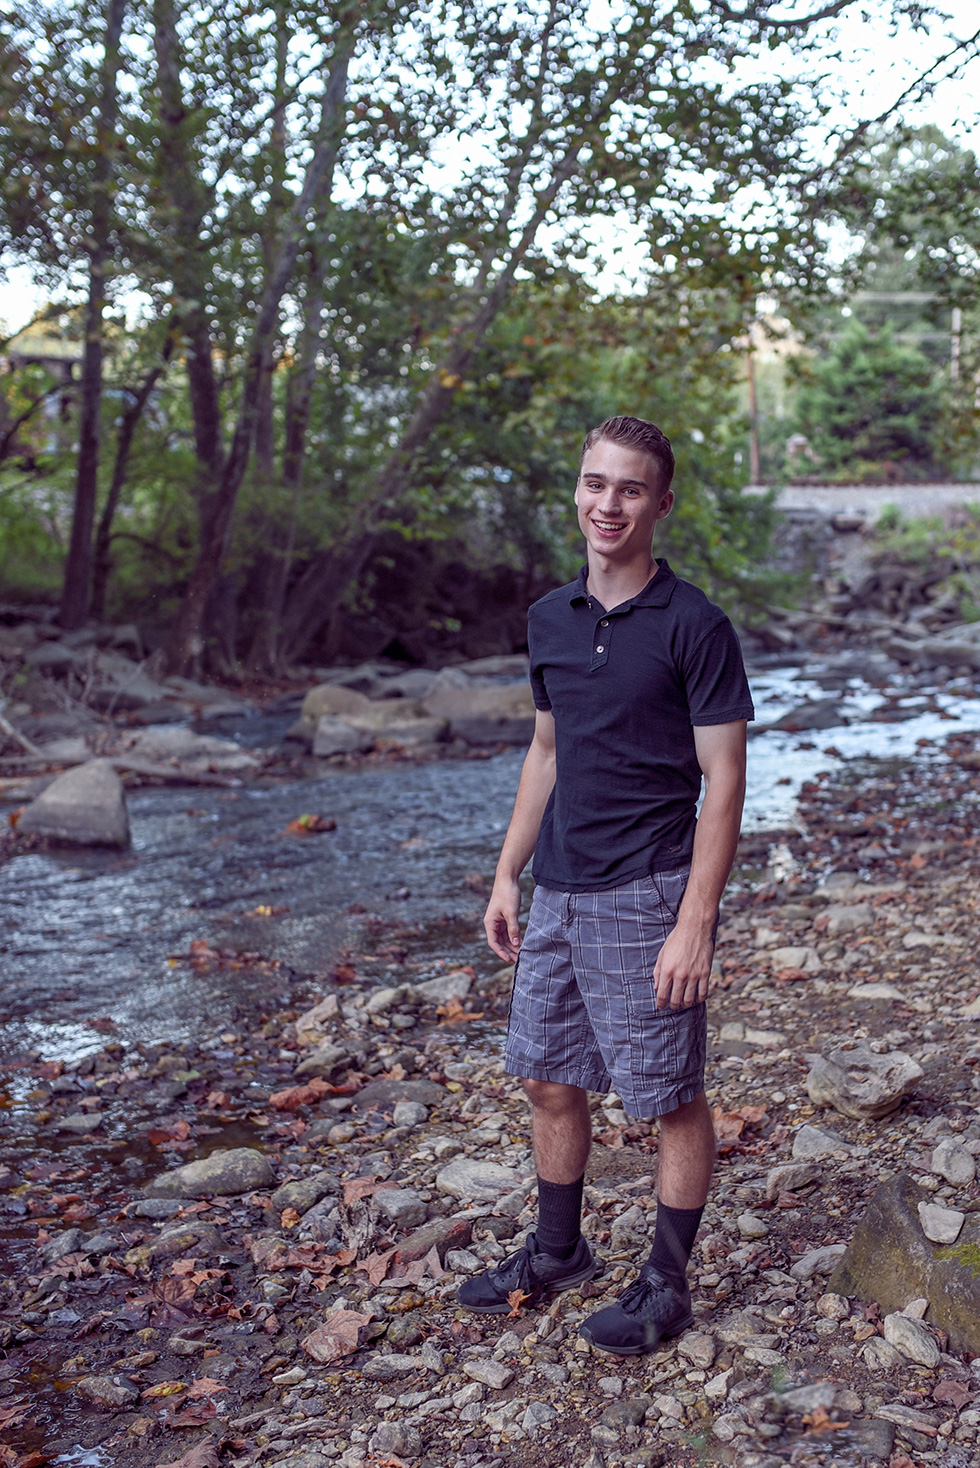
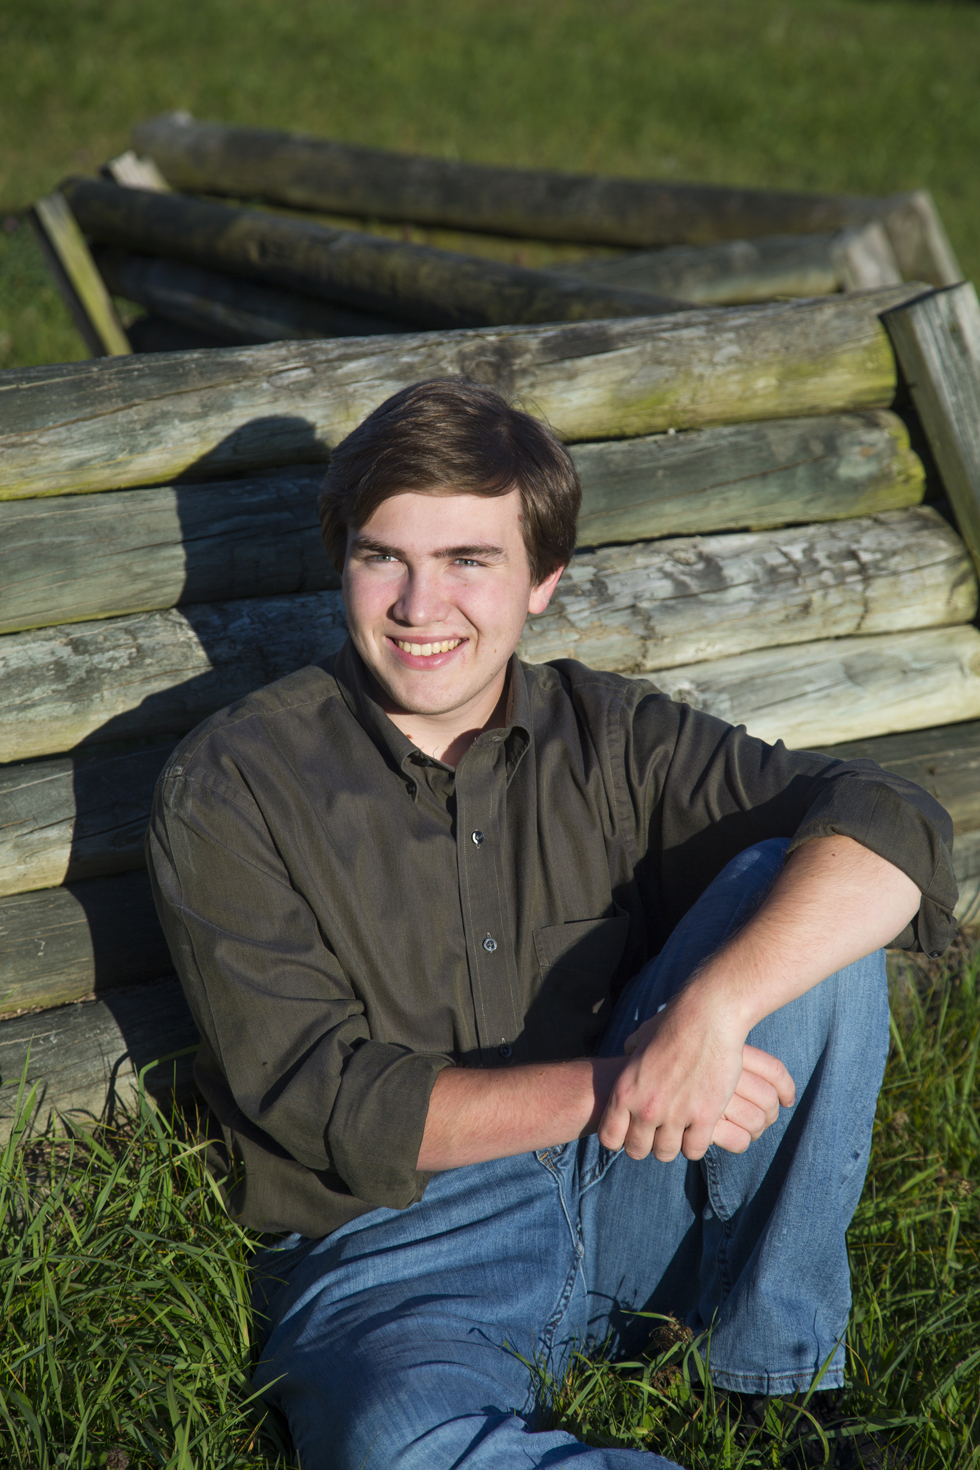
Cynthia's Original Photo SOOC
Amy's Edit
- Mood Magic: Glow (Enchanter Screen, Horizon Overlay, Greenery Overlay)
- Film Screen: Golden Hour
Garnett's Edit
- Cropped to move subject off center and remove building
- Exposure +75
- Highlights -57
- Shadows +70
- Whites +37
- Texture +25
- Clarity -27
- Sharpness 44
- Luminance 29
- Vibrance +39
- Black vignette, feathered
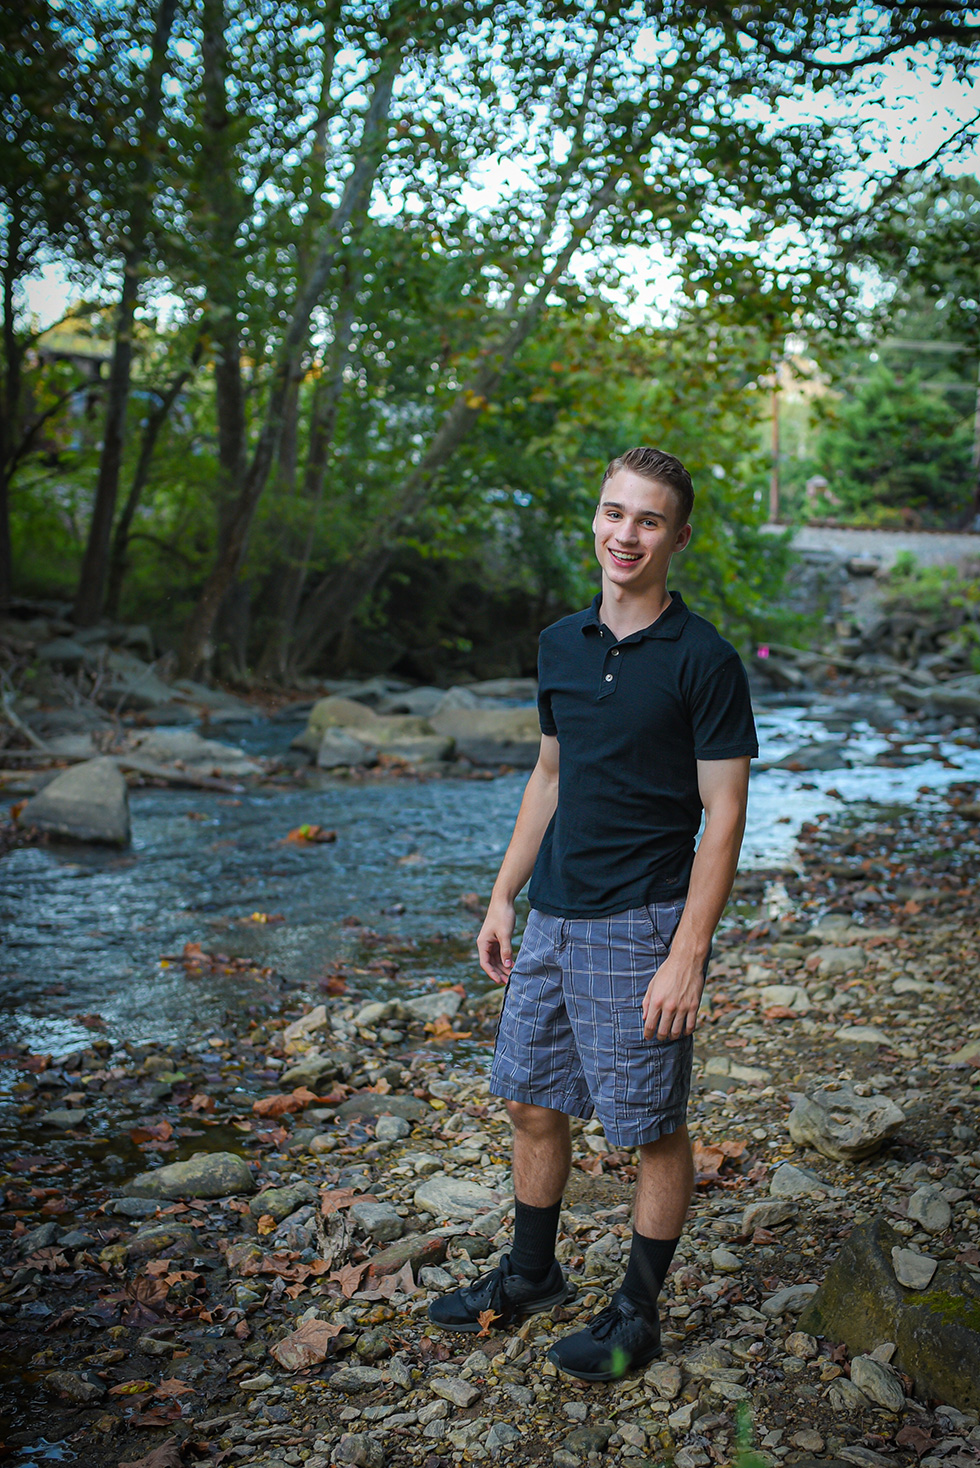
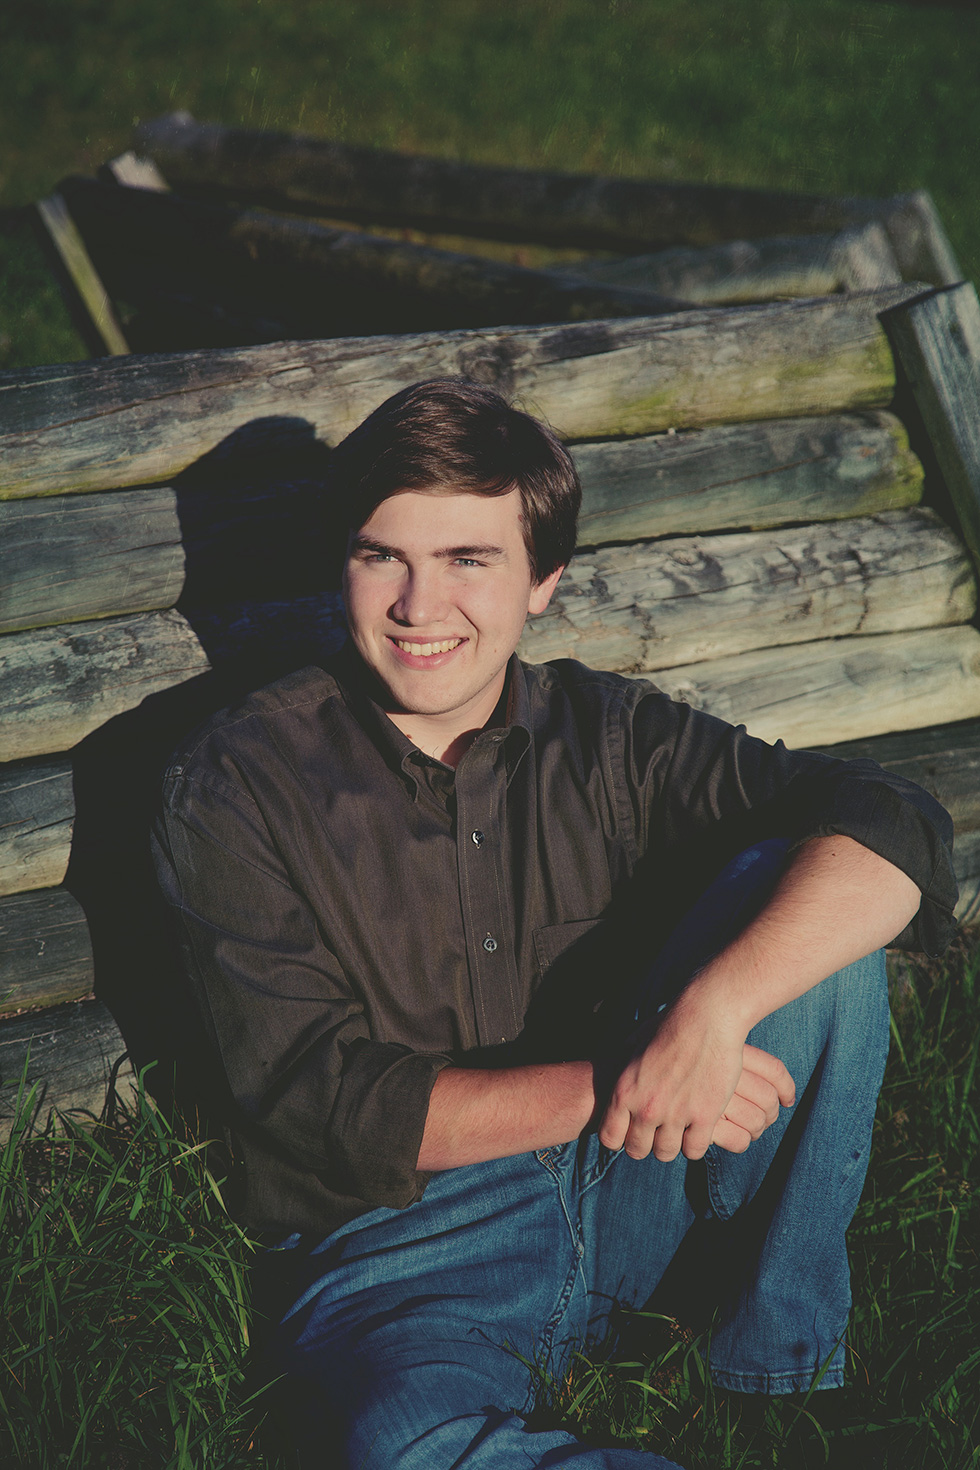
Kris' Edit
- Cropped to place subject on right vertical third
- Increased saturation and vibrance
- Added a tiny bit of fill light to brighten the subject’s face
- Added a vignette
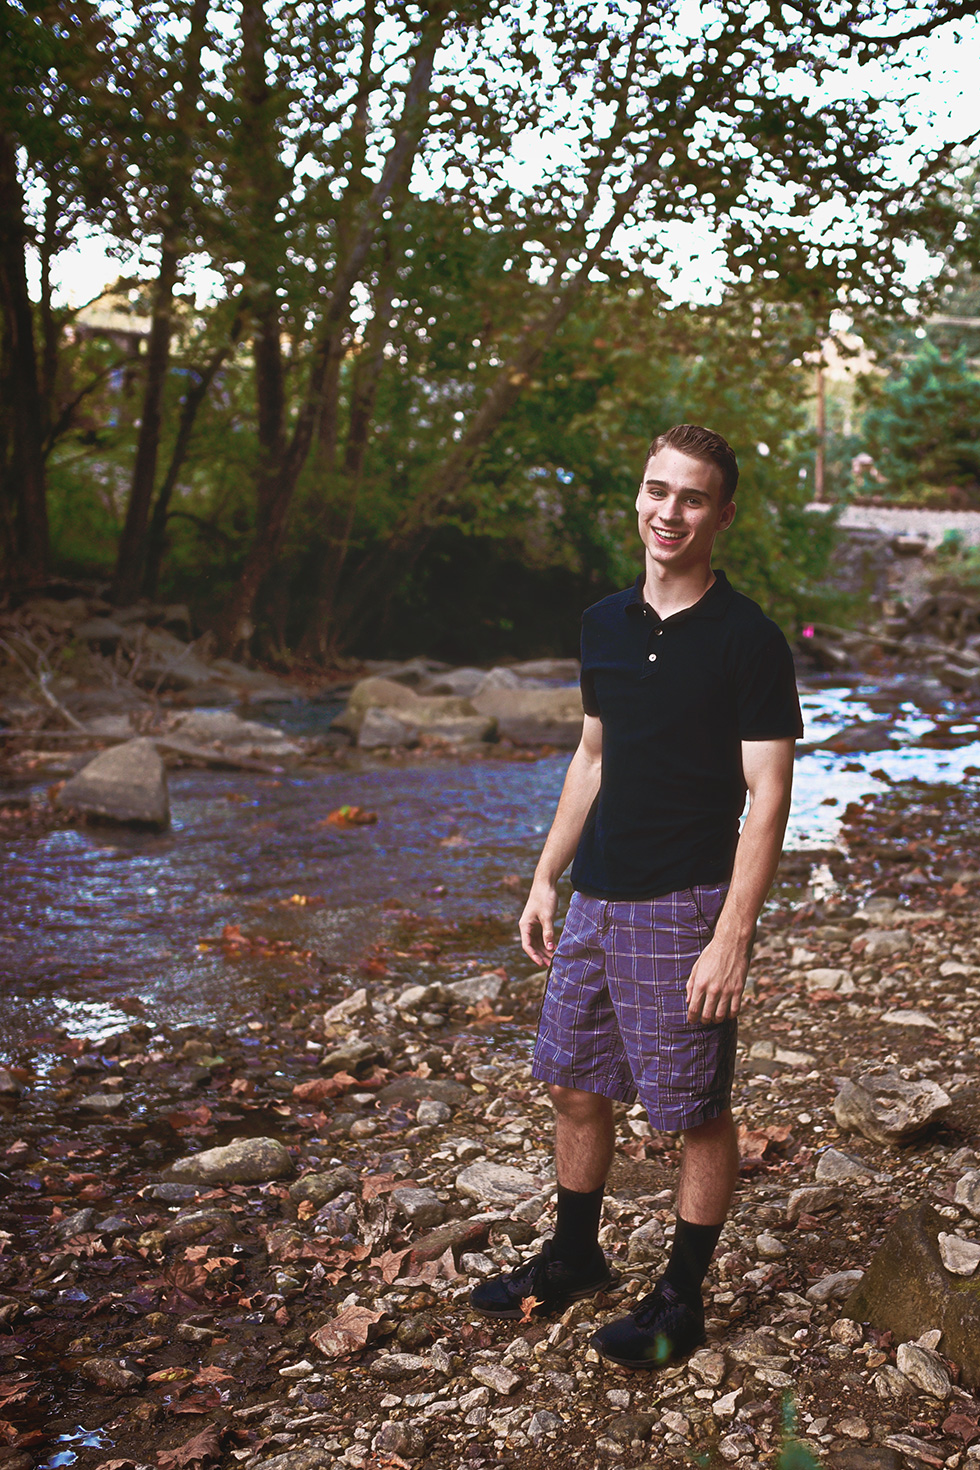
Lee's Edit
- Cropped to put eye level on third
- Straightened the horizon
- Cloned out the building on the right
- Cloned the pink out near his shoulder
- Cloned the green out near his feet
- Preset Delicious Indigo Tone
- Upped the Shadows Clarity and Vibrance

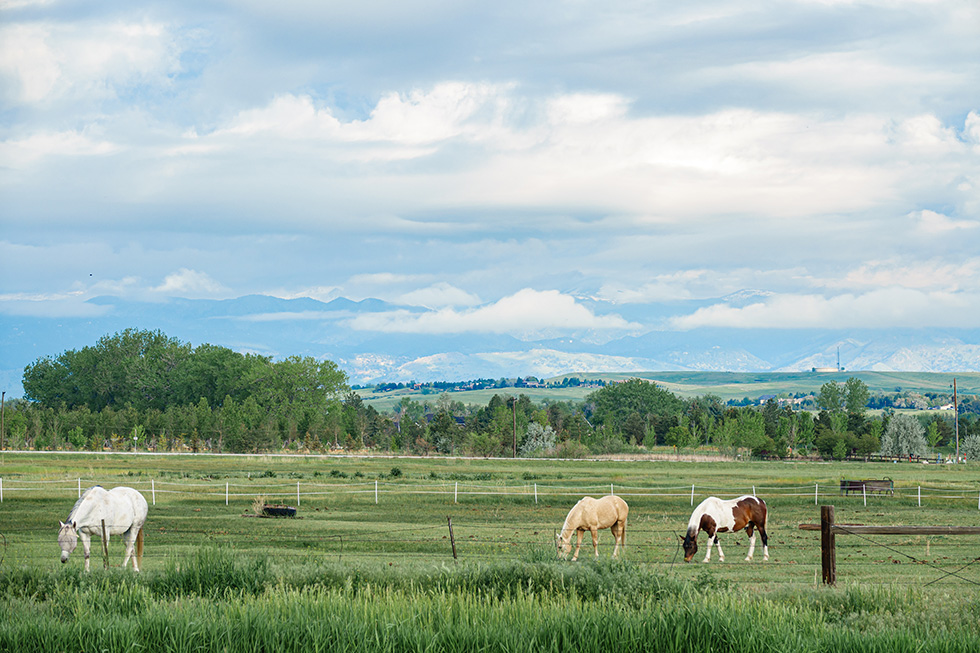
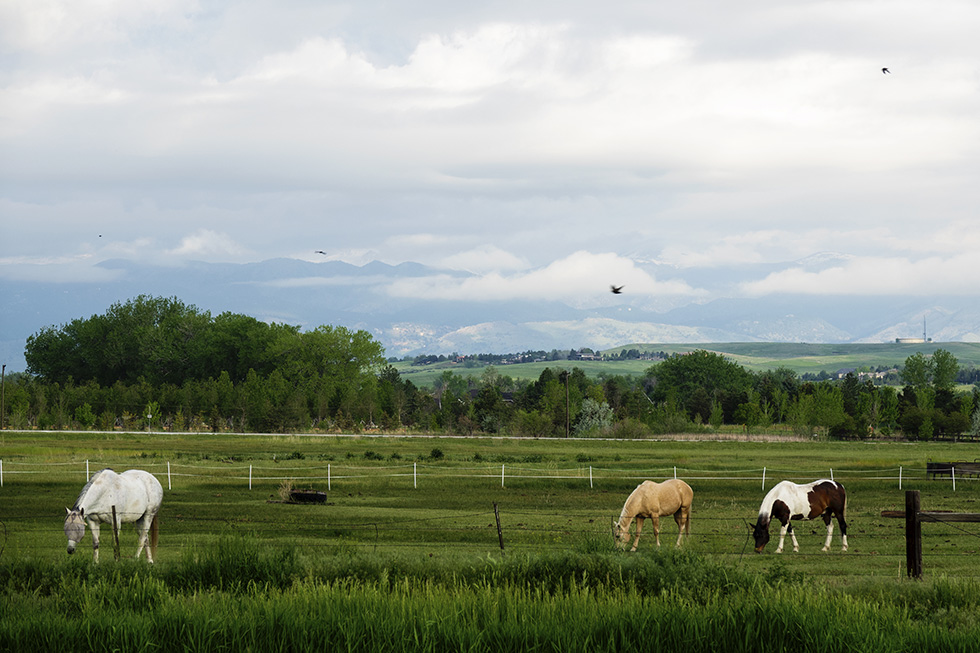
Mary's Original Photo SOOC
Amy's Edit
- Community Pack Formula: Daedaas (Equator Soft Light, Autumn Skies Overlay, Fore Overlay, Neutral Density Overlay)
- Film Screen: Lomography
Garnett's Edit
- Removed blurry birds with clone tool
- Highlights -100
- Texture +38
- Clarity +17
- Dehaze +36
- Shadows +25
- Whites +23
- Vibrance +10
- Reduced green saturation slider
- Increased Blue saturation slider
Kris' Edit
- I cropped a tiny bit from the top and right
- Boosted vibrance and saturation
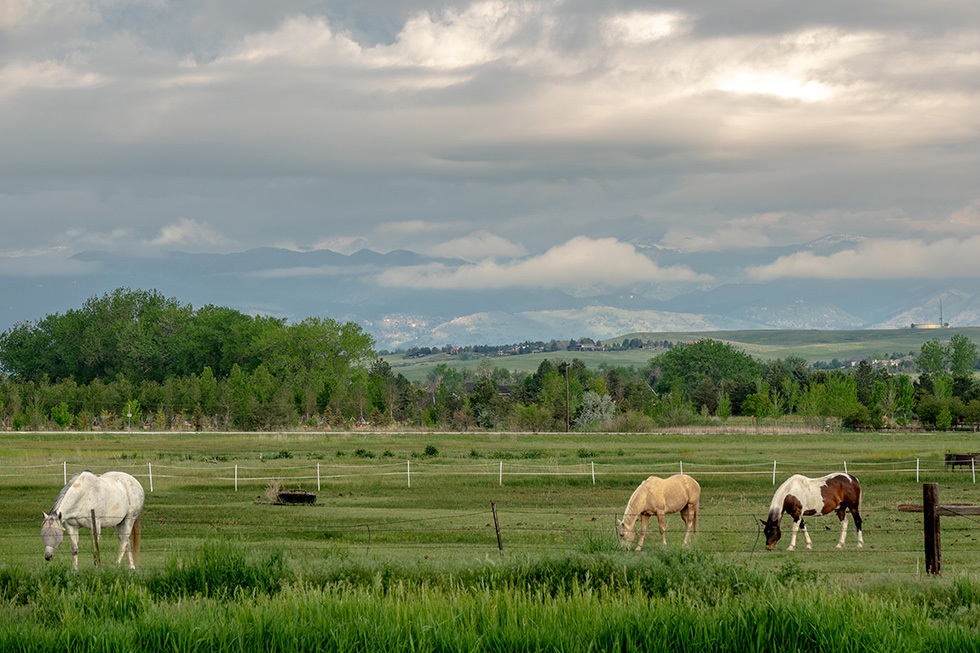
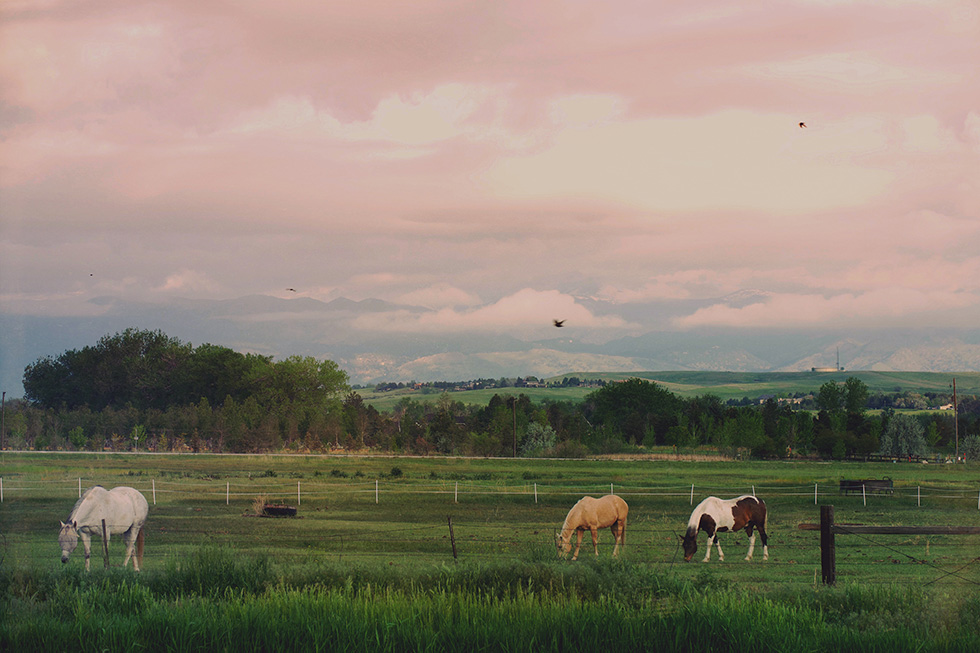
Lee's Edit
- Cropped to line of field on the third
- Cloned out all the birds as I found them a distraction
- Lowered the Exposure, Contrast -100, Highlights, Blacks
- Upped the Shadows, White, Clarity, Dehaze and Vibrance
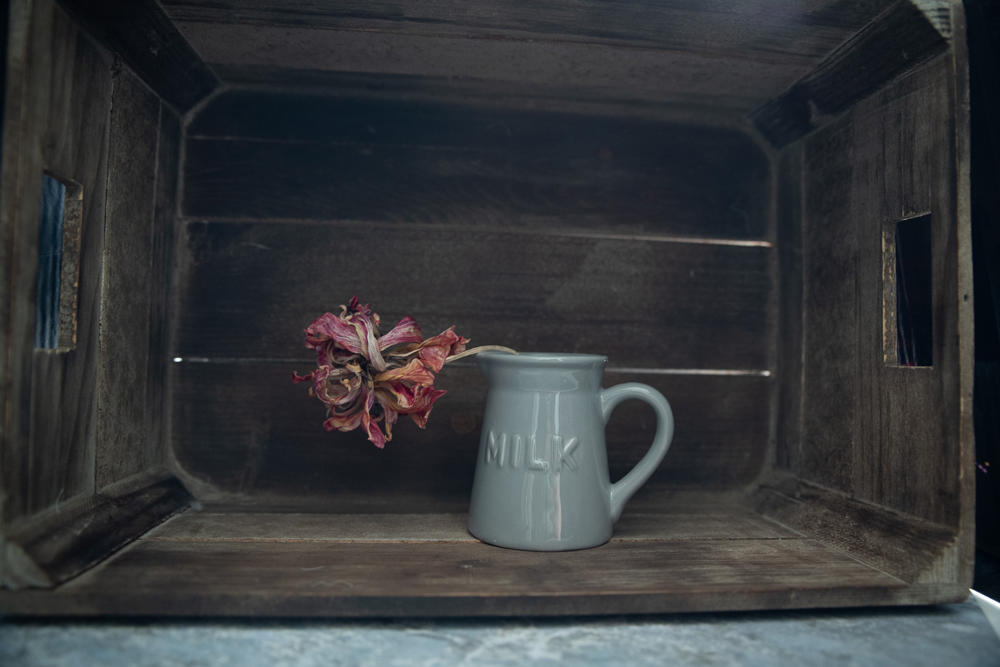
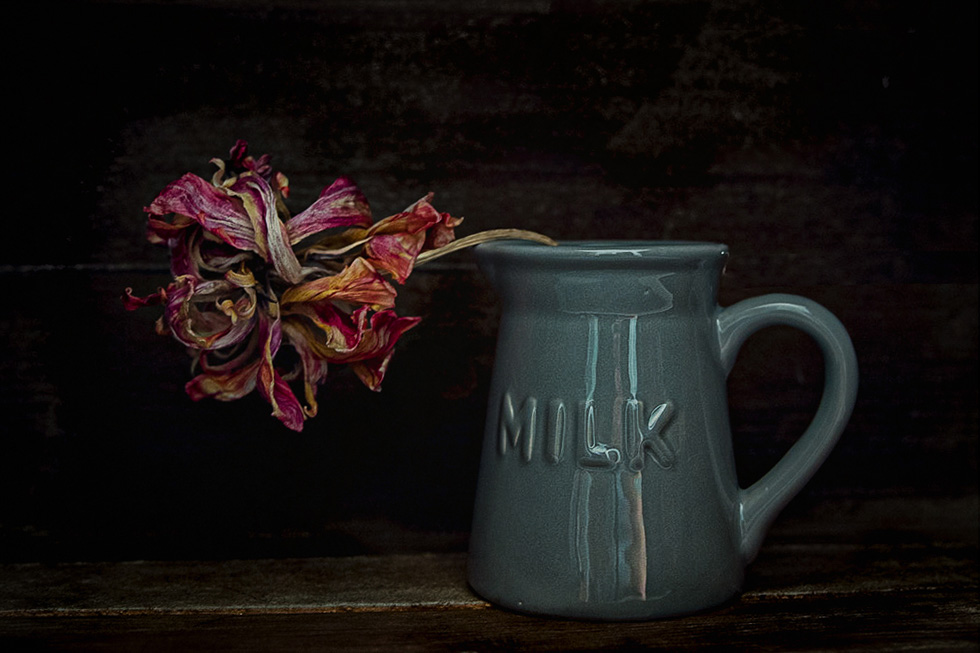
Kay's Original Photo SOOC
Amy's Edit
- Universal Formula: Equinox (Vintage Overlay, West Chester Screen, Indigo Exclusion, Fore Overlay)
- Film Screen: Punch
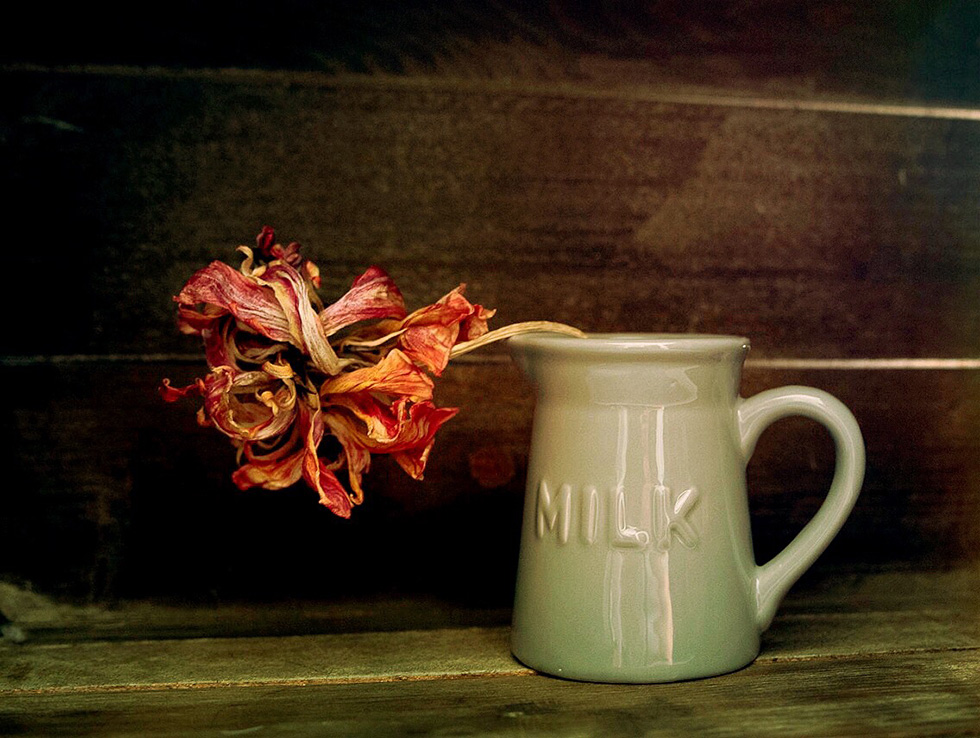
Garnett's Edit
- Cropped in close
- Contrast +50
- Highlights -100
- Black -46 Dehaze +46
- Used the brush to dodge (lighten) the flower and burn (darken) the background
- Added black vignette, feathered
- Brought into Photoshop and added a texture, used screen at 8 opacity
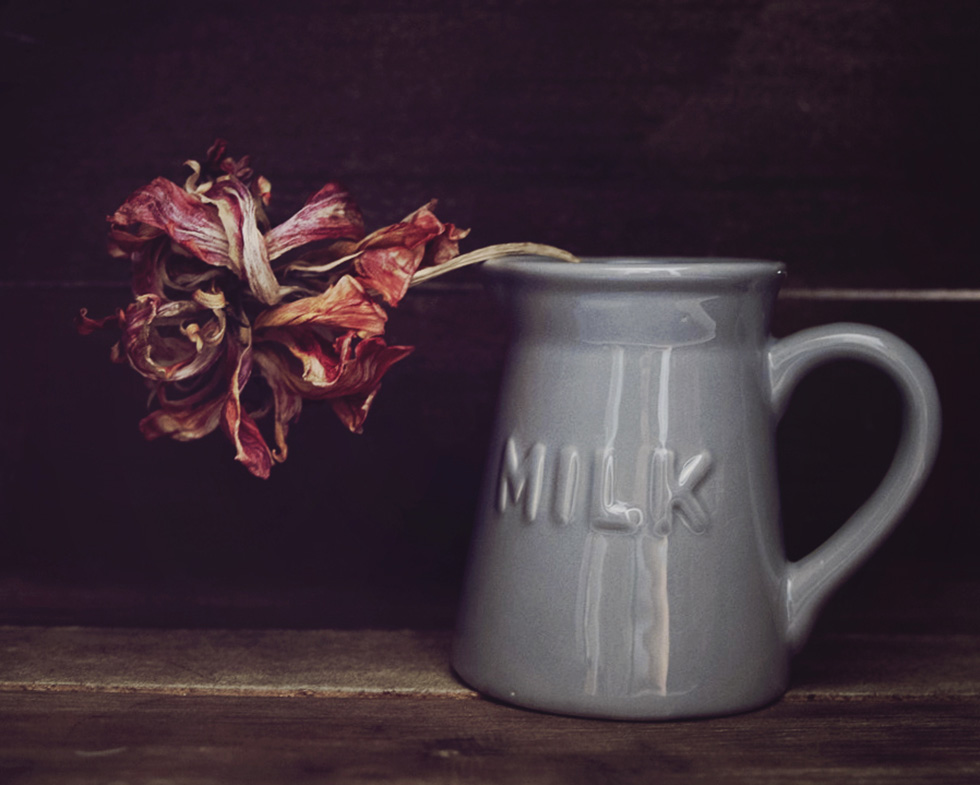
Kris' Edit
- Cropped to place Milk container and flower on the third
- Corrected perspective to straighten the lines created by the wood planks
- Increased black point and saturation
- Added both a light purple overlay and vignette

Lee's Edit
- Cropped out so Jug was on the third and the flower on another third
- Straightened the horizon
- Brush Stroked out the background (Taking down the whites and the exposure)
- Added Graduated Filter to all sides (bringing down the exposure and Dehaze)
- Upped the Whites, Clarity, Dehaze Vibrance and Saturation
- Lowered the Highlights, Shadows, Blacks and Texture
Amy C's Original Photo SOOC
Amy's Edit
- Mood Magic: Forgotten (Seafoam Overlay, Iris Screen, Blueberry peach Screen, Alien Soft Light)

Garnett's Edit
- Preset: Luxe Lens Cool Breeze
- Highlights -86
- Brush – Subtle teeth whiten
- Removed blemishes with clone tool
- Used brush to tone and smooth face
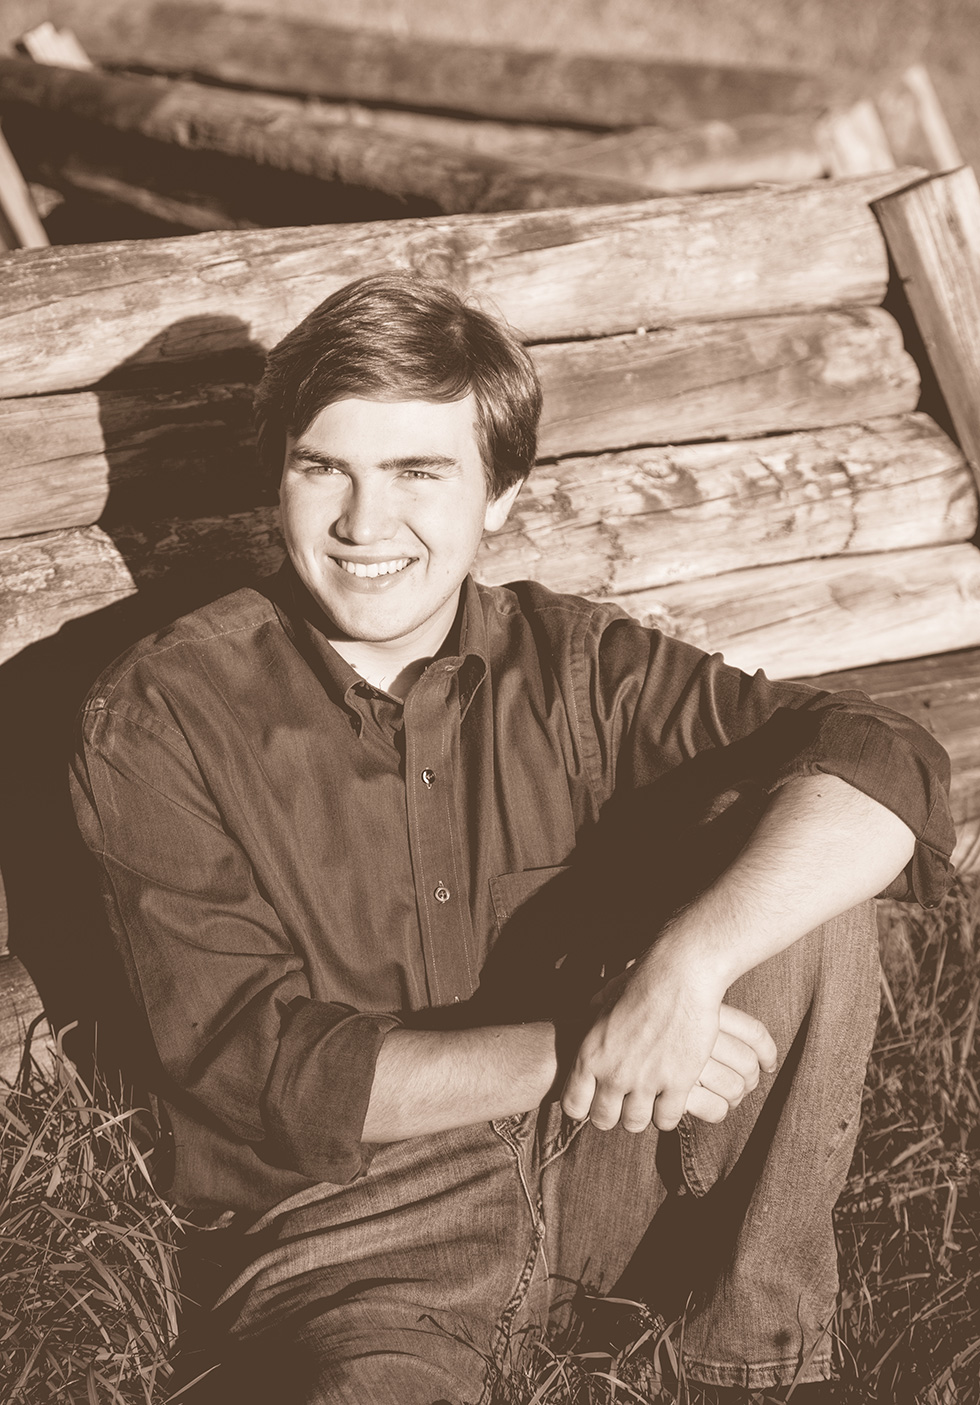
Kris' Edit
- Cropped so the top so that the movement of the logs pulled the eye through the frame. And, this placed the subject’s eyes on the upper third.
- Reduced the brightness
- Added a vignette
- Added a matte finish to help neutralize the seemingly harsh light
Lee's Edit
- Cropped to put eye level on third
- Preset CoffeeShop Sapphire - Top Light
- Preset CoffeeShop Velvet Matte B&W
- Upped Exposure, Clarity and Dehaze
- Lowered Contrast, Highlights, Shadows, Whites & Saturation
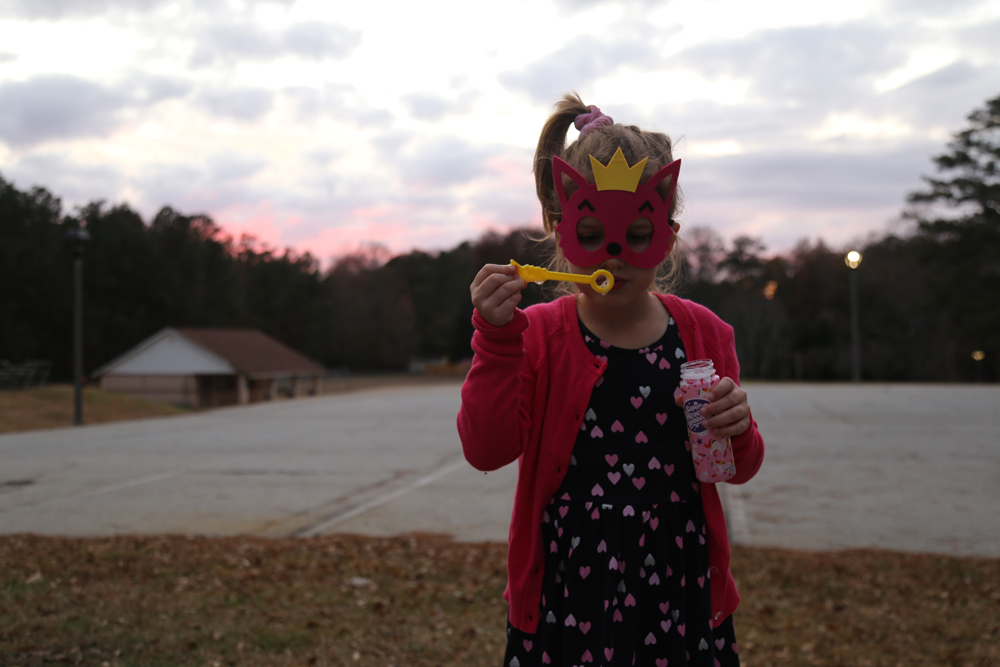
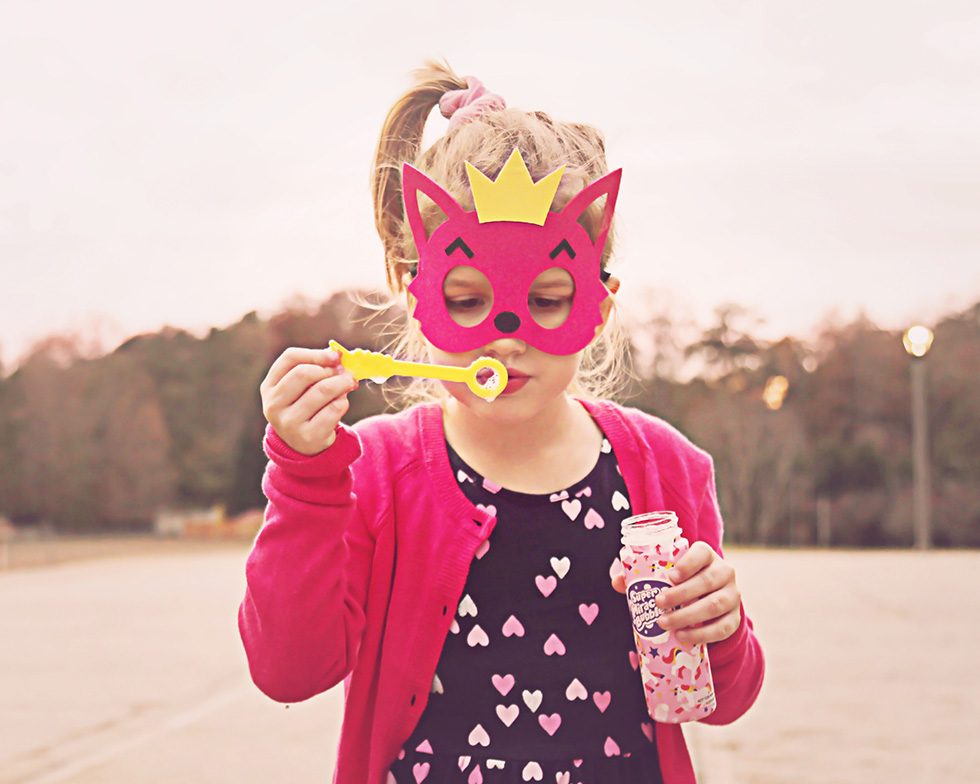
Lee Ann's Original Photo SOOC

Amy's Edit
- Outfitter Layers: Windowwash Overlay, Frozen Overlay, Twilight
Garnett's Edit
- Highlights -100
- Shadows +56
- Whites +40
- Blacks -22
- Texture +30
- Clarity -31
- Dehaze +46
- Luminance 50
- Used clone tool to remove light pole
- Brought into Photoshop:
- Sharpened with high pass filter
- Add Kim Klassen “Sounds” texture at 60 percent opacity
Kris' Edit
- Used a PS action to correct the underexposed image
- Increased vibrance
- Ran Florabella Ballerina and Rosy Vintage actions in PS
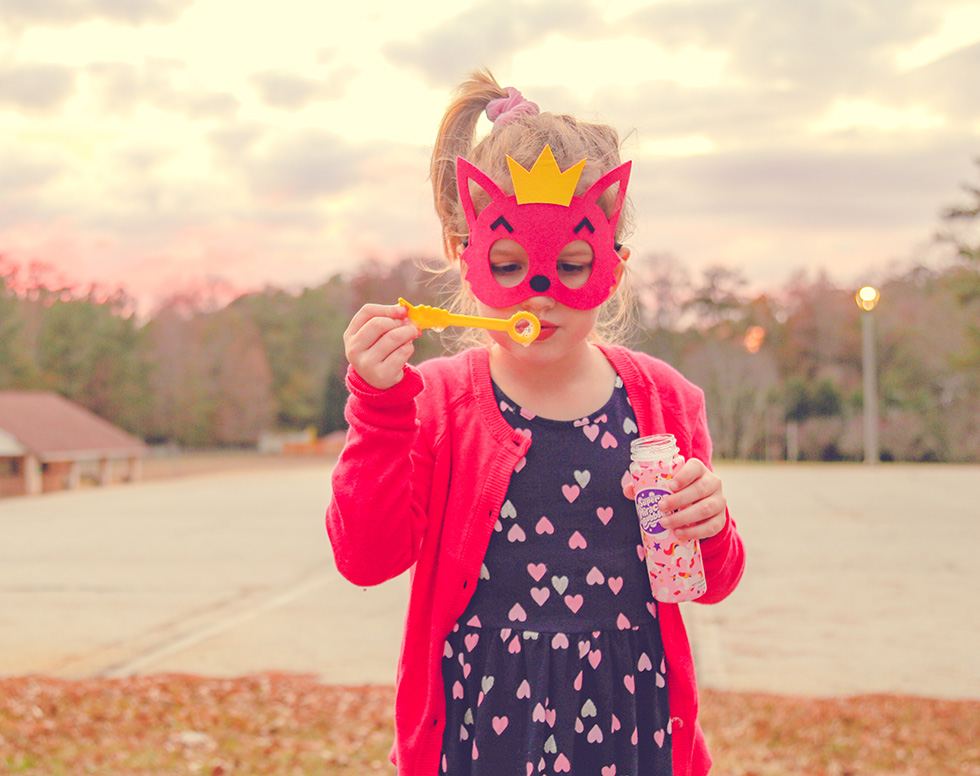
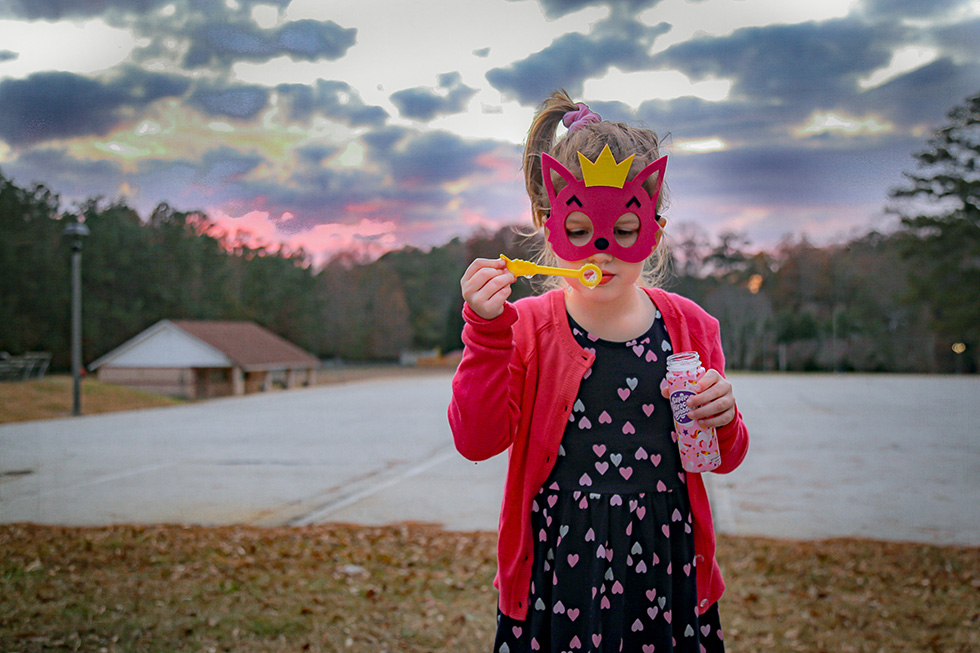
Lee's Edit
- Cropped to put eye level on third and hand holding the bubbles
- Preset CoffeeShop Cinderella
- Upped the Exposure, Shadows, Whites, Blacks, Dehaze, Vibrance, Saturation
- Lowered the Contrast and Clarity

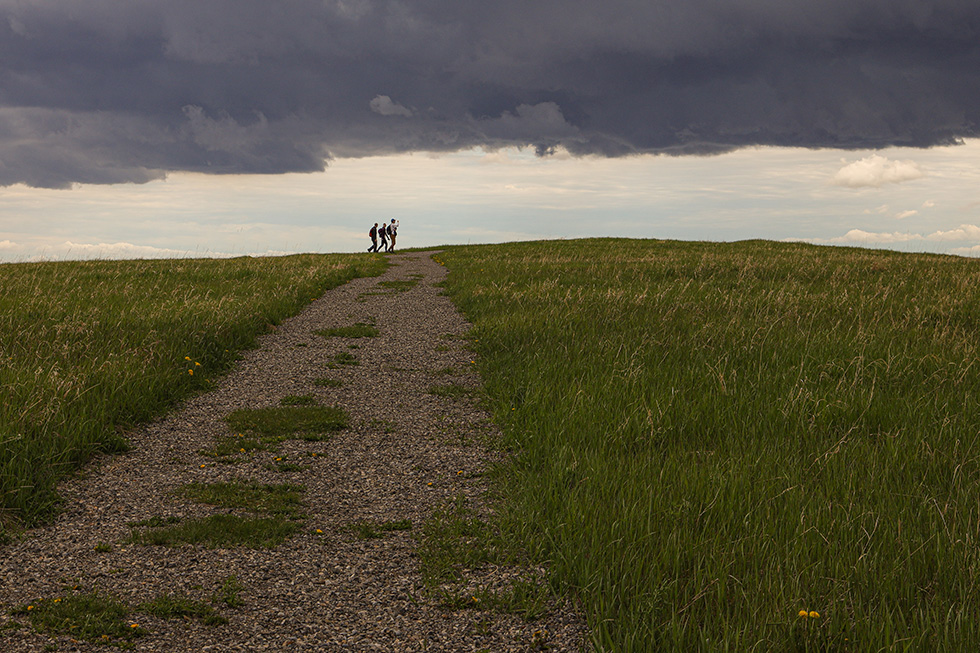
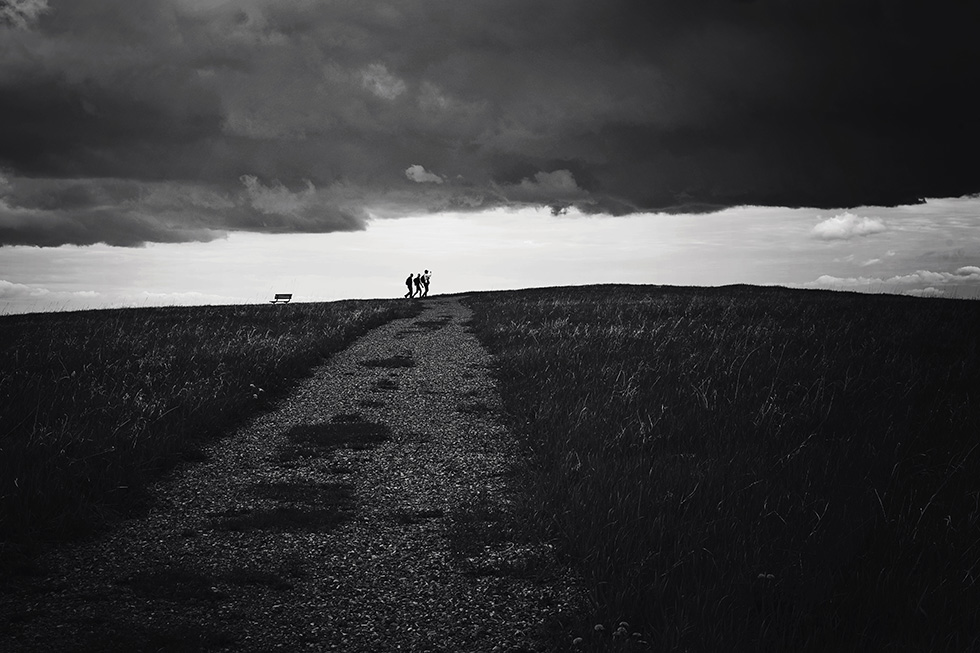
Lysle's Original Photo SOOC
Amy's Edit
- Outfitter Layers: Ashes Screen, Ice Sunrise Overlay, Seaform Overlay
Garnett's Edit
- Cropped so that boys are off center
- Removed bench with clone tool
- Skewed vertically to flatten image a bit
- Shadows +68
- Exposure +30
- Texture+45
- Clarity -15
- Vibrances+27
- Temperature +14
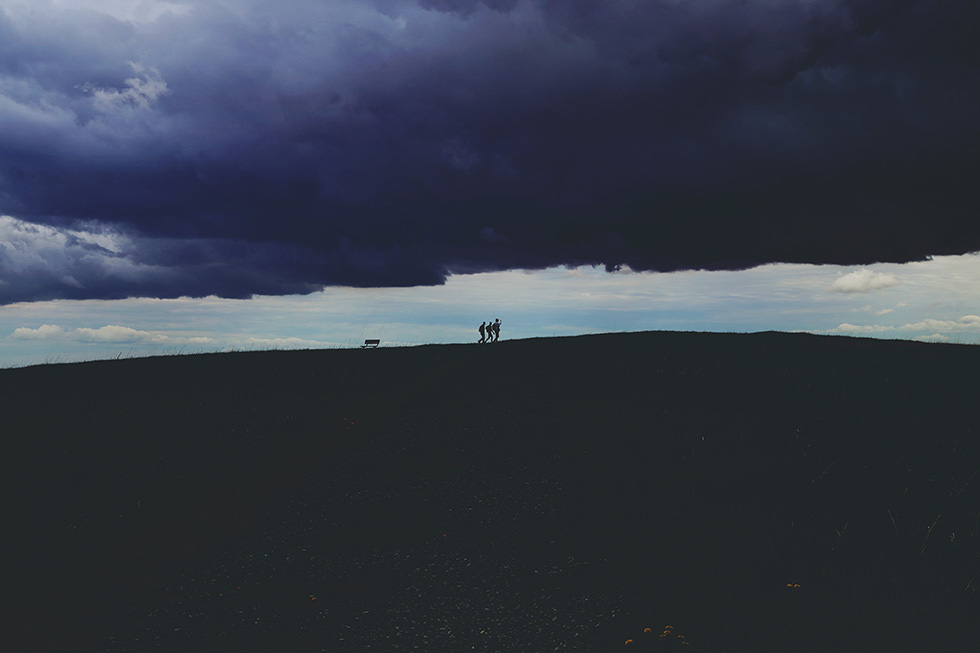
Kris' Edit
- The dramatic feel of this photo screamed Black and White conversion to me
- Cropped slightly to move the placement of the trail to the left so that it created more movement through the frame
- Added a tiny bit of haze to soften the blacks a little
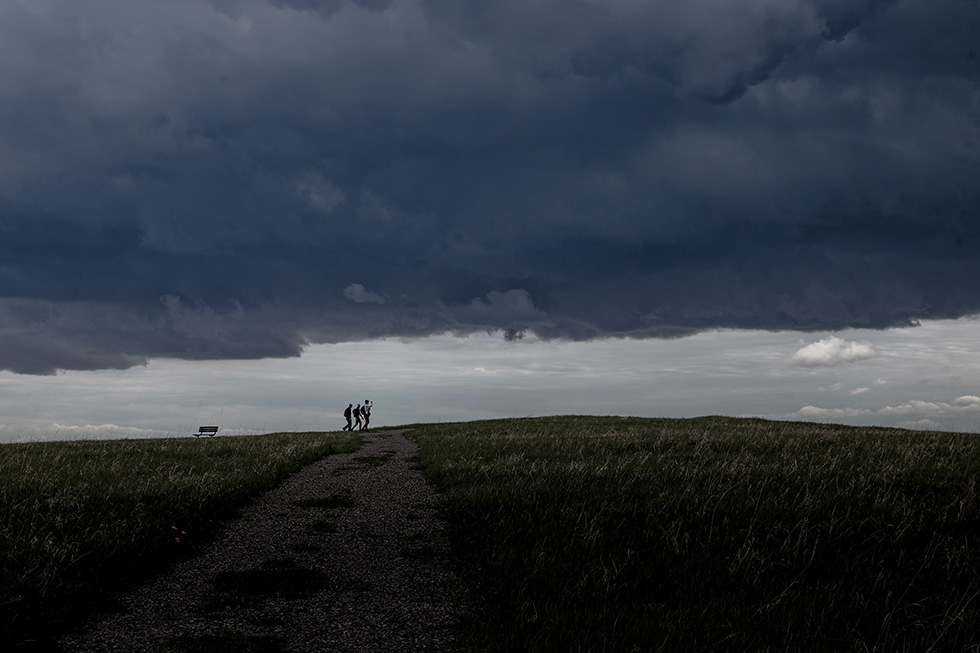
Lee's Edit
- Cropped to put the people and horizon on third
- Added Graduated Filter to clouds and the grass
- Upped Exposure, Shadows, Whites, Clarity and Dehaze
- Lowered Contrast, Highlights, Blacks, Texture, Vibrance and Saturation
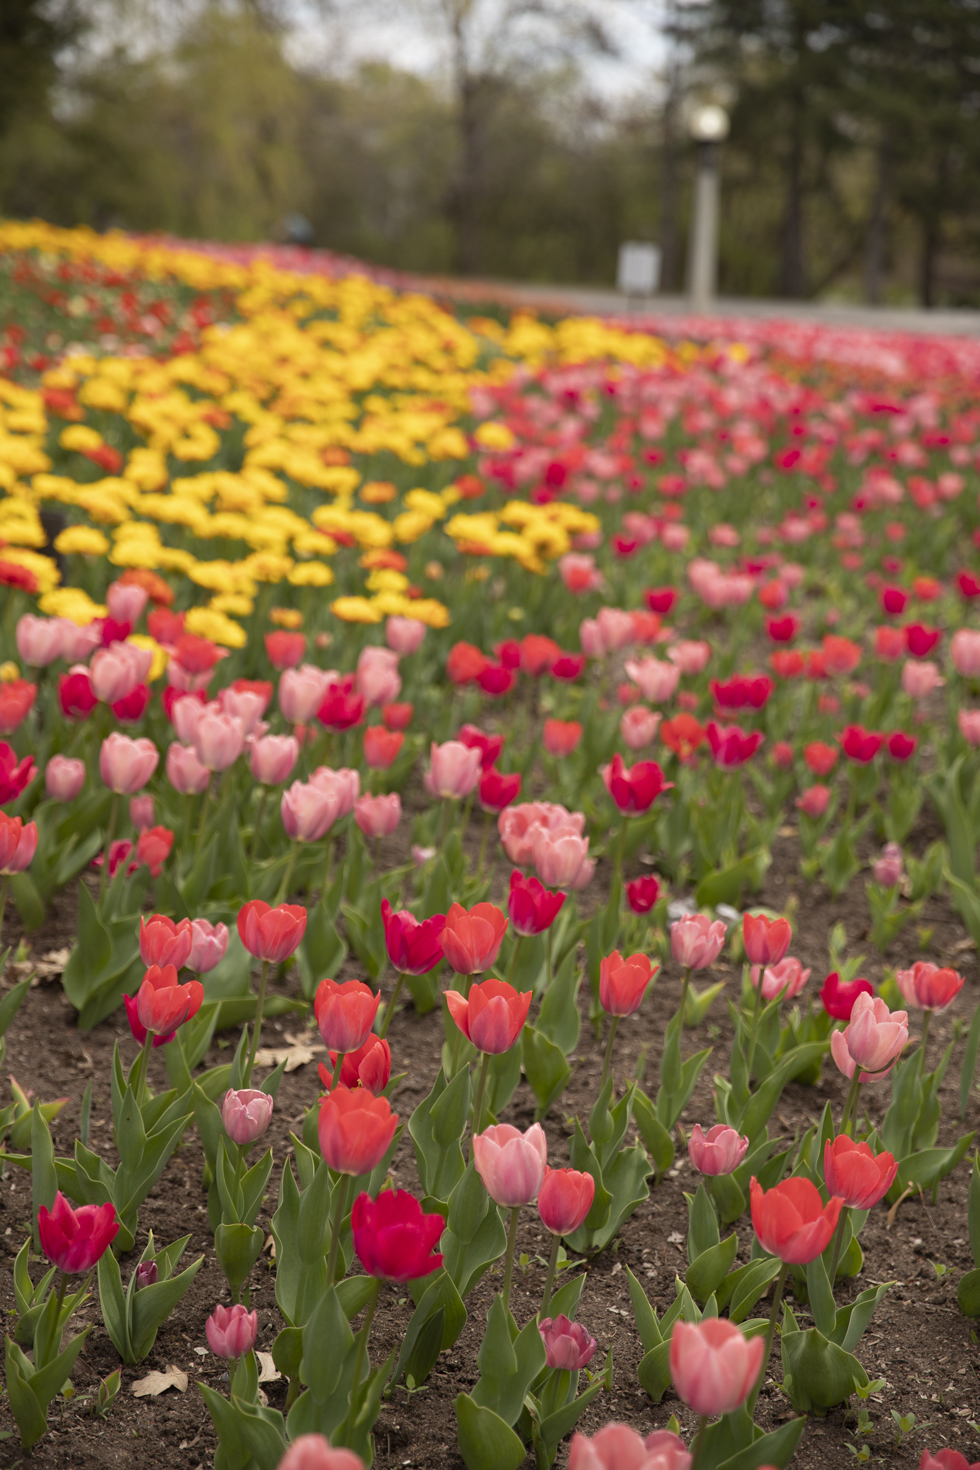
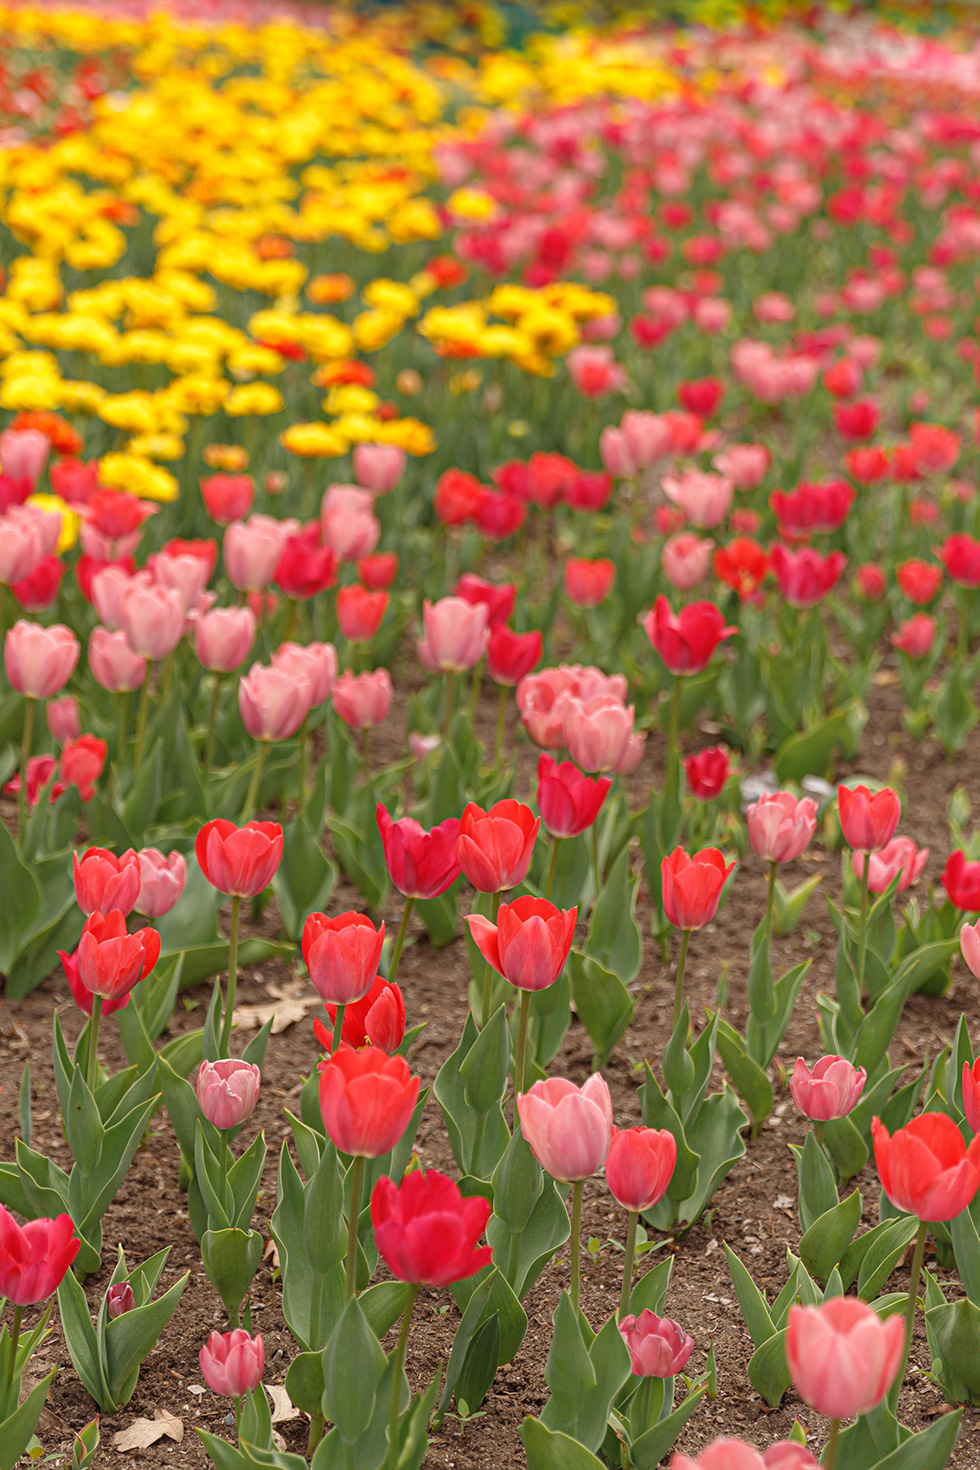
Diane's Original Photo SOOC
Amy's Edit
- Outfitter layers: Dead Frost Overlay, Frost Screen
Garnett's Edit
- Cropped everything out except the tulips
- Straightened
- Reduced Green saturation
- Contrast -20
- Shadows +50
- Dehaze -11
- Vibrance +17
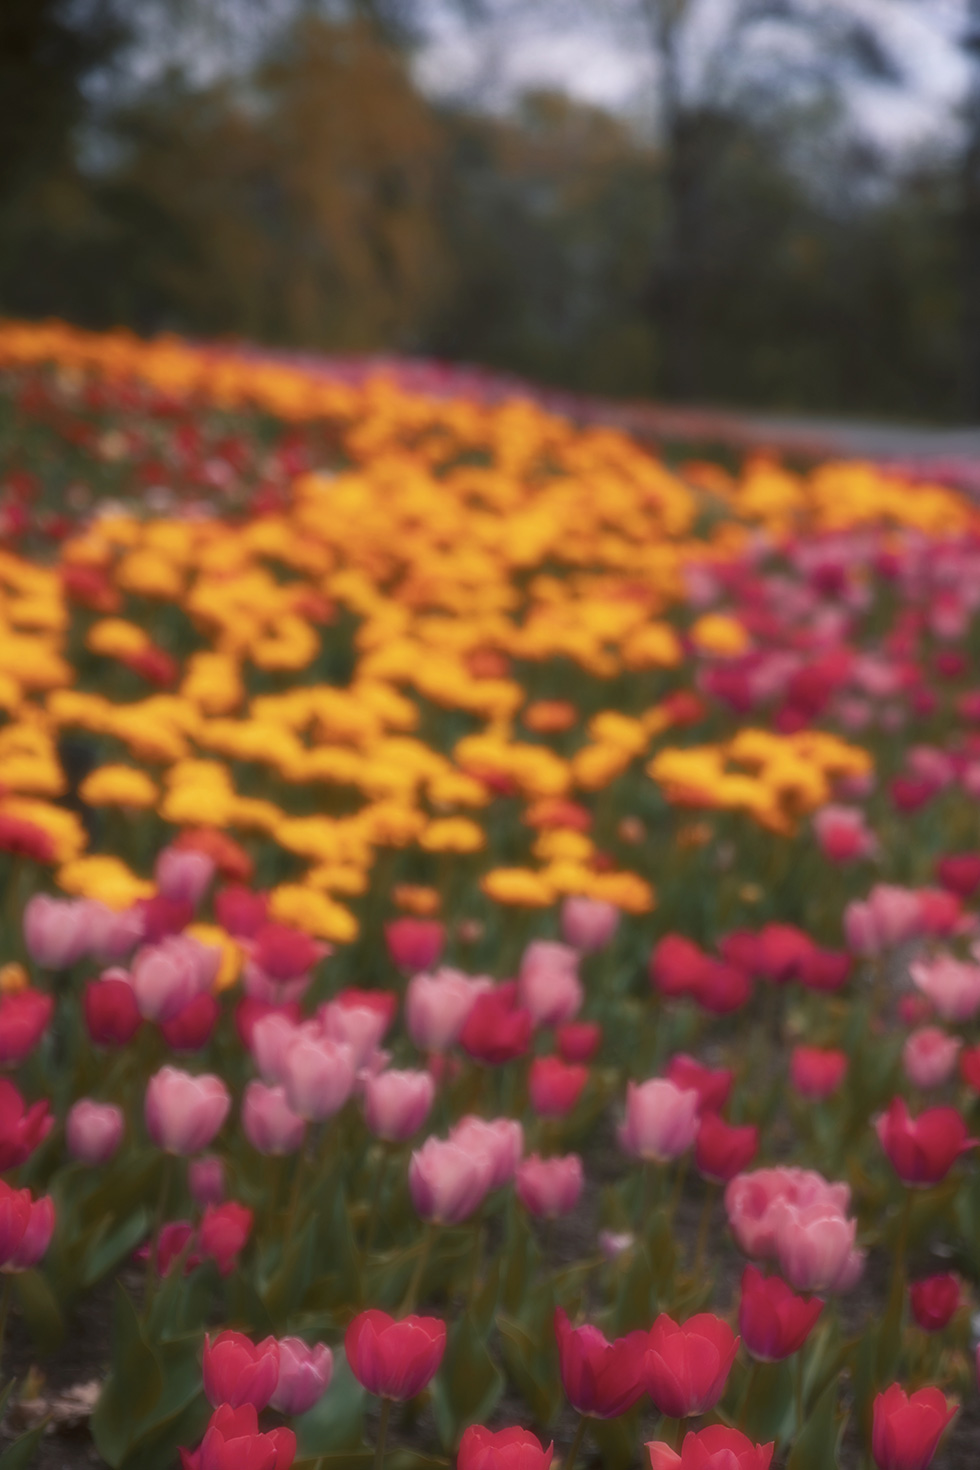
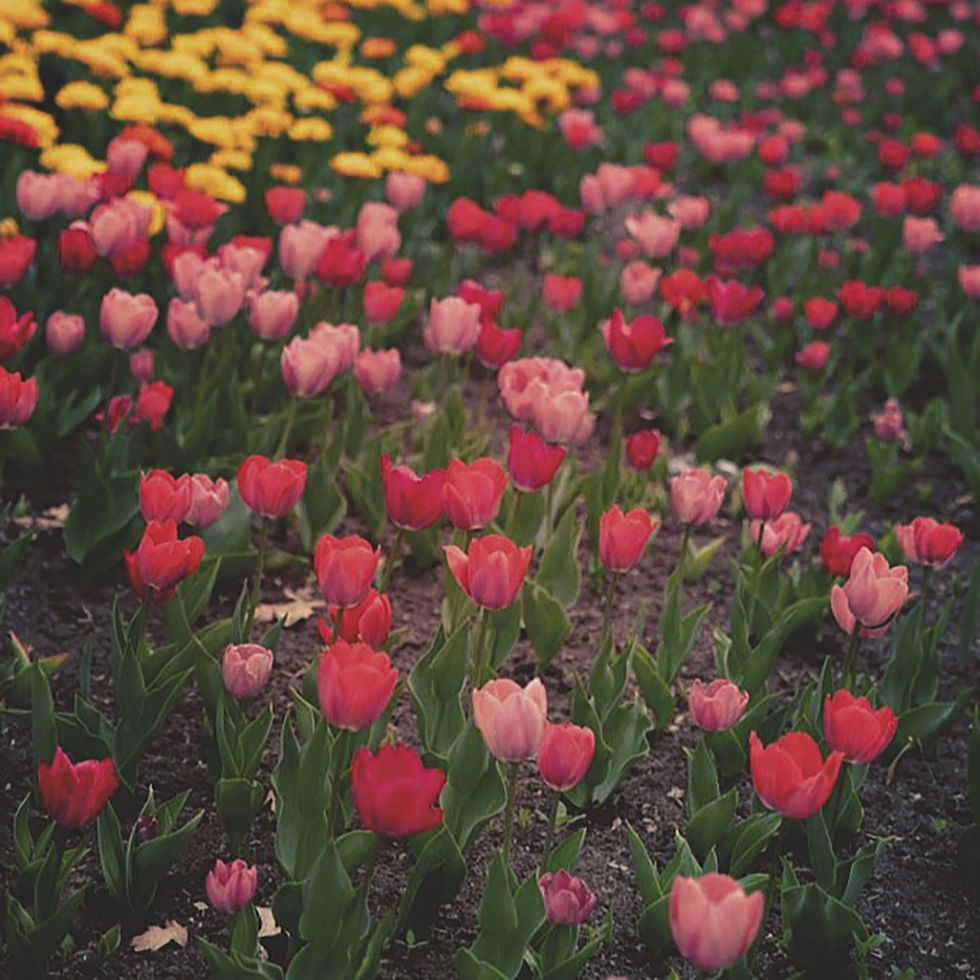
Kris' Edit
- I loved the line created by the “S” of yellow flowers. They created a feeling of mystery to me.
- I cropped out a good bit of the red foreground. This left most of the photo unfocused. For me, this augmented the mystical magical feeling.
- I increased the saturation and the warmth
- I added a bokeh overlay to enhance the overall mood that the photo created for me

Lee's Edit
- Cropped and made landscape
- Preset Kim Klassen Pause
- Upped Clarity, Dehaze, Vibrance
- Lowered Saturation
As you can see from the edits, we do see things differently. I like all the different ways we have interpreted the photos, each slightly different. Sometimes you can see that we go In a similar direction with the cropping, putting the eye, person or horizon on the third.