You are taking pictures everyday (Or at least regularly). Now what? How do you get those photos to a place where you can share? Look at them every day? Enjoy your hard work?

First, I am going to share with you details on how I create my yearly photobook. I am in my 6th year of taking a photo every day. The first year that I participated in a 365 project, I knew I wanted to create a book and I did. But it was hard and cumbersome. I had all of my photos at the end of the year, but I didn’t have all of the prompts or context for them. I spent hours importing the photos and trying to figure out what captions I should use. At that point, I thought “there has got to be a better way!”
After much trial and error, here is my system. Disclaimer… you may have a better way, easier way, use a different print service, use a different app or template. This is just my process and it works for me. My hope is that it is helpful and that it may spark ideas on how you might save your work.
I use the Apple platform for my workflow: iMac, iphone, iPad, so I can only speak from that perspective.This is a basic list of the workflow. I will go into detail below describing each step.
- Each day, after I have edited my photo and posted, I send the photo to my iPad (I use Airdrop).
- I use the Project Life app to organize my daily photos. I use a variety of templates and capture my photo along with the captions I used for the prompt.
- When I have completed a page, I export it and save the image on my iPad.
- I use Snapfish for all of my printing services (just because I always have). It gives me the ability to upload pages as I have completed them and store them there. There are many, many good on-line printing services and you do not have to use Snapfish just because I do…. Blurb, Persnickety Prints, Shutterfly, just to name a few
- I create an album in Snapfish to capture each of my project life completed pages.
- At the end of year, I wait for Snapfish to offer the 70 percent off photo book deal (it ALWAYS happens in January) and then I create my book.
Project life is a digital scrapbooking app that works really well for a daily photo project. There are many templates and themes to choose from and you can make it as consistent or unique as you prefer.
Let's walk through the workflow of using this method.
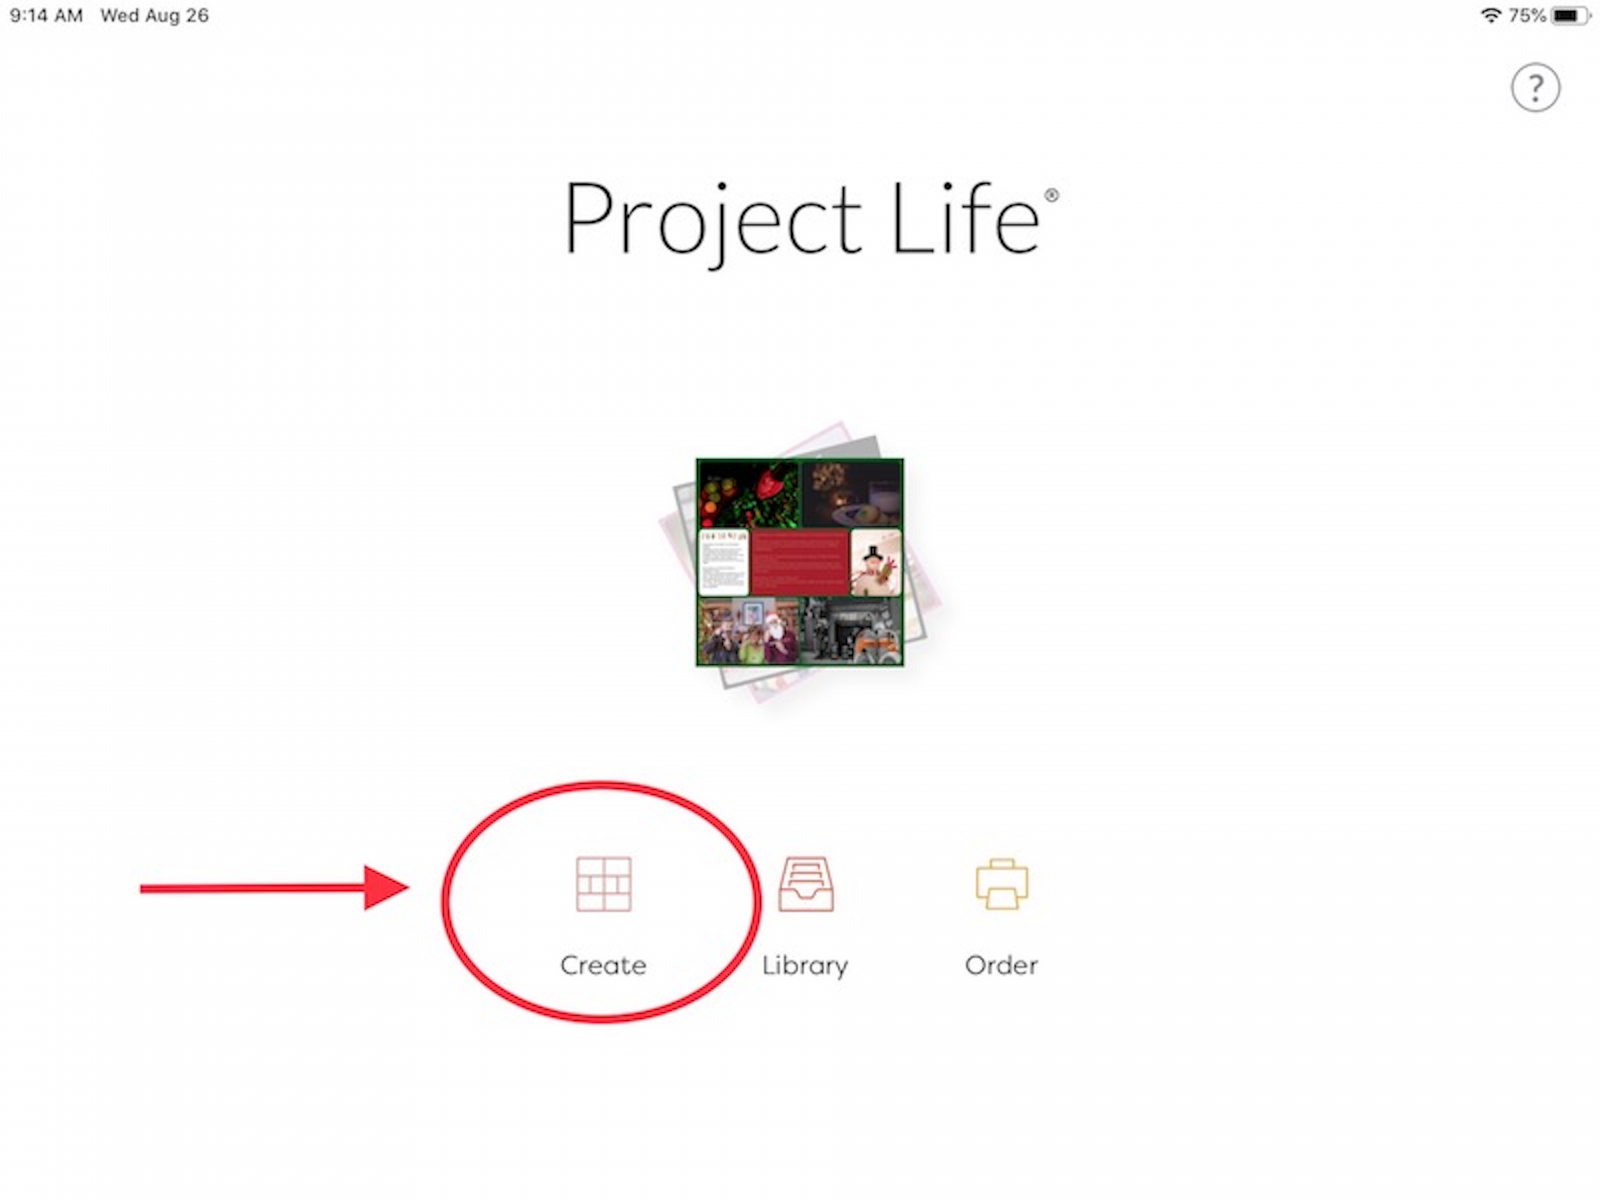
Open the Project Life app and choose “Create”
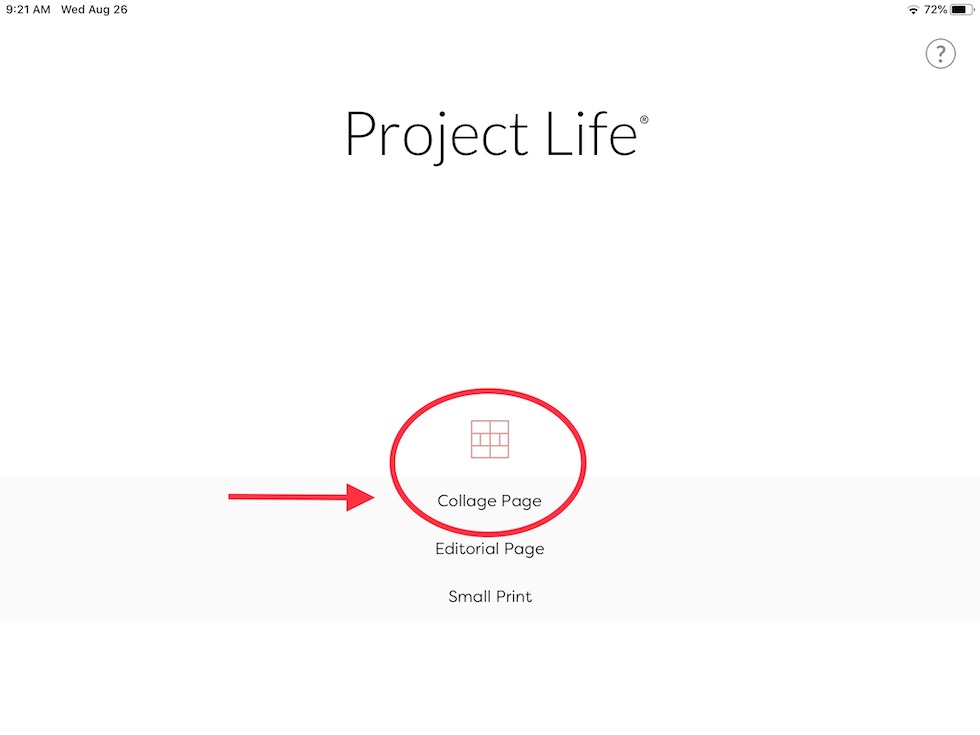
Then choose "Collage Page"
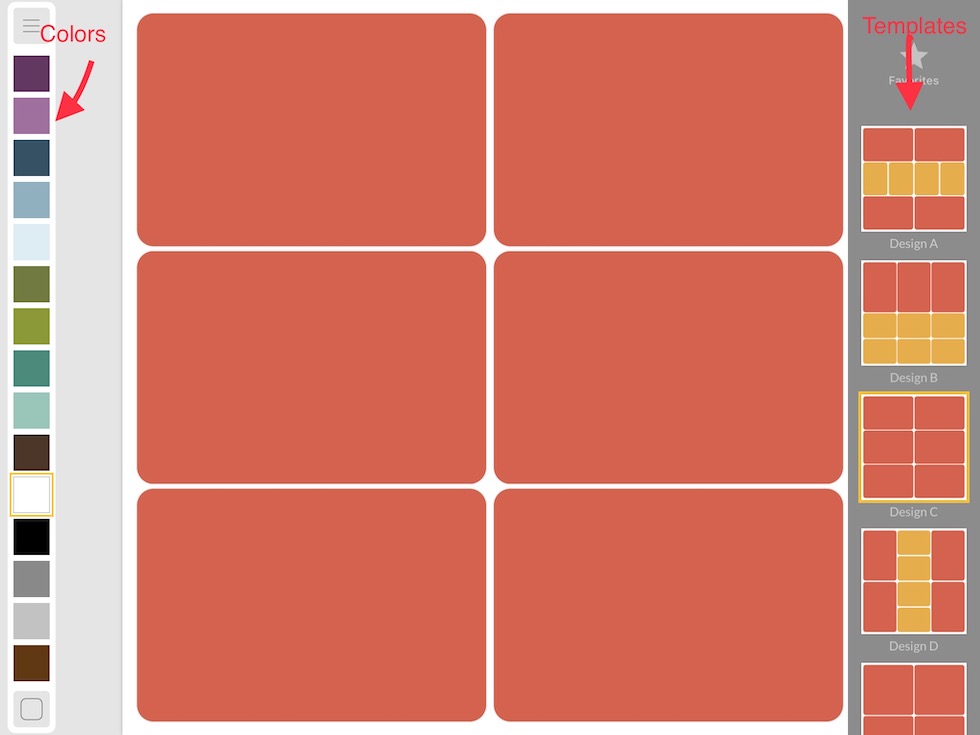
Choose the desired template (you have options to purchase more and they are very reasonable in price). And choose the background color for the page.
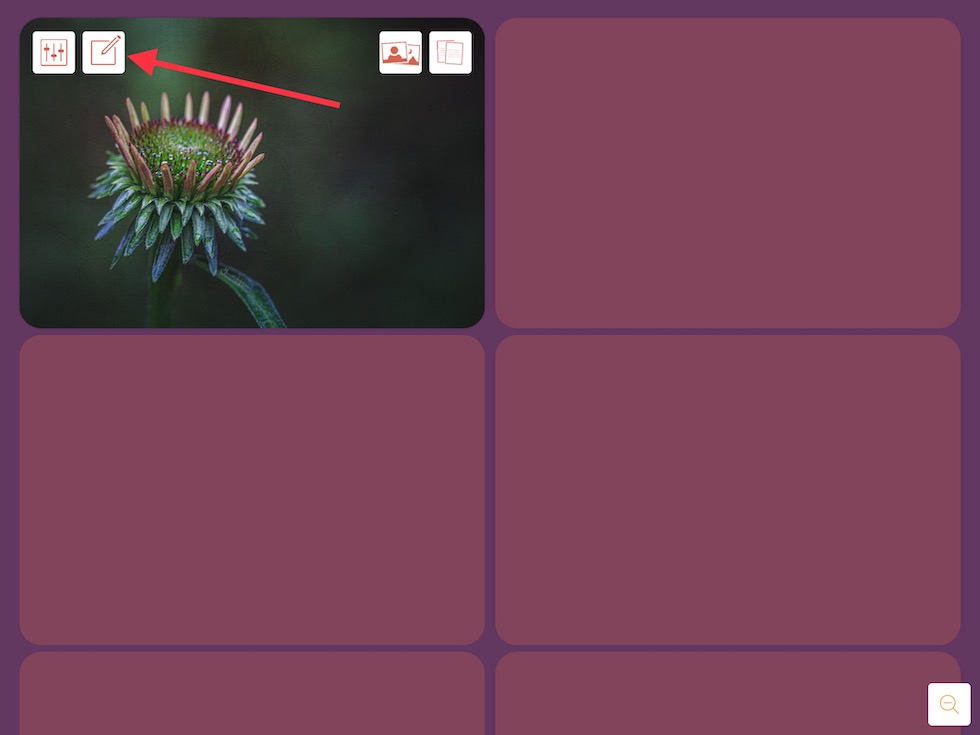
Once you have chosen the template and color, click on the desired box and choose to add photo.
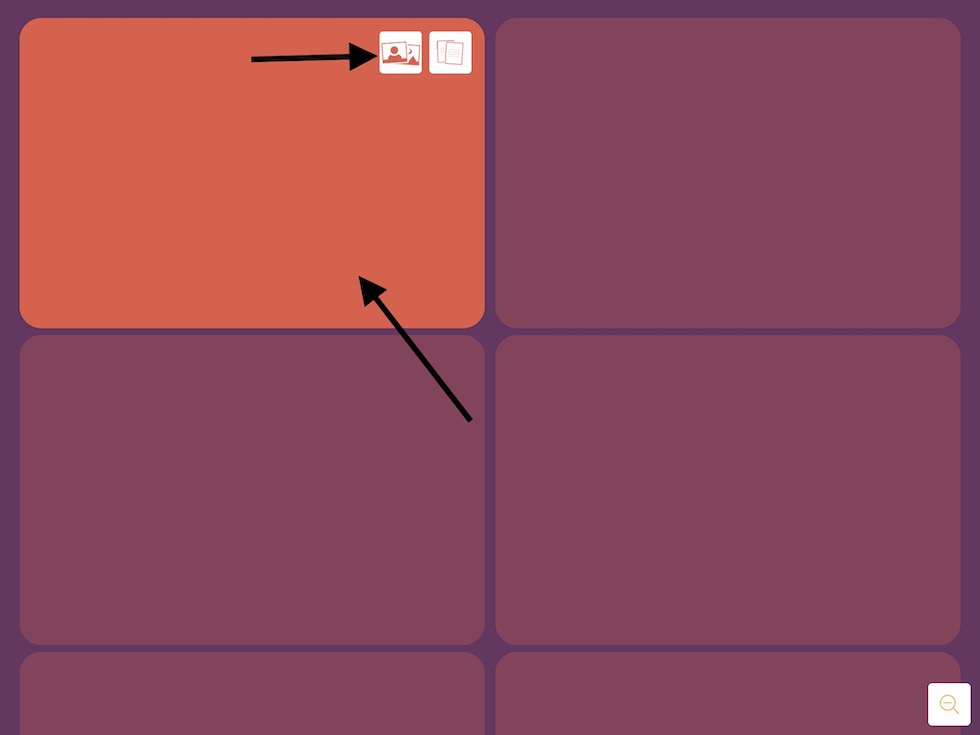
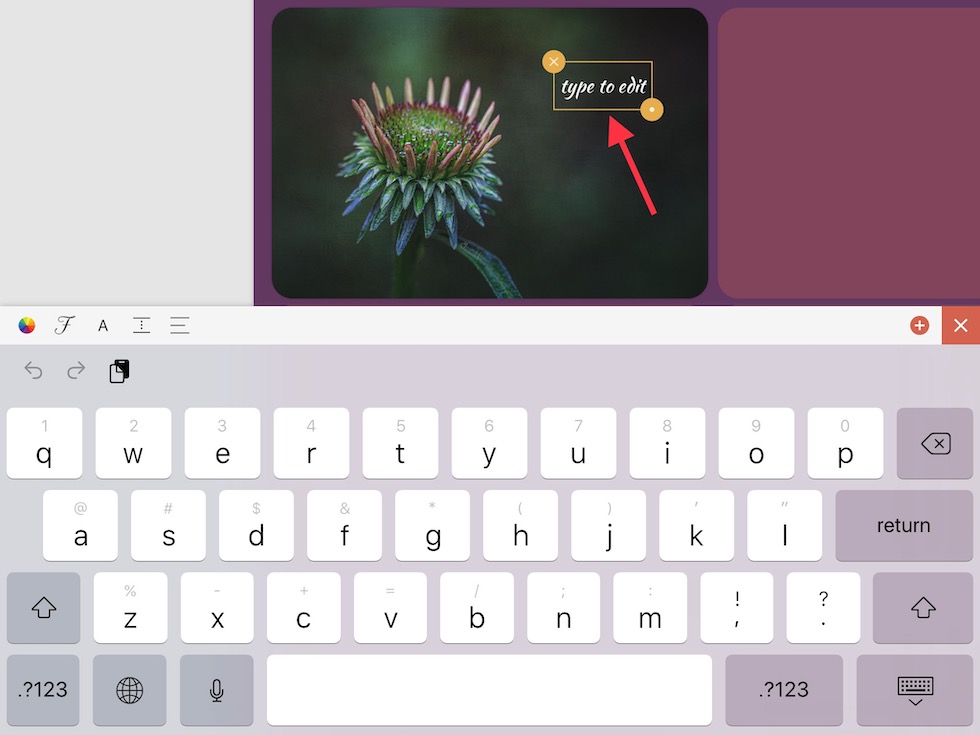
Then you choose the box to add the text.
There are many ways to approach this step to tailor it to your preferences. In previous years, I claimed an entire box for text to explain my prompt photo. This year, I have opted to just include the title of the prompt with my photo.
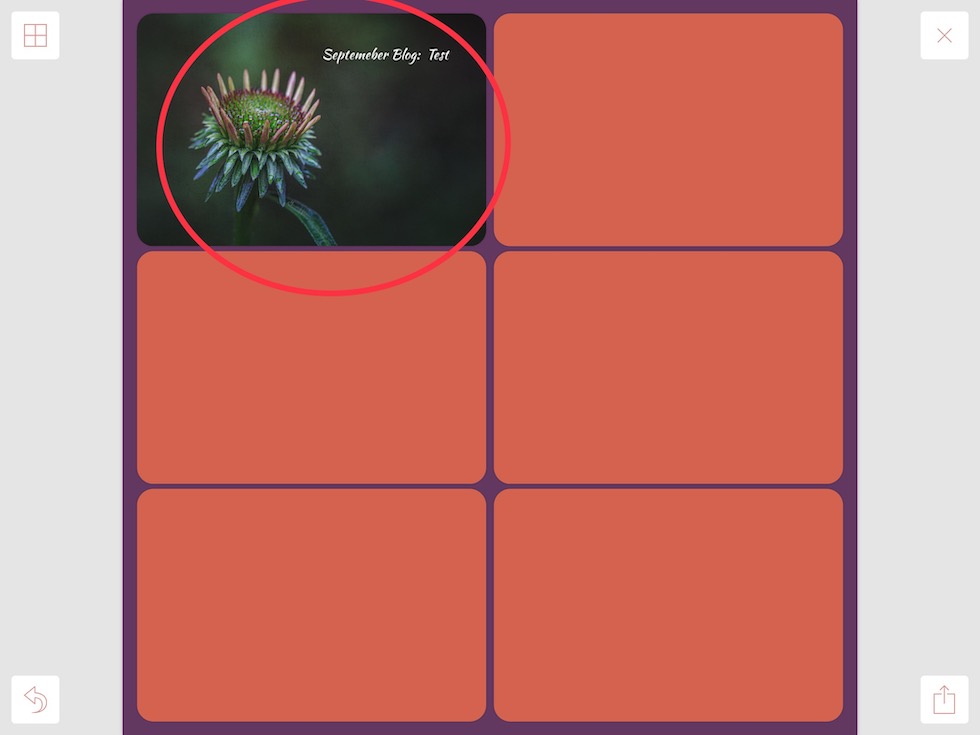
So you have completed a day... photo and title or photo and more details depending on your preference
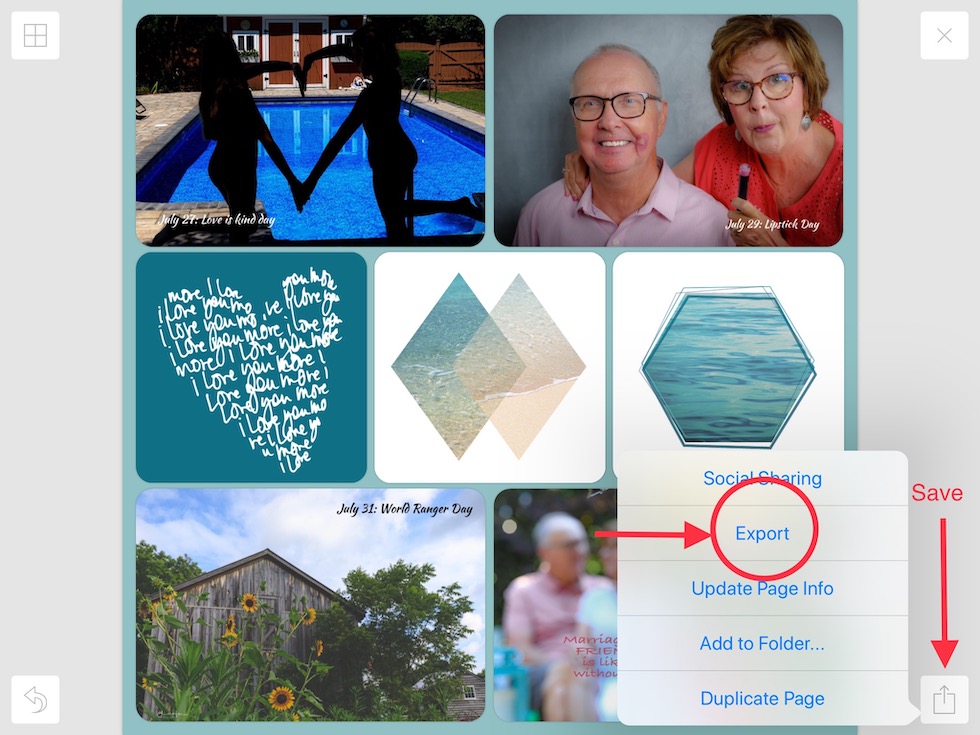
After you have completed the page (which varies based on the template); but usually 4 days or more, you are ready to export and upload to Snapfish.
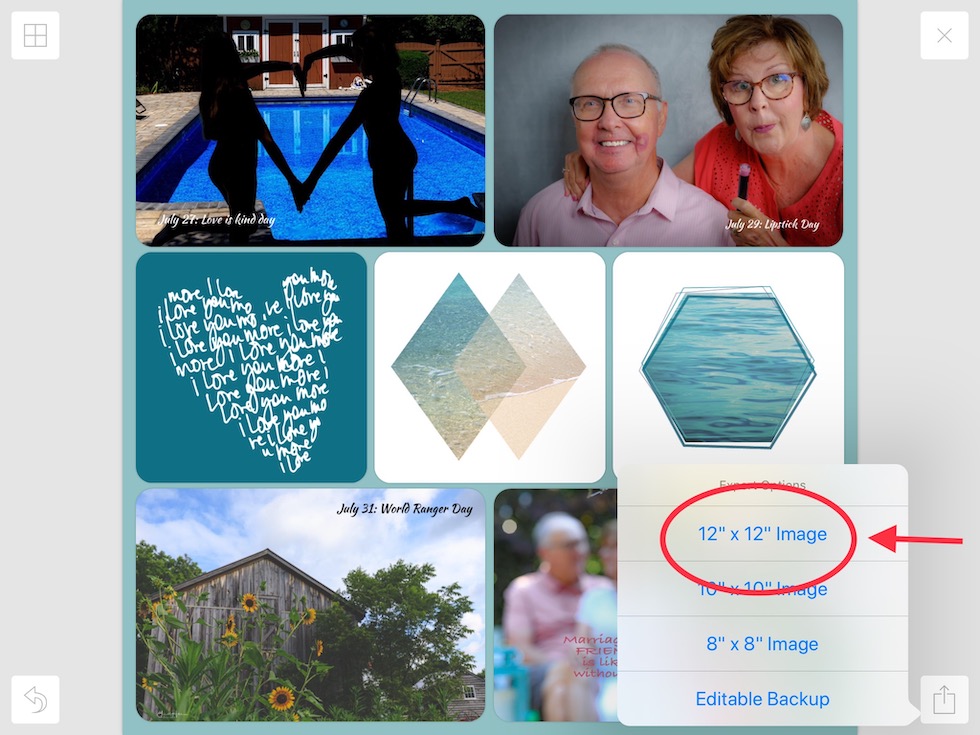
You will choose the save icon in the bottom right; and a menu will pop up in which you will choose export.
After you have chosen to export, you will need to choose the size. I always make 12x12 books, therefore I choose 12x12 as my page size.
Then simply save the image to your device.
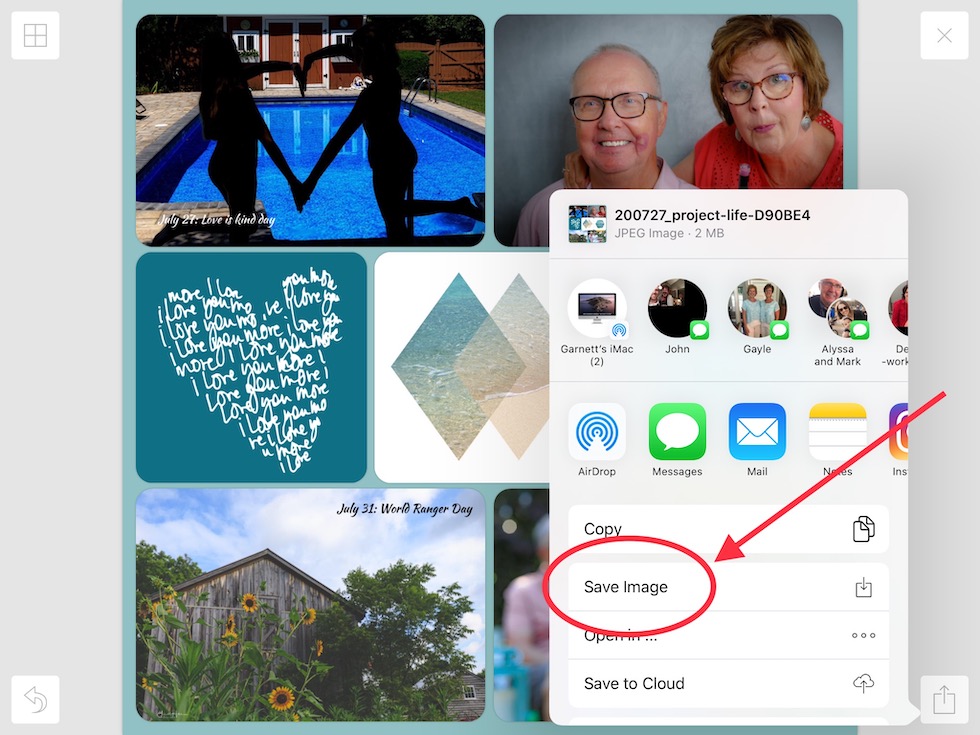
Once you have your page saved on your device, go to the printing service you prefer and upload the photo to the album you have already created for the year. It is important to create and choose one album because your photos will be there and ready in chronological order for you at the end of the year. When you are ready to make your book, just choose the 12 x 12 Hardcover and don’t use a Snapfish template. Your pages are already created and ready to drop into the book as a single photo on each page. You will need to keep adding pages. Each year I have done this (4 years now), the book has cost me less than $100 if I wait for the 70 percent off.
Other ways to enjoy your photos:
Do you print and frame your photos? Displaying your own work can give you a sense of pride and accomplishment. Consider creating a collage or a gallery wall, dedicate an entire wall for your special trips, or claim a small nook to display your images. You can make blankets, notecards, coffee mugs, clothing, luggage tags, grocery bags to name a few. You can make or purchase a “photo clothesline” that allows you to swap photos on a regular basis.
I hope I have helped you think of ways to display your work so that you and others can enjoy it.
We are taking photos every day and we should take the time to enjoy what we have created!