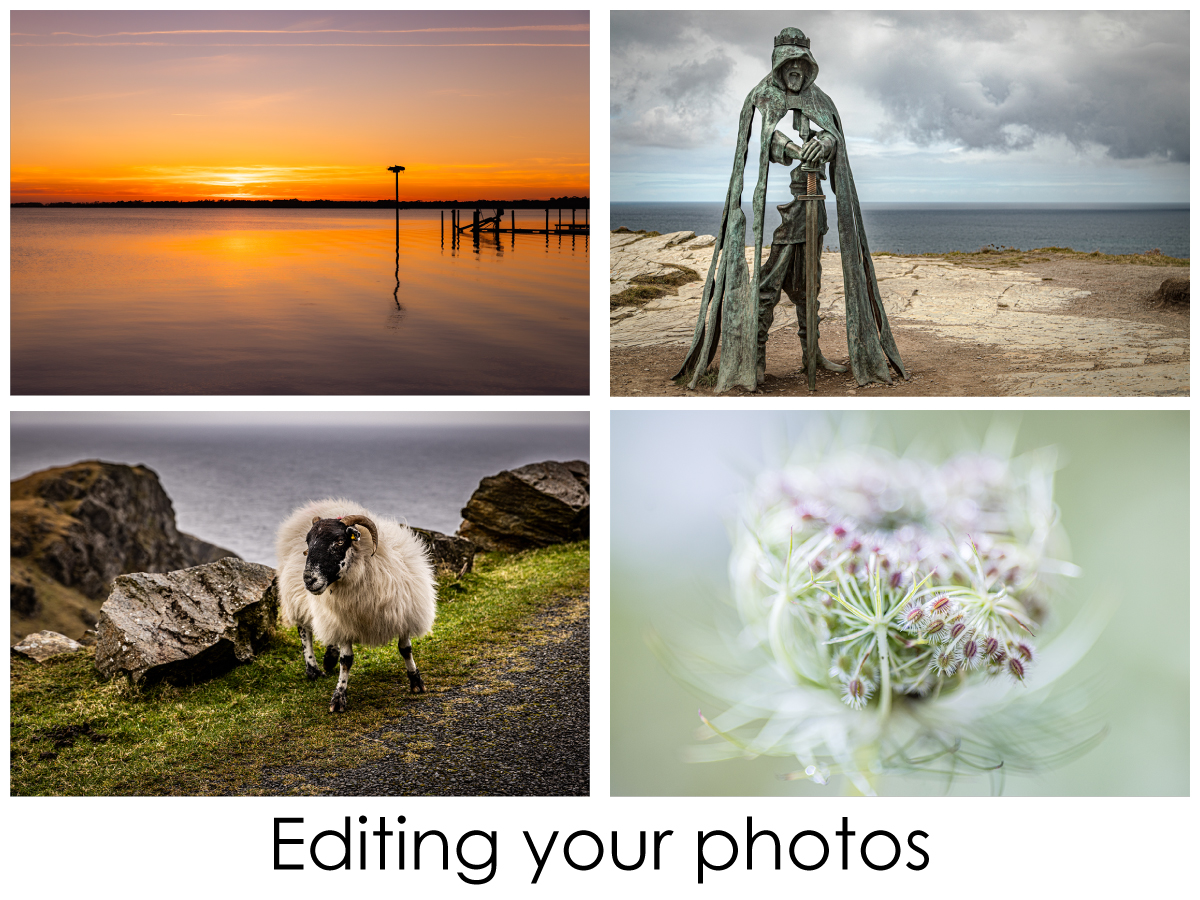
The Question is "do you edit your photos? "
If not, why not?
Surely, you can make your good photos into great photos with just a little work. If you spend just a few minutes a day you will be a lot happier with your photos.
Why edit?
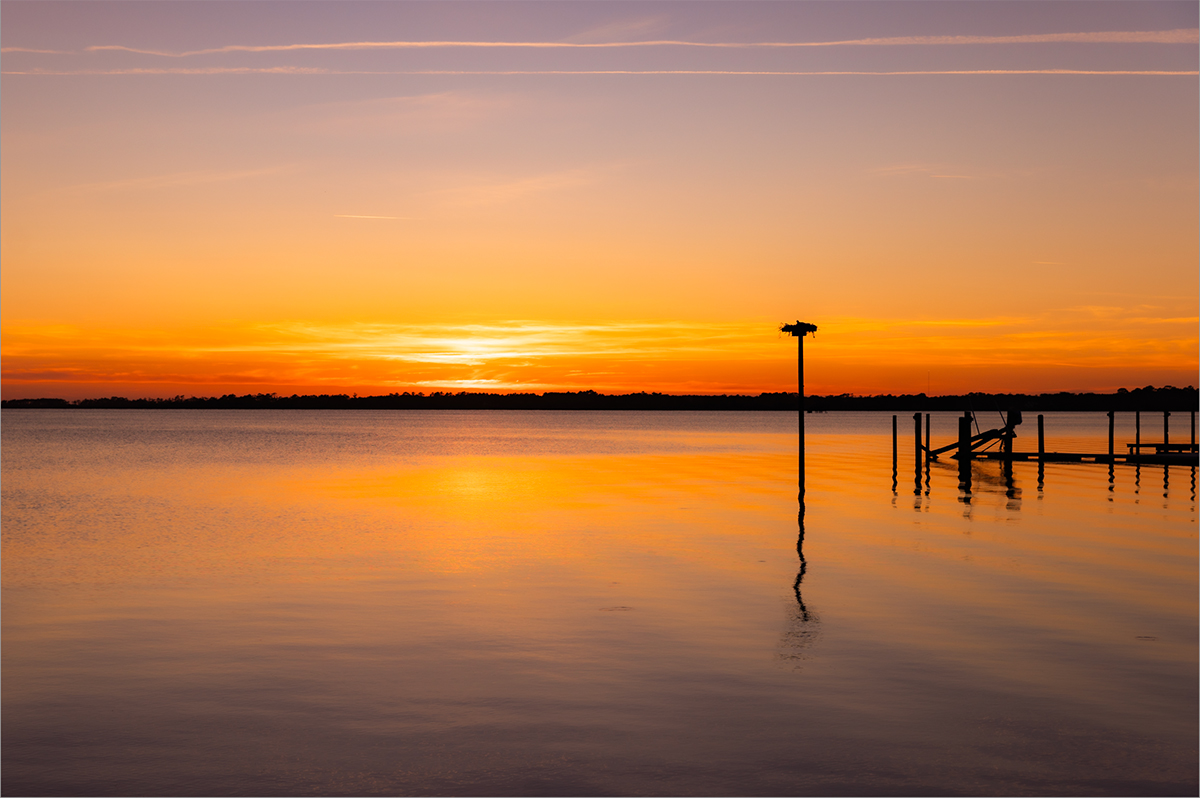
- Make sure that the sea is NOT pouring out of the photo.
- Check that the building is upright and NOT like the leaning Tower of Pisa.
- Remove the half of a head at the front of the photo that is distracting.
- Fix the the exposure and the colour that aren't what you thought they should be.
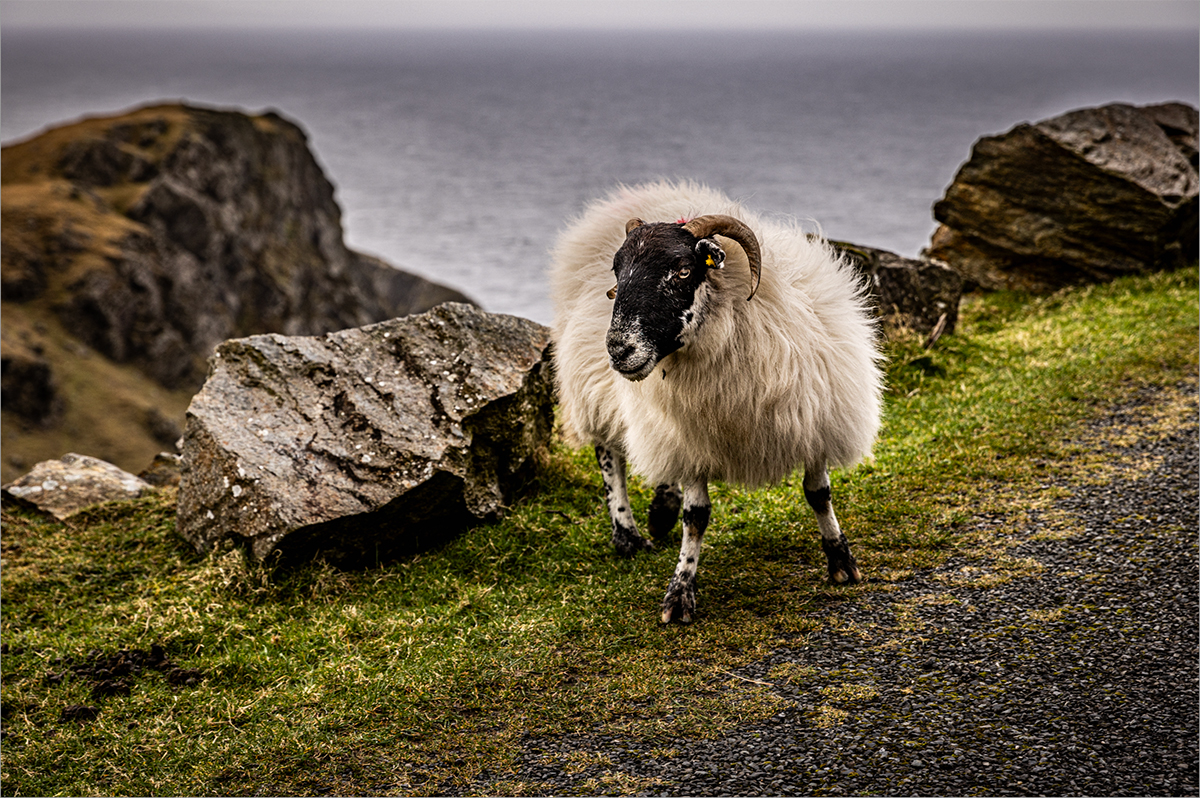
- Enhance the image by sharpening the subject and blurring the background.
How to edit?
There are so many editing apps out there that can be used, and a lot of them are free! If you google 'free photo editing apps', you will get a list of those that are worth using. I am not going to suggest which one is best to use, as it is a personal choice. Just so you know, I do use Lightroom (paid) on my computer and Snapseed on my phone.
In this blog, I am going to go through the steps of the best way to edit your photos. There is an order that makes it easy for you, to get through your photos quickly.
Here is a list of key steps on photo editing.
- Straightening your image
- Cropping your image
- Cleaning up your image
- Adjusting your white balance
- Adjusting the exposure
- Adjusting the contrast
- Sharpening your image
- Presets
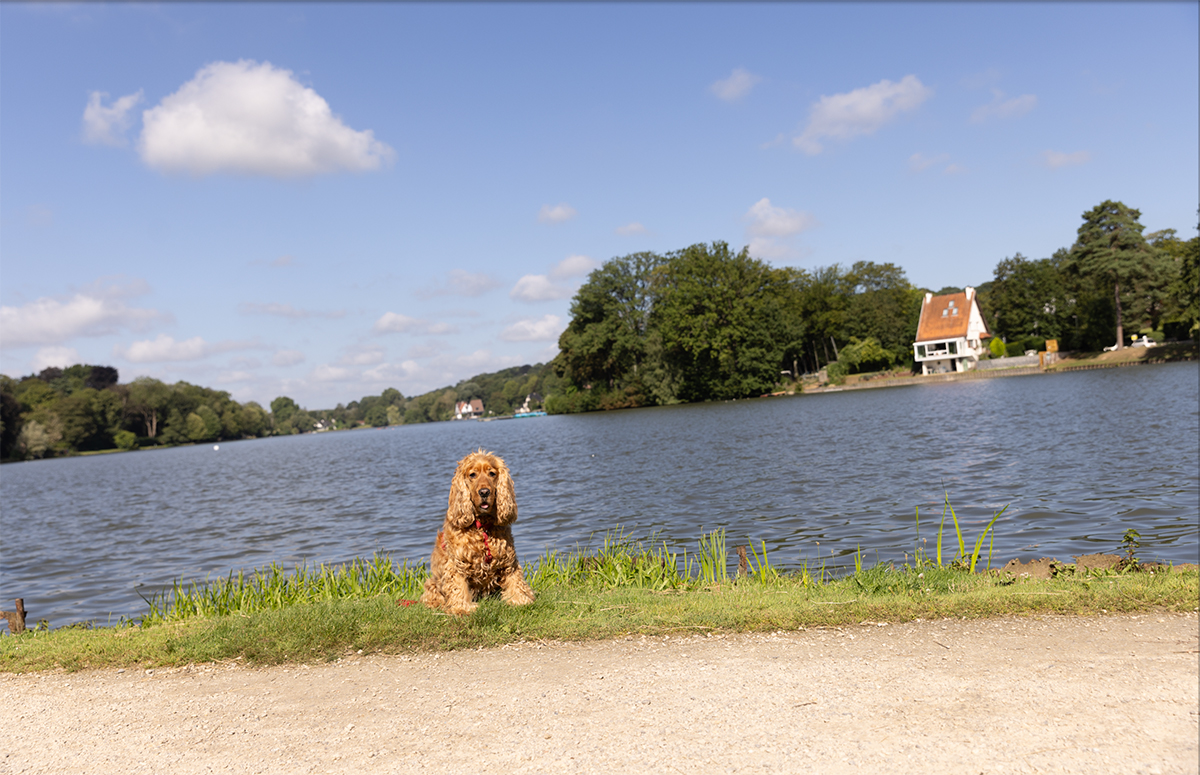
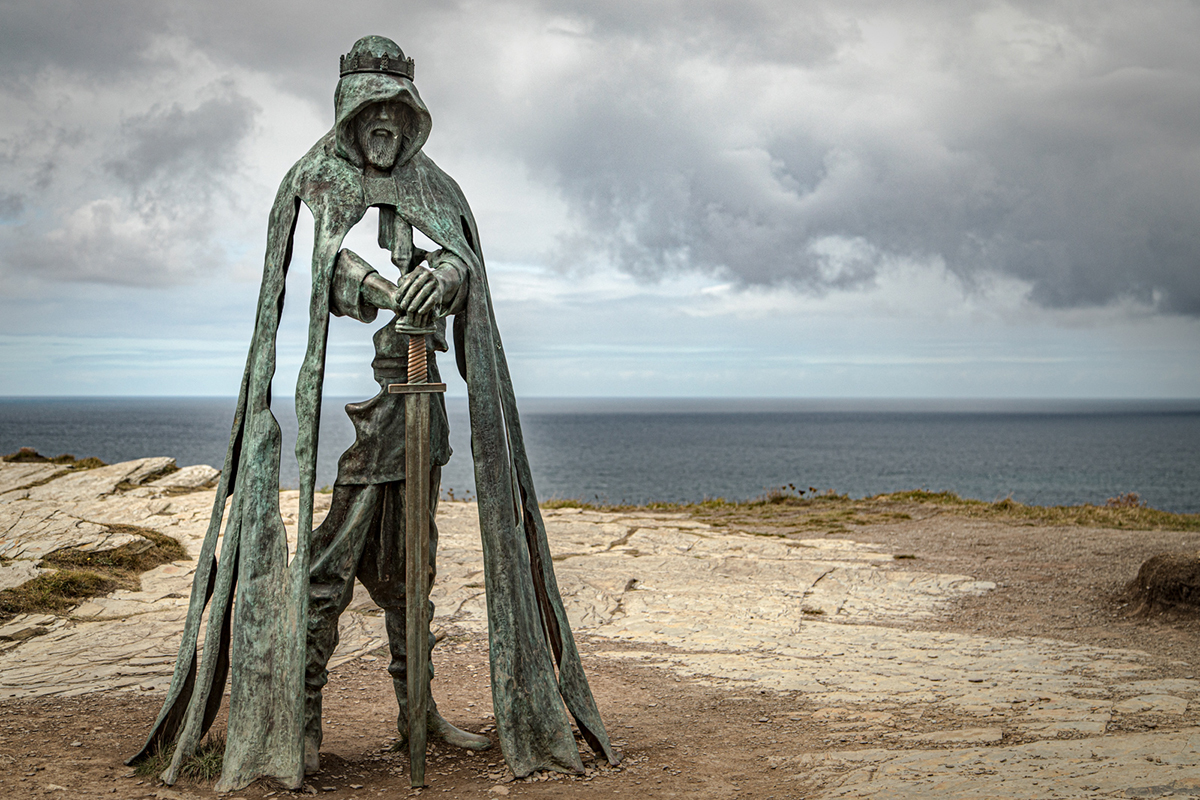
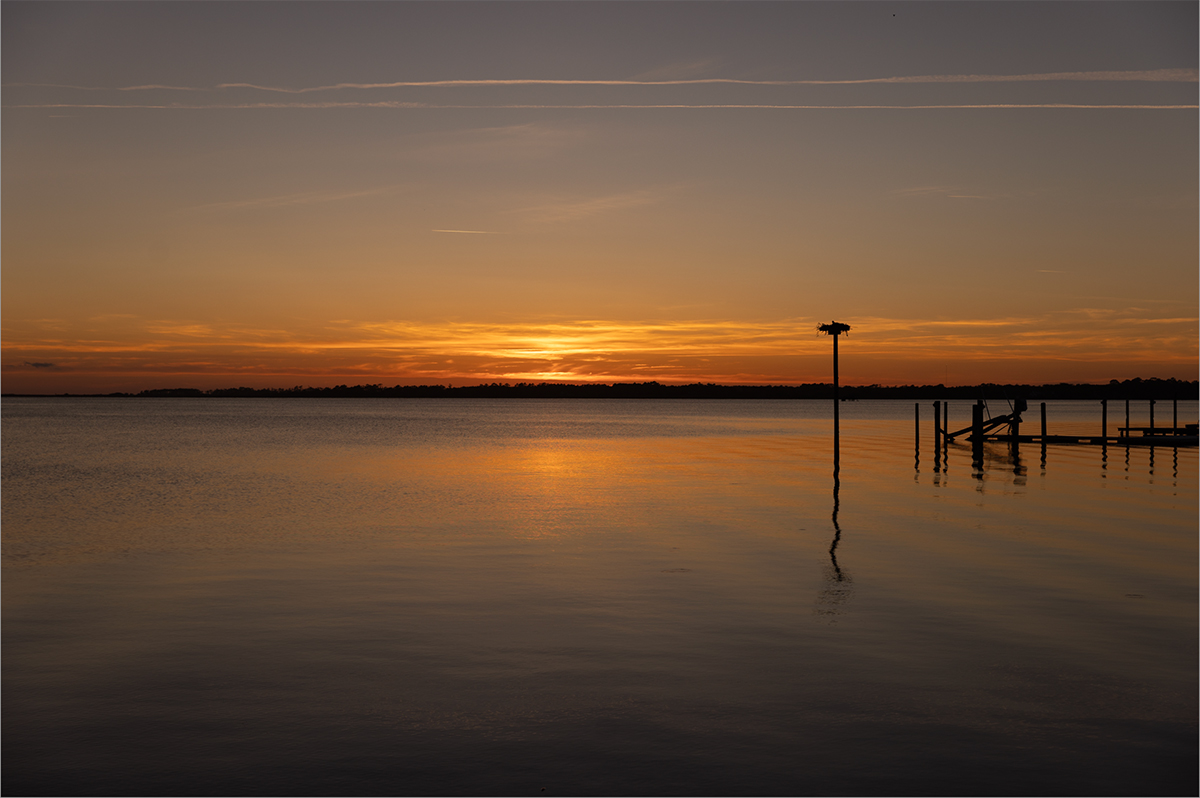
1. Straightening your image
There is nothing worse than the sea falling out of the image, unless it is the effect that you are after. I do have a bit of OCD about this. I do find it hard to take photos completely level, so lucky in most apps you have guidelines to help you get it completely flat.
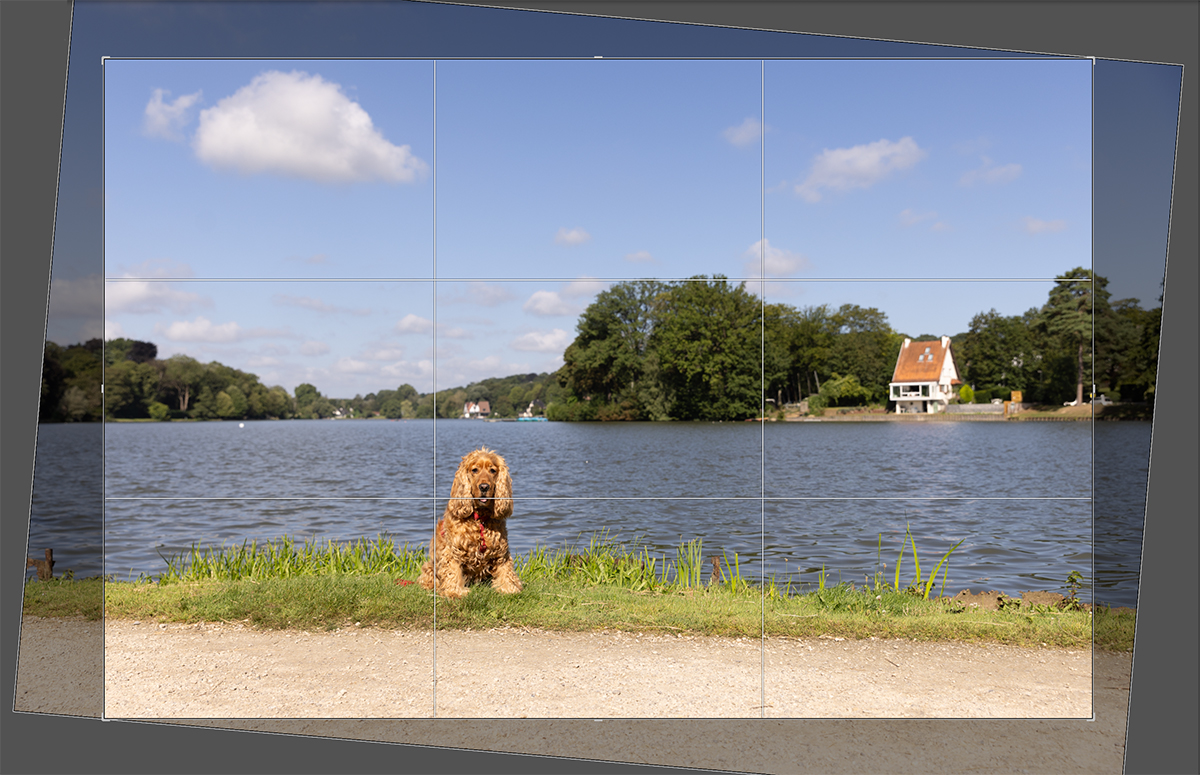
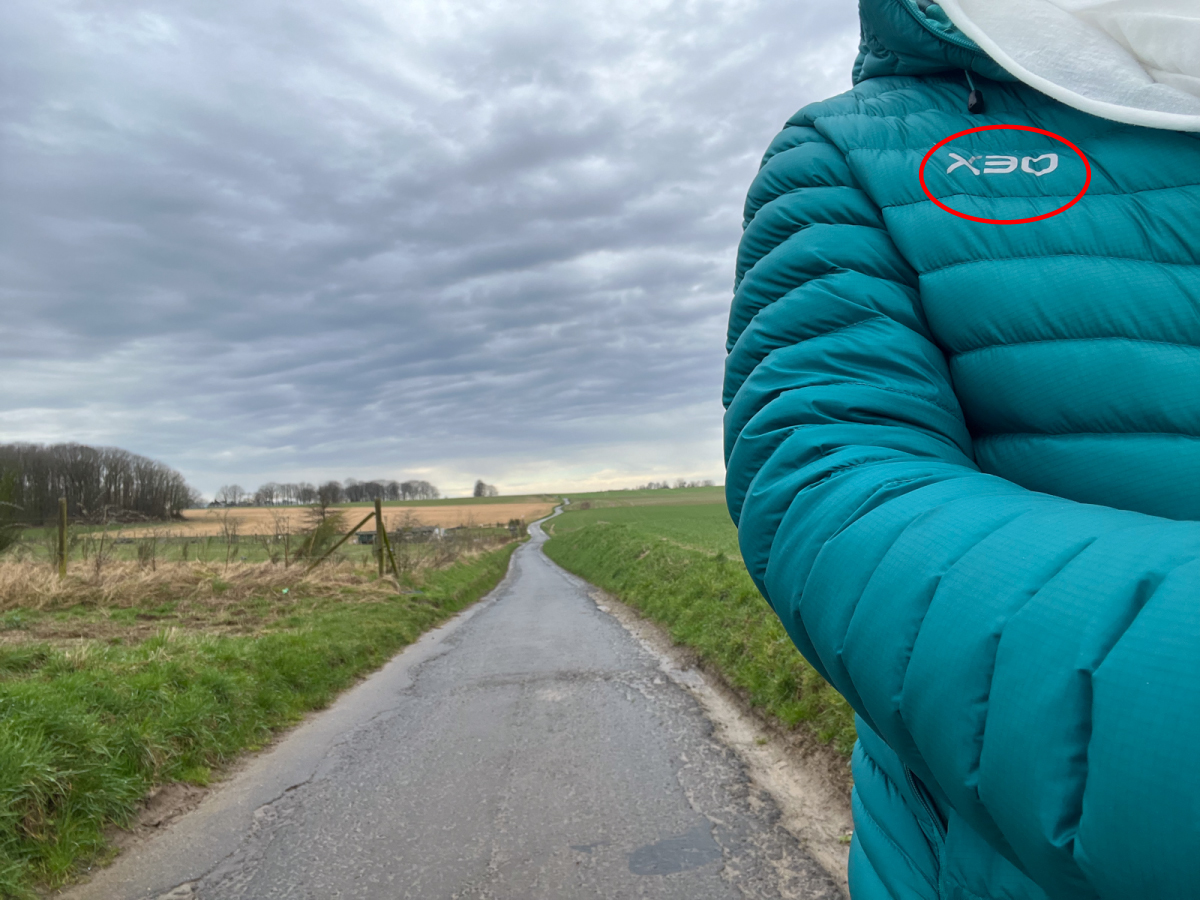
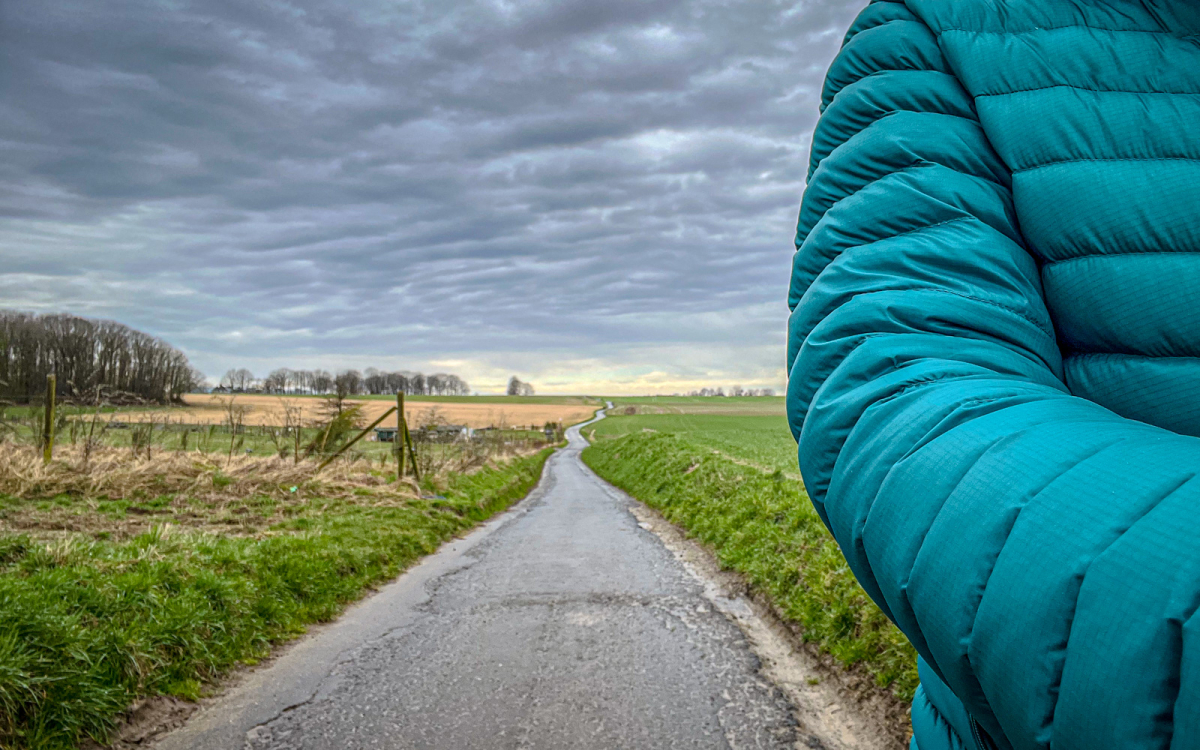
2. Cropping your image
The next step is to remove the elements that you want out of the image. This is the time to crop, so that your subject in your photo is on a third. It might only be a little crop, or you might want to get in really close, so crop out more. Also on street scenes, it is always good to be able to crop out half the head that is in the corner of the photo.
3. Cleaning up your image
Once you are happy with the crop, check out the image for any spots that shouldn't be there. Camera lenses have a habit of getting grit on them, even when you are cleaning them regularly.
Most apps have a spot removal tool and can be called upon for spot healing or clone stamping.
Also, look for anything that detracts from the image that you are after: maybe a bird that just looks like a spot, or even a road sign that you don't want in your photo. Apps are now reasonably able to remove these without a problem.
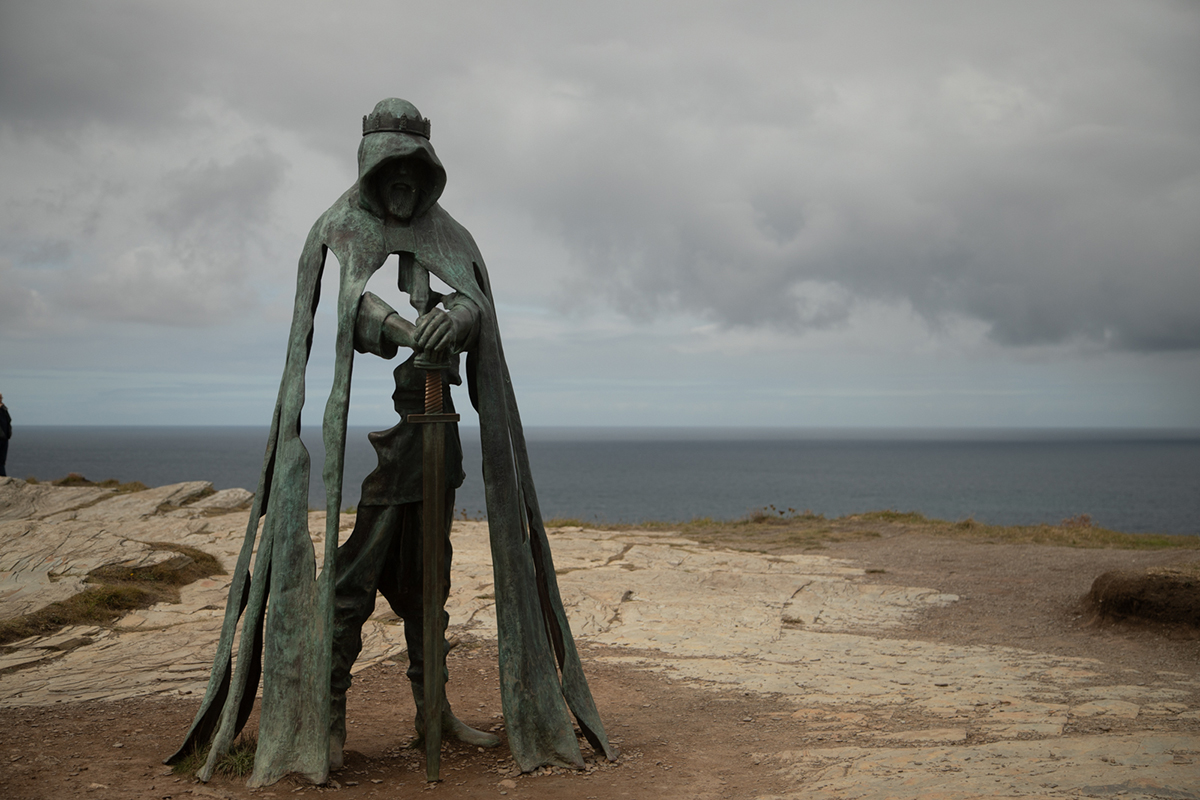
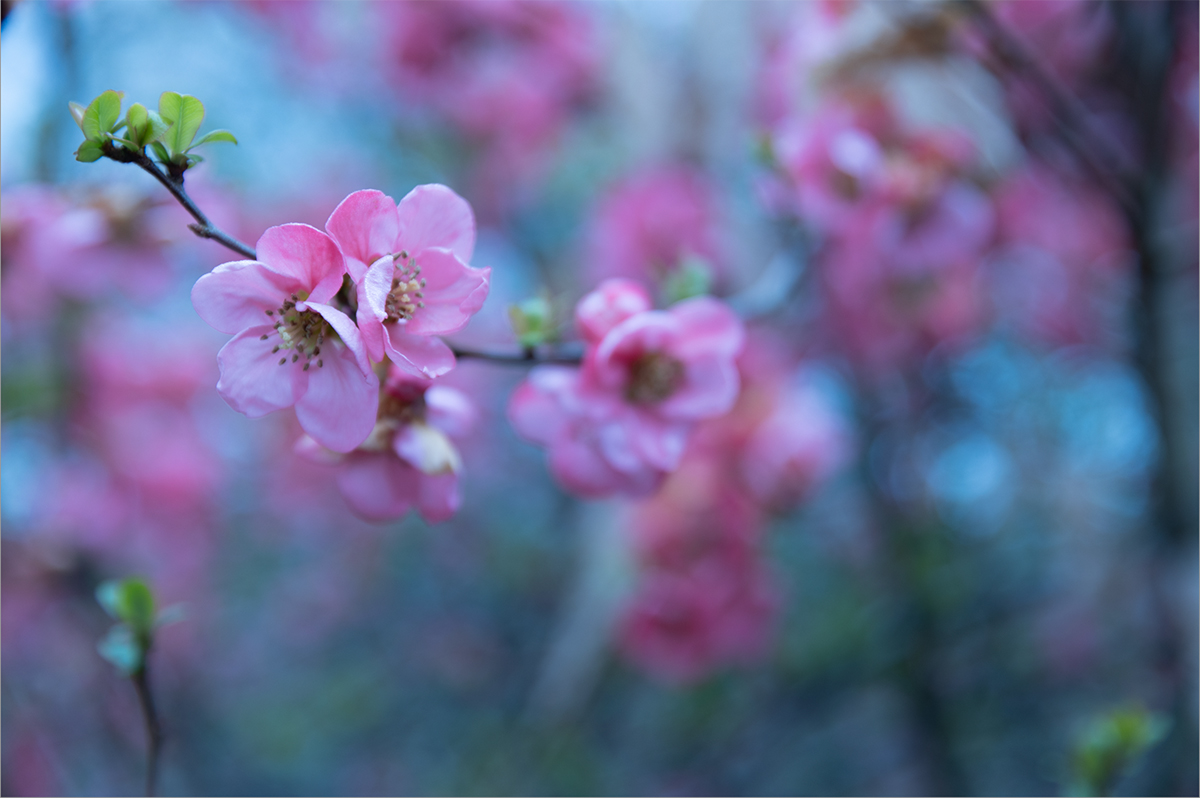
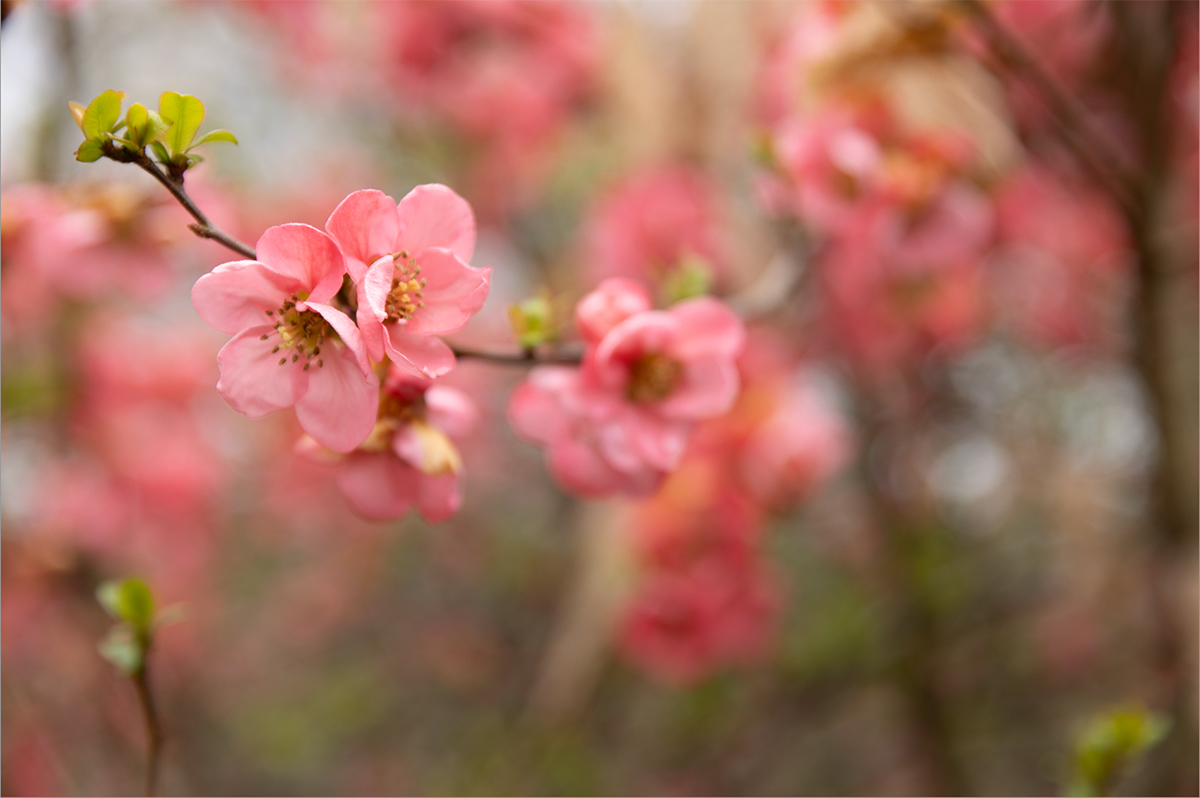
4. Adjusting your white balance
This is a quick colour adjustment, if needed. Just check out your image to see if it is too blue or too orange. Did you forget to change the white balance when you went outside after taking some photos inside?
If you take your photos in RAW format you can really change the balance very easily, but even if you just take your photo in JPG format you can still change it, but it is a bit more limited. You might find that there are presets for Flash, Daylight, Cloudy, Auto and Shade.

5. Adjusting the exposure
Did you under expose or over expose?
Now is your time to correct exposure. Even if you shoot on auto you might not have the best exposure that you want. Do remember that it is better to get this right in the camera, otherwise you could end up with noise that you don't require in your photos.
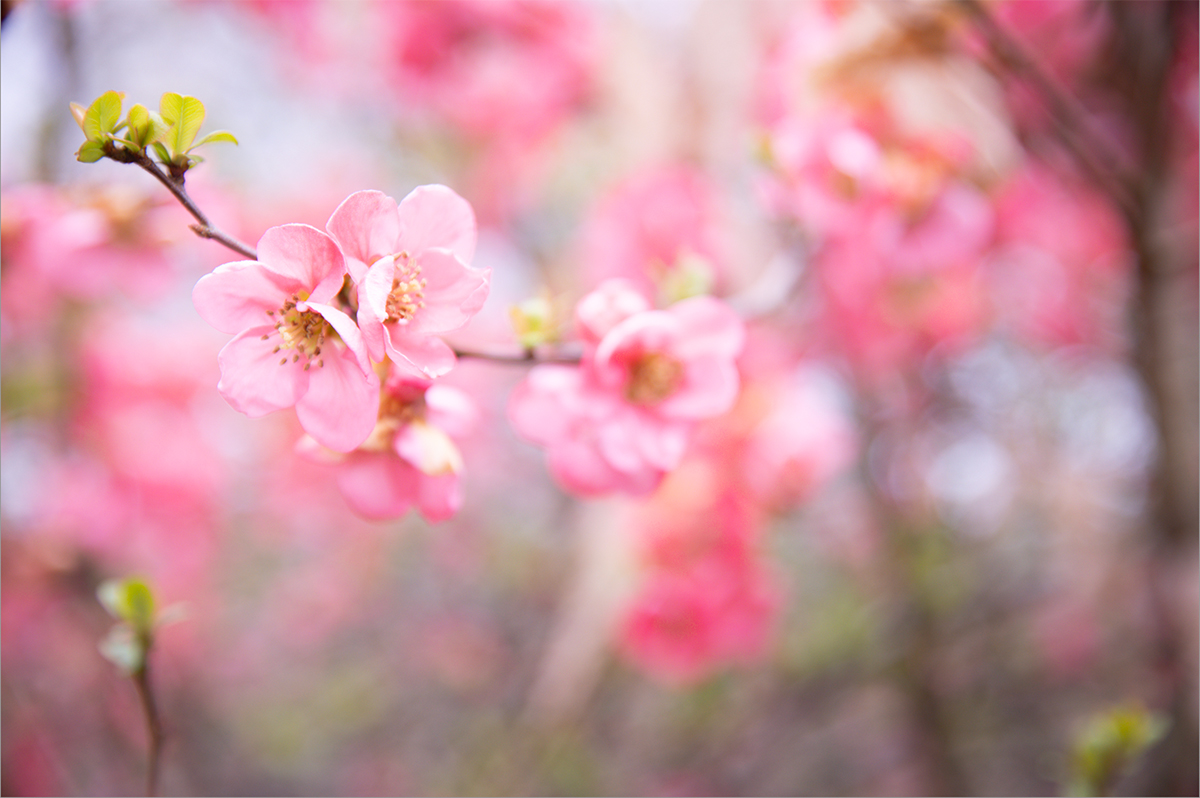
6. Adjusting contrast
Does your image look a bit washed out or too vibrant? You can change the contrast to get the look that you are after.
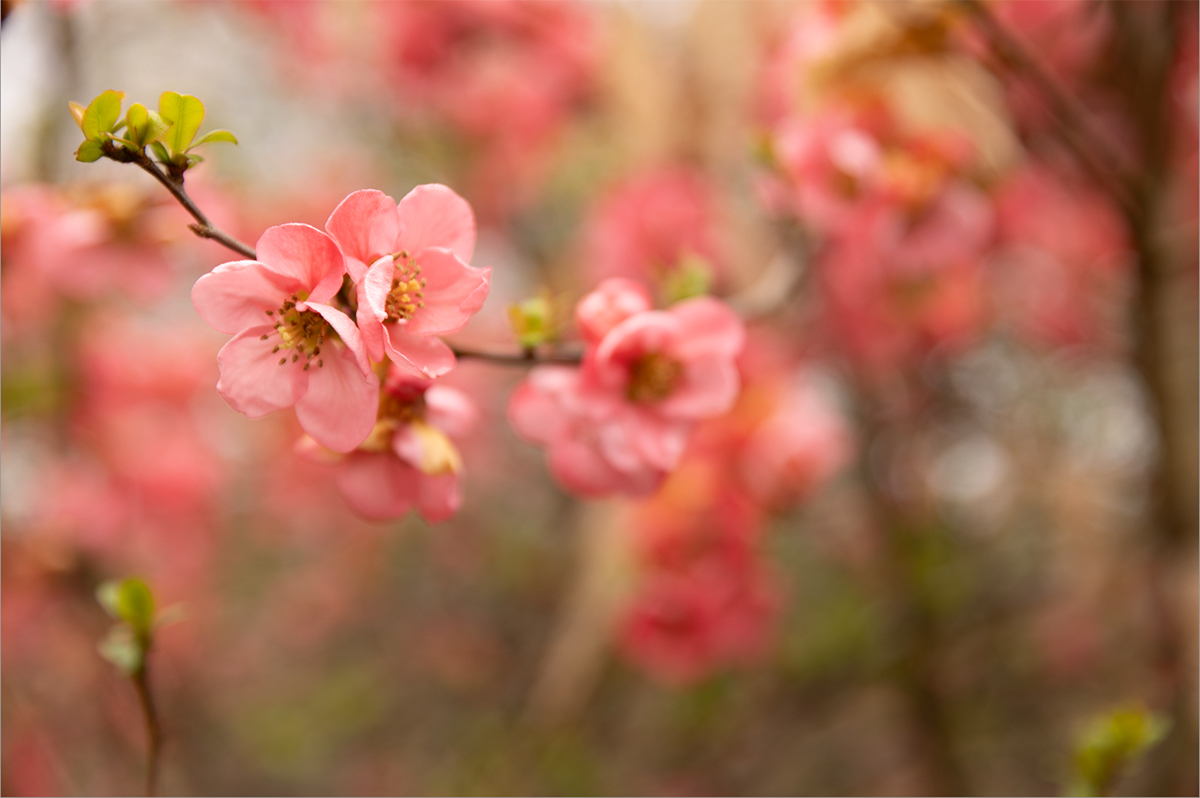
7. Sharpening your image
Many photo editing apps offer a sharpening tool. You can zoom in to see that you are getting the sharpness that you are after. Remember, nothing can make an "out of focus" image into an "in focus image." That just isn't going to happen. Remember... don't sharpen too much otherwise you can get a halo around the subject, which is not a pleasing look.

8. Presets
Many photo editing apps have presets, so that you don't have to do all the above. It is a good practise to try to do the above first, then once you are happy with the actual photo then add a preset. Be aware, however, presets do sometimes override some of the work that you have already completed.
But saying that... have fun!
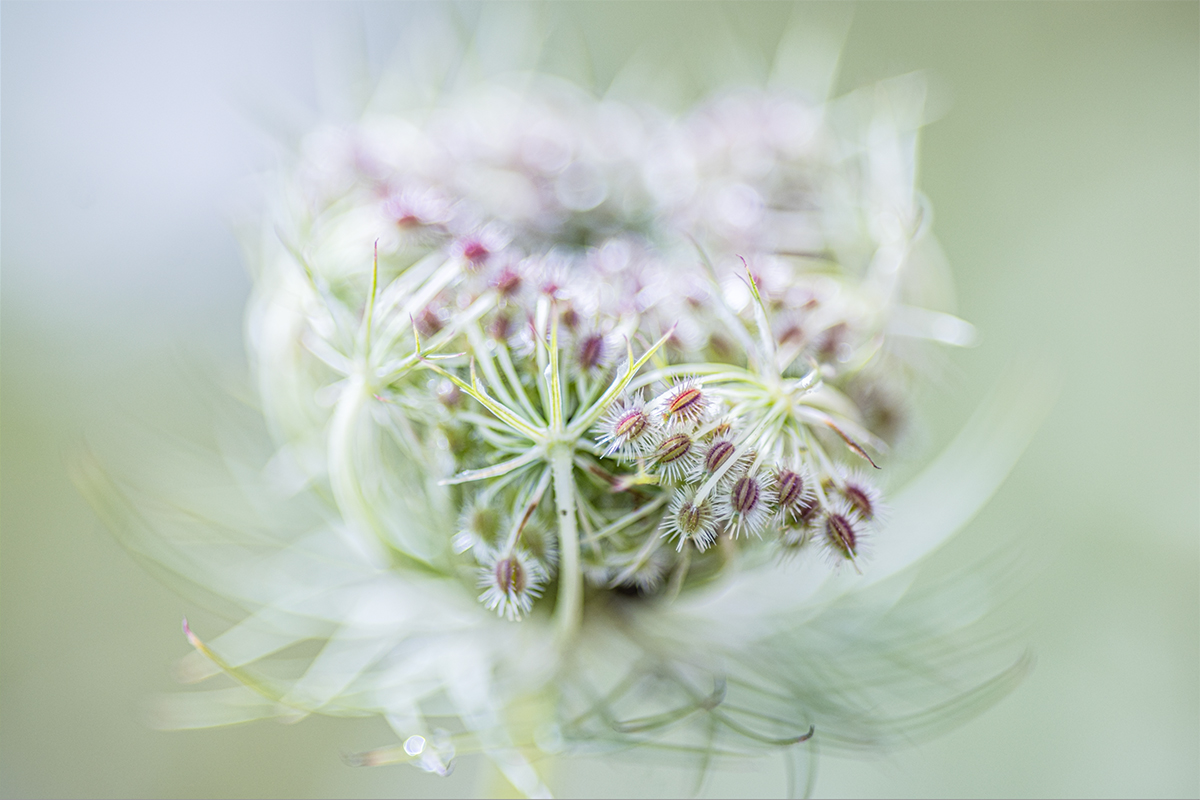

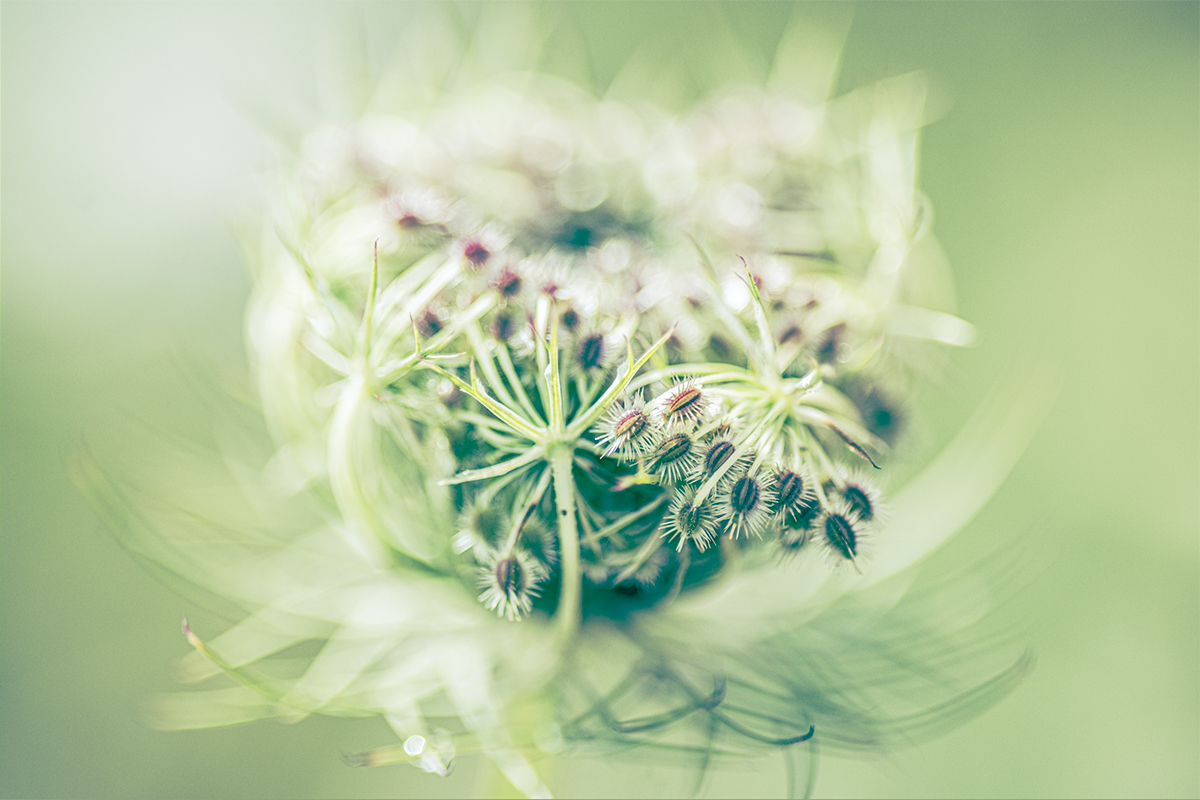
All presets are added through Lightroom
Things to think about
Make sure that the photo editor that you are using allows you to go back to the original in case you want to start again. If it doesn't, then make a copy of the photo first and work on that, then you can go back to the original if you don't like the editing you have done.
Don't edit a photo that isn't going to work, not all photos are worth the effort.
Remember, don't over-do your editing, otherwise your photo will not look real. There are exceptions where you are after that effect.
It is also a good idea that once you have finished editing your photo, to leave it for a while, then go back and see if it is what you were after.